Author:
Tamara Smith
Date Of Creation:
25 January 2021
Update Date:
2 July 2024

Content
- To step
- Part 1 of 3: Getting started
- Part 2 of 3: Access your bandwidth
- Part 3 of 3: Increasing your broadband speed
- Tips
- Warnings
If you want to increase the download and upload speed of your internet connection, you've come to the right place. It is possible to change the speed of your connection at no extra cost. While it is not possible to change the speed of the Internet directly from your Apple computer or other device, you can hack your broadband settings through Windows. Read on to learn more about how to do this.
To step
Part 1 of 3: Getting started
 Open the Start menu. Look at the bottom left of the screen, where the Start button is located. It looks like a circular colored window. Click here.
 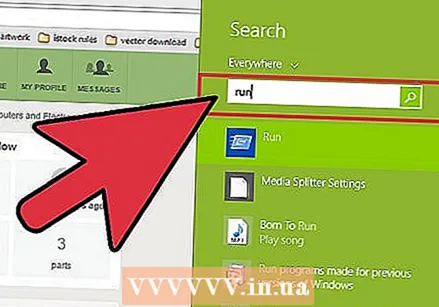 Type Run in the search bar. Once you clicked Start, type Run in the search bar at the bottom of the window.
 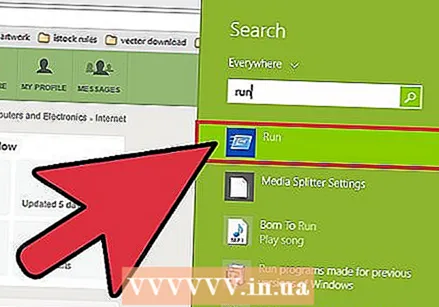 Click on Run. After entering the text Run in the search bar of the Start menu, you will see the Run program at the top of the window. A smaller window will appear, in which you can type the name of the program to run.
 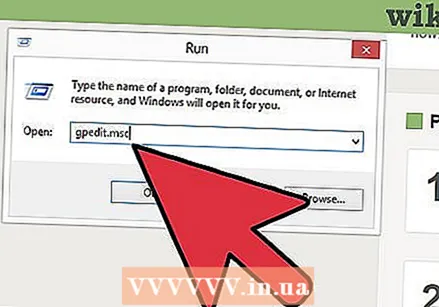 Type GPEDIT.MSC. Now click on OK. This command opens a new window called Local Group Policy Editor.
Part 2 of 3: Access your bandwidth
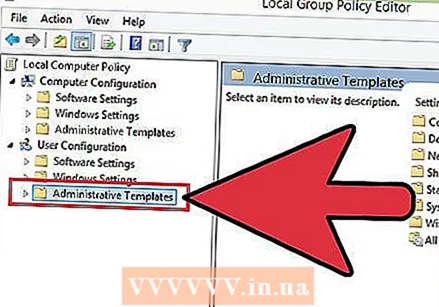 Click Administrative Templates. When the Local Group Policy Editor window appears, look to the left of the screen for various options. Click Administrative Templates.
 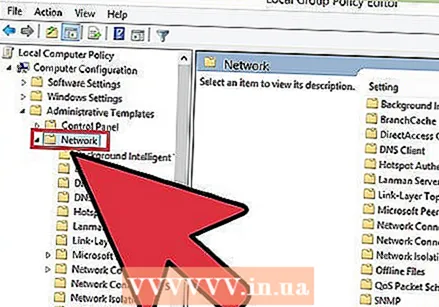 Select Network. Under Administrative Templates, click Network. On the right side of the screen, select QoS Packets Scheduler.
 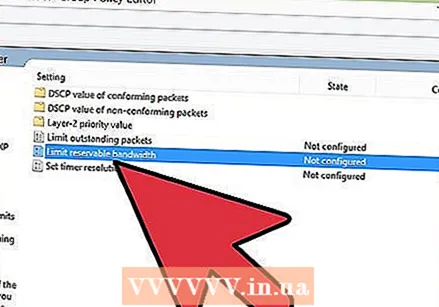 Click Limit the reservable bandwidth. After opening QoS Packets Scheduler, double-click Limit the reservable bandwidth.
 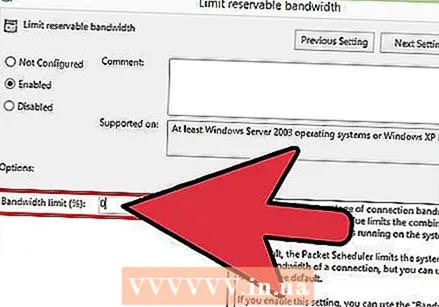 Enter 0%. In the Limit the reservable bandwidth window, look under Options on the left side of the window. Here you will find an option to enter a bandwidth limit (Bandwidth Limit). Enter 0 and click OK.
  Open the Start menu. Now go back to Start. Once you have opened the Start menu, look to the right side of the menu and click Control Panel.
 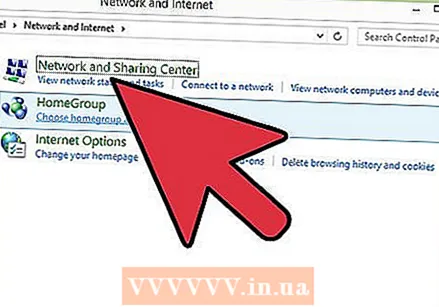 Click Network and Sharing Center. Once you have opened the Control Panel, scroll down until you reach the Network and Sharing Center window. Click on it.
  Select Change adapter settings. In the Network and Sharing Center window, you can view the default network information. On the left side of the window you will see Change adapter settings. Click here.
Part 3 of 3: Increasing your broadband speed
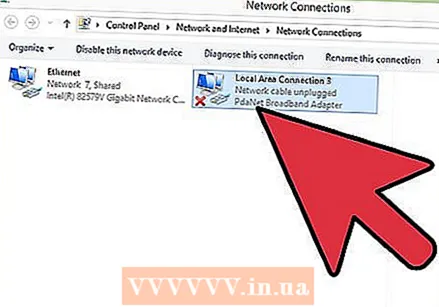 Click Local Area Connection. Scroll to Properties and click on it.
 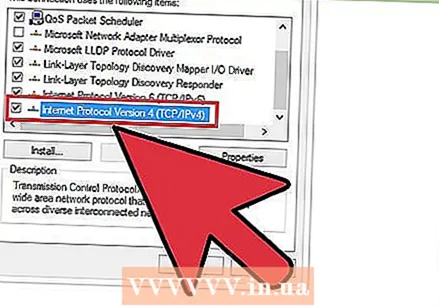 Click on Internet Protocol Version 4. Then select Properties.
 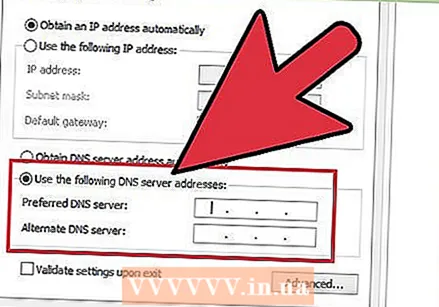 Change your DNS address. Under the General tab of the Internet Protocol Version 4 window, scroll down to the option "Use the following DNS server addresses". Click on the circle next to it to activate this option.
 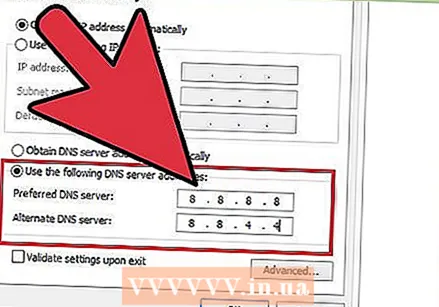 Enter the following values. Under "Use the following DNS server addresses", you will see two rows of entry boxes one below the other. The first is called Preferred DNS Server and the second is Alternate DNS Server. Enter 8.8.8.8 in the first row of boxes. Then enter 8.8.4.4. in the second row.
 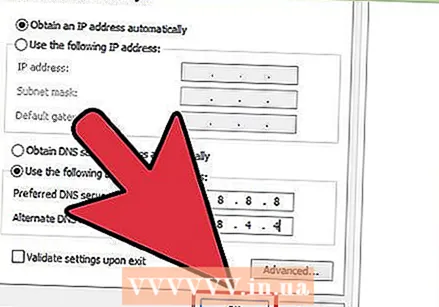 Click OK. After entering the above addresses, click OK and close all other open windows.
 - Your broadband speed should now be 20% faster than before.
Tips
- Don't forget to keep your previous settings so that you can restore the old situation should the new DNS servers fail.
Warnings
- All information provided in this article is for educational purposes only. Please do not use this information for illegal practices.


