Author:
Eric Farmer
Date Of Creation:
3 March 2021
Update Date:
1 May 2024

Content
- Steps
- Part 1 of 2: How to Prepare an Image to Create a Path
- Part 2 of 2: How to create a path
- Warnings
This article will show you how to create a picture outline in Adobe Photoshop on a Windows or Mac OS X computer.
Steps
Part 1 of 2: How to Prepare an Image to Create a Path
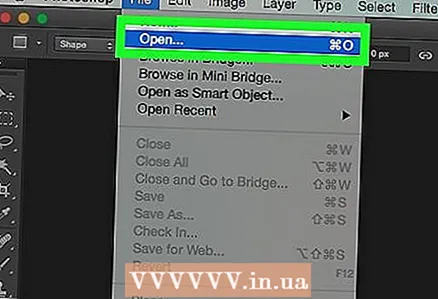 1 Open the image you want to outline. To do this, start Photoshop, click File in the menu bar at the top of the screen, then click Open and select an image.
  2 Click on Layers on the menu bar.
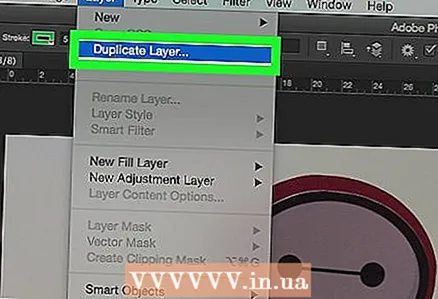 3 Press Duplicate layerand then press OK.
- You can give the new layer any name; otherwise, it will be named "[Source Layer Name] copy".
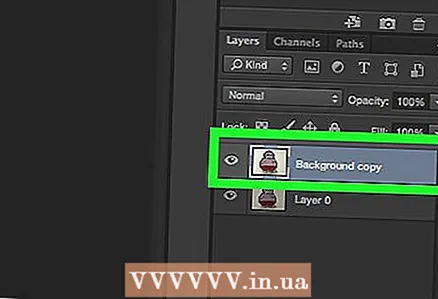 4 Click on the duplicate layer in the Layers panel. It is located on the right side of the screen.
 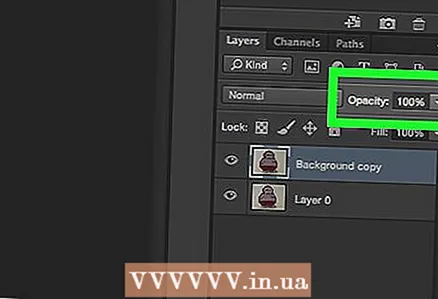 5 Click the Opacity box in the upper right corner of the Layers panel.
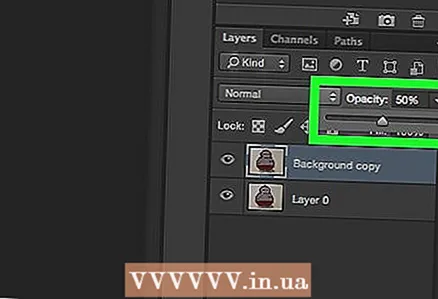 6 Set the opacity to 50%.
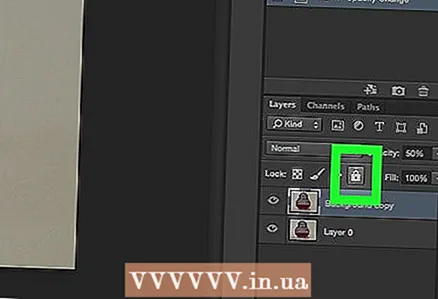 7 Click the padlock icon at the top of the Layers panel to lock the layer.
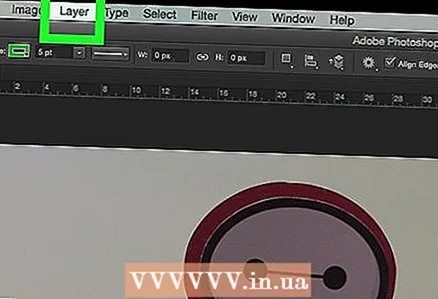 8 Click on Layers on the menu bar.
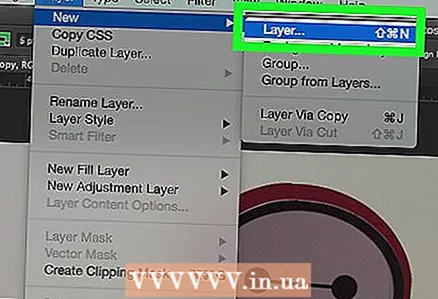 9 Click on New > Layer.
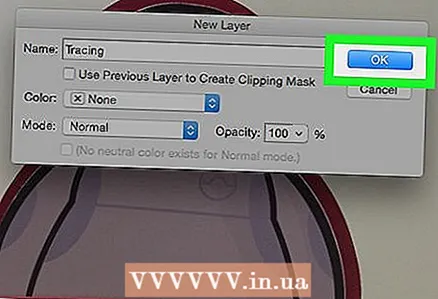 10 Name the layer "Outline" and click OK.
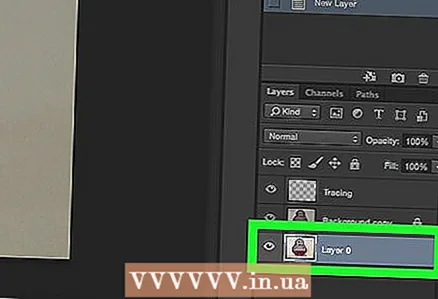 11 Click on the "Background" layer in the "Layers" panel.
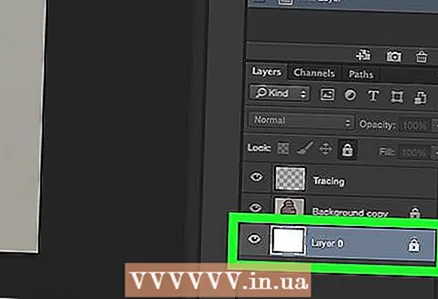 12 Click on Ctrl+← Backspace (Windows) or ⌘+Delete (Mac OS X). This will give you a white background.
 - You should now have three layers in the Layers panel: an Outline layer (top), a locked image layer (middle), and a locked white background layer (bottom). If the layers are not positioned as described here, drag and drop them into place.
Part 2 of 2: How to create a path
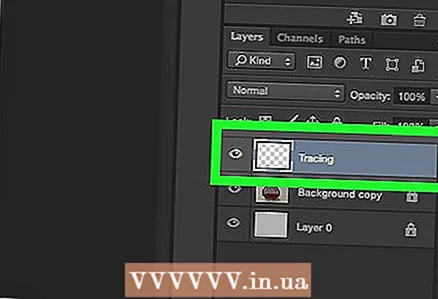 1 Click on the "Path" layer in the "Layers" panel on the right.
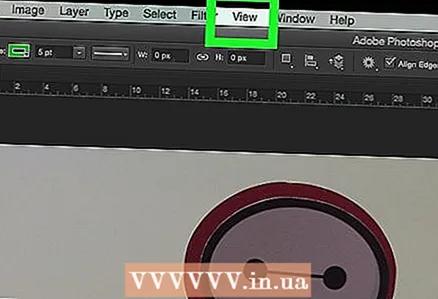 2 Click on View on the menu bar.
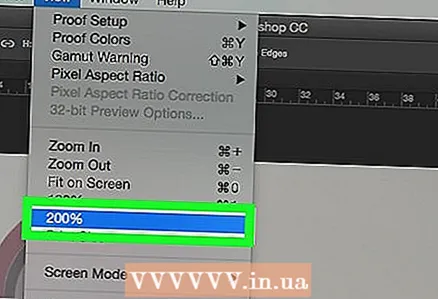 3 Click on 200%to enlarge the image. Or, in the View drop-down menu, click Enlarge or Reduce to resize the image as needed to create an outline.
 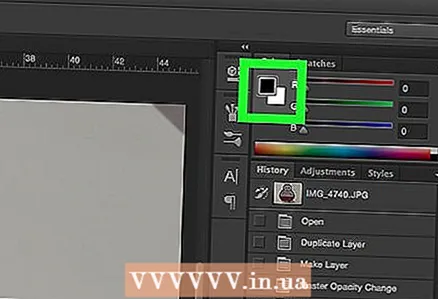 4 Choose a color for the outline. To do this, click on one of the two intersecting squares in the upper right of the screen, and then click on the desired color in the spectrum, which is located under the squares.Click on another square and then select the same color.
 - Black and white is at the far right end of the spectrum.
 5 Select a tool from the toolbar on the left side of the window.
- Pencil: This tool creates straight strokes of equal width (middle and ends). A pencil is great if you want to create a path from small, touching strokes. The Pencil tool icon looks like a pencil and is at the top of the second section of the toolbar. If the toolbar displays a brush rather than a pencil icon, hold down the brush icon, and then click Pencil from the menu.
- Brush: This tool creates tapered strokes that are thinner at the ends and thicker in the middle. A brush is good if you want to create a "soft" path from strokes that look like brush strokes. The Brush tool icon looks like a brush and is at the top of the second section of the toolbar. If the toolbar displays a pencil icon instead of a brush, hold down the pencil icon, and then click Brush from the menu.
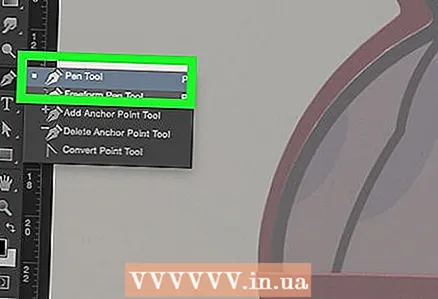
- Feather: this tool creates a path with anchor points; such a contour can be edited. The pen will do if you plan to modify the created path. Click the fountain pen nib icon (located below the T-shaped icon in the toolbar) to select the Pen tool.
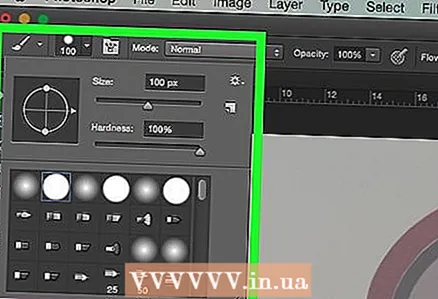 6 Adjust the settings for the Pencil or Brush tool. They are in the upper left side of the window.
 - Click on the drop-down menu next to the tool icon to adjust its size and hardness. The more stiff, the more similar the strokes are to those made with a real pencil or brush.
- Click the folder-shaped icon on the right side of the drop-down menu to select the shape and properties of the brush or pencil.
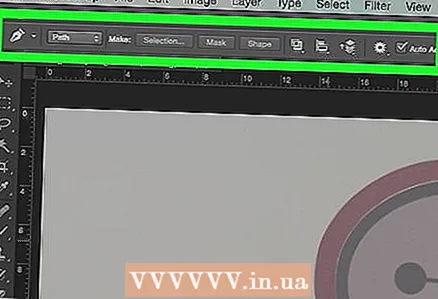 7 Adjust the Pen tool settings. They are in the upper left side of the window.
 - To create a path using the Pen tool, open the drop-down menu to the right of the tool icon and choose Path.
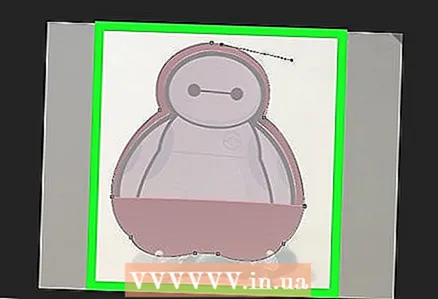 8 Start creating the outline. Use your mouse or trackpad to move the tool along the desired lines in the image.
 - If you decide to use the Pencil or Brush tool, hold down the left mouse button and drag along the lines. Release the button to move the tool and create another row of strokes.
- If you decide to use the Pen tool, left-click on the image; an anchor point will be created. Now click on the image again; a second anchor point is created and a straight line appears between the two anchor points. In the case of curved graphic lines, create as many anchor points as possible.
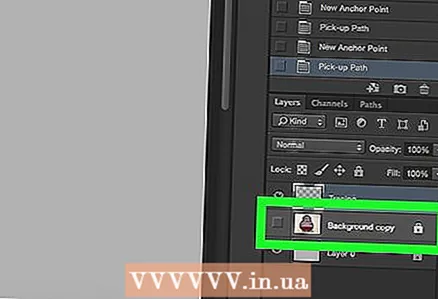 9 Hide the original image. To see which path is obtained, click on the eye icon to the left of the middle layer name (this layer contains the original image). The original image disappears and the outline appears on a white background.
 - When you're done, click View in the menu bar, then click 100% to view the image in real size.
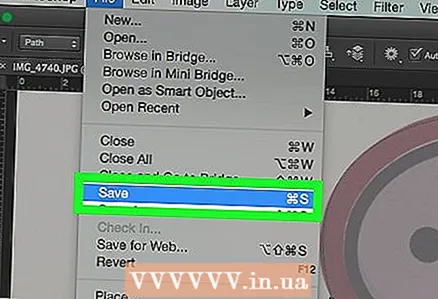 10 Save the image. To do this, on the menu bar, click File> Save As. Enter a name for the file and click Save.
Warnings
- Do not violate the copyright of the author (owner) of the image.
- Don't copy other people's work.


