Author:
William Ramirez
Date Of Creation:
19 September 2021
Update Date:
1 July 2024
Content
- Steps
- Method 1 of 3: How to burn a data disc
- Method 2 of 3: How to burn a video disc
- Method 3 of 3: How to burn an image disc (ISO file)
Once upon a time, in order to burn a DVD, a number of specific programs were required, but in Windows 7 there is a utility with which you can quickly burn a data DVD or a DVD with an image (ISO file). To create a video disc that can be played in DVD players, you need a special program, such as the free DVDStyler.
Steps
Method 1 of 3: How to burn a data disc
 1 Insert a blank disc into your computer's optical drive. Make sure your computer has a DVD burner drive (older computers don't have such drives).
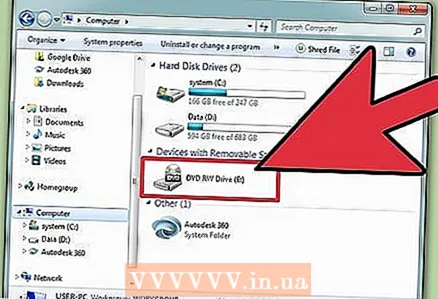
 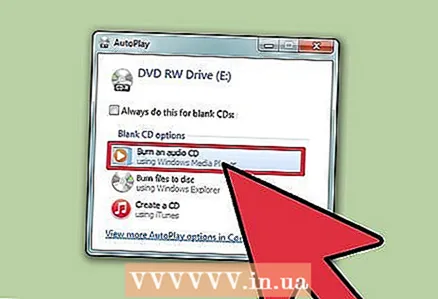 2 In the AutoPlay window, select Burn Files to Disc. If this window does not open, click on the "Start" menu and select "Computer". Now right click on the DVD drive (with disc) and select "Open" from the menu.
 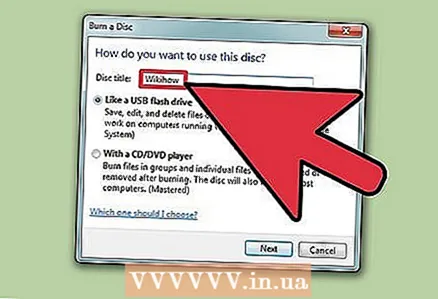 3 Enter a name for the drive. The name should describe the contents of the disc. We recommend that you include the creation date of the disk in its name to organize your disks.
 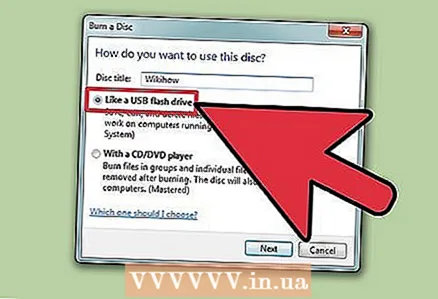 4 Choose a format. When burning a data disc, you can choose between two formats: Live File System (LFS) or Mastered.
 - The LFS format allows you to edit, add, and delete files that are on disk (this can only be done on a Windows computer). If you choose this format, the disc will be formatted, which will take a few minutes.
- The Mastered format does not allow you to edit or delete files that are on the disk, but such a disk can be used on any operating system.
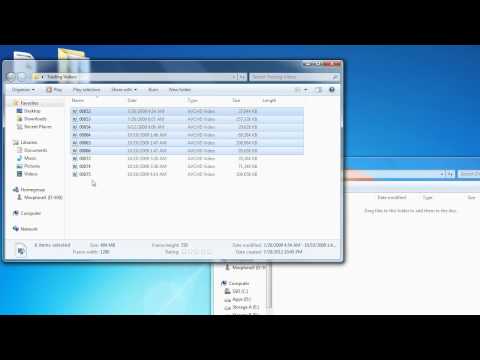
 5 Add files to disk. Do this when you choose the format. A single-sided DVD can hold up to 4.7 GB of data. To add files to a blank disk, use one of the following methods:
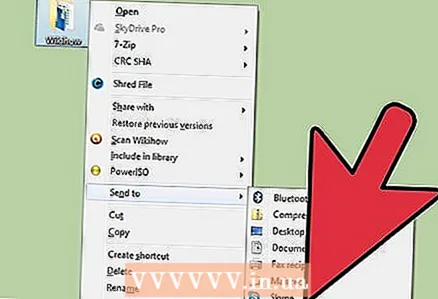
 - Drag the files to the blank DVD window.
- Right-click on a file or folder and select "Submit" from the menu, then click on your drive.
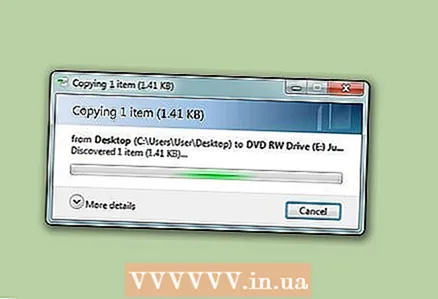 6 Wait for the files to be written to disk (LFS format). If you selected the Live File System format, files will start writing to disk as soon as you drag and drop them into the disk window or send them to disk. This will take some time, depending on the size of the file (s).
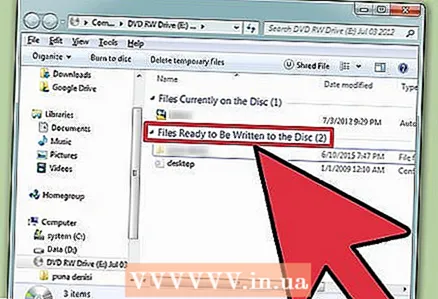
  7 Complete the disc. When you add the files to the disc, complete the process by closing the session (Live File System) or burning the disc (Mastered).
 - Live File System - Click the Close Session button at the top of the disk window. In this case, the disk can be used as a flash drive (edit, delete, add files) on Windows computers.
- Mastered - click the Burn Disc button at the top of the disc window. Rename the disc and set the burning speed if you want. It will take some time to record. When the recording is complete, the system will prompt you to burn another disc with the same data (in case you need a copy of the disc).
 8 Add files to the completed drive. If there is free space on the disc, you can write additional files to it. Moreover, this can be done in any format. Repeat the steps above to add files to disk.
 - Live File System - About 20 MB of space is lost during each new disk session.
- Mastered - Recorded files cannot be deleted.
 9 Clean the DVD-RW disc. This disc is rewritable, which means that the files stored on it can be deleted even if you choose the Mastered format. To erase a disc, insert it into your optical drive, and then open an Explorer window. In the list of devices, click on the optical drive (with disc) to select but not open it. Now click on Erase Disk at the top of the window.
Method 2 of 3: How to burn a video disc
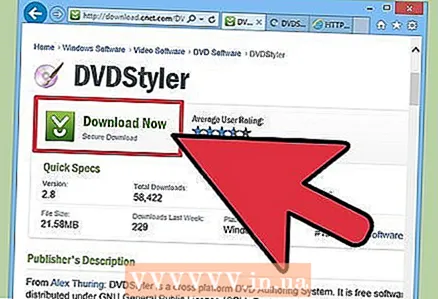 1 Download and install DVDStyler. To create a video disc that can be played in DVD players, you need special software.We recommend using the free DVDStyler program, which can be downloaded from the page https://www.dvdstyler.org/ru/%D1%81%D0%BA%D0%B0%D1%87%D0%B0%D1%82%D1%8C.
 - If Chrome warns you that the DVDStyler installation file contains malicious code, download the file in another browser.
- Read the information on the screen when you install the program. You may be prompted to install additional programs that you do not need. In this case, refuse to install them.
 2 Create a new project in DVD Styler. When starting DVD Styler for the first time, the New Project window will open. In it, set the following parameters:
 - The “Disc label” is the name that will appear on the screen when you insert a disc into your computer.
- Disc capacity - Single layer DVD has 4.7 GB and dual layer 8.5 GB.
- Video / Audio bitrate - This option sets the picture and sound quality. We recommend that you do not change the default values.
- Video Format — Select PAL if you live in Europe, Asia or Brazil. Select "NTSC" if you are in America, Japan, or Korea. You will be prompted to change this setting if you insert a disc created in a different format.
- Aspect Ratio - Select 4: 3 if you intend to watch a video disc on a standard definition TV (SDTV). Select "16: 9" if you intend to watch the contents of the disc on a high definition television (HDTV). Please note that this setting does not affect the aspect ratio of the video file recorded on the disc.
- Audio Format — Select AC3 or MP2 (we recommend choosing AC3).
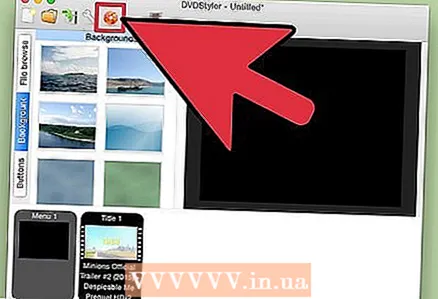
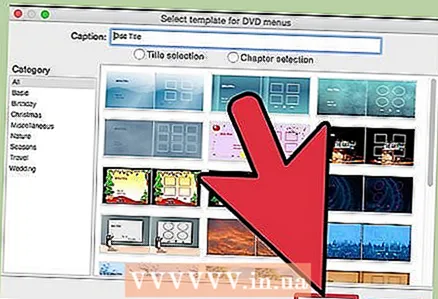 3 Select a menu template. Several menu templates are built into DVDStyler. If you want, select the 'No template' option - in this case the disc will start playing as soon as you insert it into the player.
 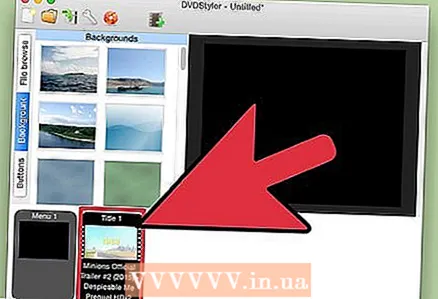 4 Drag the video file to the bottom pane of the program window. The video will be added to the project. DVDStyler supports many video formats, so there is no need to convert anything.
 - At the bottom of the window, information about the duration (in minutes) of the added video will be displayed, as well as the duration (in minutes) of the video file that can still be added.
- Multiple files can be added depending on the type of video. For example, one DVD contains 4-6 episodes of a television series or one full-length film.
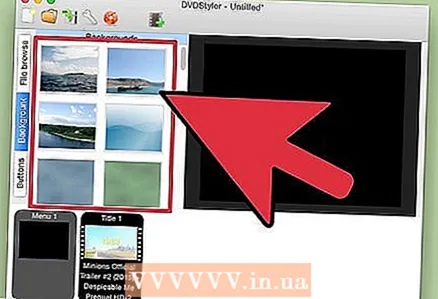 5 Change the menu items. Do this when adding video files. Double click on the required element to change it; you can also drag the element to a different position.
 - Double click on the buttons in the menu editor to change their functionality.
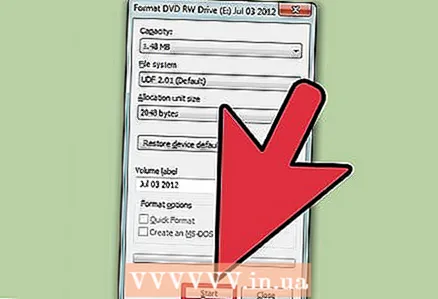
 6 Burn your project to DVD. Do this when you are satisfied with all parameters. Insert a blank disc into your optical drive and click "Burn" at the top of the window. Select one of the following options and then click Start.
 - Temp directory - If you want, specify the folder where StylerDVD will store temporary files during recording. These files will be deleted when the recording is complete. The folder must be on a local drive with double the free space of the DVD.
- Preview - Check this box if you want to preview the disc in your media player.
- "Just generate" - the project will be saved to the hard disk in DVD Folder format; the project can be burned to disc later.
- "Create iso image" - The image (ISO file) of the DVD will be saved to your computer's hard drive. The image can be burned to disc or shared.
- Burn - The project will be burned to a blank DVD. This disc can be played on any DVD player that is compatible with DVD-R / RW discs.
Method 3 of 3: How to burn an image disc (ISO file)
 1 Insert a blank DVD. An ISO file is an image of a disc, namely an exact copy of it. If you burn the image to a disc, that disc will be a copy of the original disc. For a disc to be a copy of the original disc, the ISO file cannot simply be copied to the disc.
 - Windows 7 has a utility for burning ISO files to DVD discs.
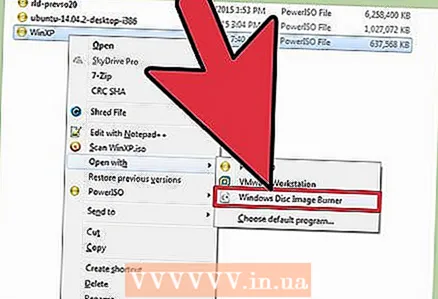 2 Right click on the ISO file and select Burn Disc Image from the menu. The Burn Disc window will open.
 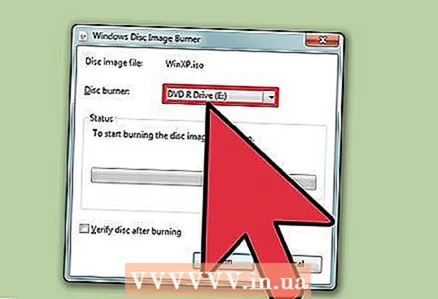 3 From the Drive menu, select an optical drive with a blank disc. Do this if your computer has more than one DVD drive.
 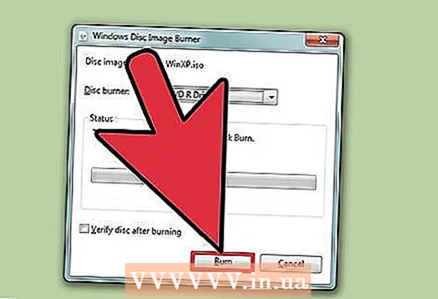 4 Click Burn to start burning the image to disc. When the process is completed, you can check the quality of the recording, but it will take time, and you still cannot fix the failed recording. The burning process will take some time, depending on the size of the ISO file and the writing speed of your DVD drive.
 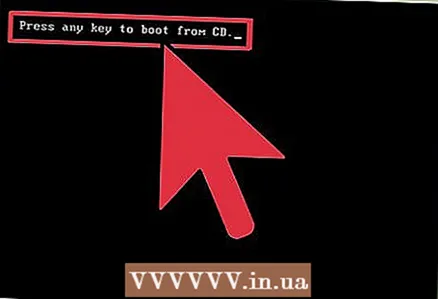 5 Use a burned disc. It is an exact copy of the source of the image. For example, if the ISO file was created from a Linux installation disc, the disc you burned is bootable and can be used to install or run Linux.


