Author:
Helen Garcia
Date Of Creation:
16 April 2021
Update Date:
1 July 2024
Content
- Steps
- Method 1 of 4: Planning Knitted Graffiti
- Method 2 of 4: Create knitted graffiti
- Method 3 of 4: Assembling the knitted graffiti
- Method 4 of 4: Enjoy the Results
- What do you need
Street knitting is a new, cozier alternative to graffiti and other street art. If you have a knitting talent, you can now use it to add some color to your boring, unremarkable neighborhood.
Steps
Method 1 of 4: Planning Knitted Graffiti
 1 Learn what street knitting is. Also known as yarn bombing, street knitting is one of the newest trends in street art. The Bomber chooses a simple street object and displays his original piece of yarn (knitted graffiti) on it.
 - Usually objects of street knitting are created with knitting needles or crocheting, however, in principle, this does not have to be just knitting - just any form of street art using yarn. It can be carpet technique, and cross stitching, or simply wrapping with yarn.
- The phenomenon itself originated in 2004 in the Netherlands. Since then, it has spread throughout the world, but mostly limited to large cities.
 2 Find ideas. If street knitting is common in your city, you can get inspiration from local artists. If yarn-bombing objects are rare in your area, you can look up photographs on the Internet for ideas.
 - Popular 3D objects include trees, road signs, and statues. For smaller scale objects, try rocks or pine cones.
- Common 2-D street knitting objects include hedges and benches.
 3 Find an object for street knitting. Look around for simple objects that can benefit from a little yarn bombardment. You can start from your own backyard or venture out into the surrounding area.
 - Look around the house. Pay attention to the objects that you pass along the street every day, and choose one of them. Street knitting near home is easier to plan, and once set up, the finished piece is easier to observe.
- Choose a feasible goal. If you're just starting out, you should probably avoid tying around intricate statues or other objects that require massive effort. Start with something simple. If you do it successfully, you will gradually be able to move on to more complex projects.
- Make sure you can secure the knitting to the object so it doesn't fall off. On the tree, horizontal branches will prevent it from sliding down. For the road sign, however, you will need to figure out how to secure the additional strands to the post by threading them through the holes or wrapping them around it to prevent your piece from falling.
 4 Get the required permission. If you plan to do street knitting on your property, you will not need any permission. However, permission from the relevant sources will be required to display your work in private or public property.
 - The element of surprise will make the whole project more fun, but those who need to know about it should be warned in advance.
- Ask your neighbor's permission to decorate his tree with knitted graffiti.
- Ask for permission from the building owner or your boss to tie the signs in your company parking lot.
- Ask for permission from your local government to place your piece on a city park bench or in a municipal parking lot.
- The element of surprise will make the whole project more fun, but those who need to know about it should be warned in advance.
 5 Plan to remove your work afterwards. Knitted graffiti is a piece of art that does not imply permanence. When you plan to create your work, you also need to plan when and how you will take it away.
 - Even the best street knits have a limited lifespan. Rain, wind and dirt will quickly get to the object, and it will get dirty and frayed in a matter of weeks.
- To keep your work beautiful and free of complaints, it is best to schedule removal before it loses its attractive appearance.
Method 2 of 4: Create knitted graffiti
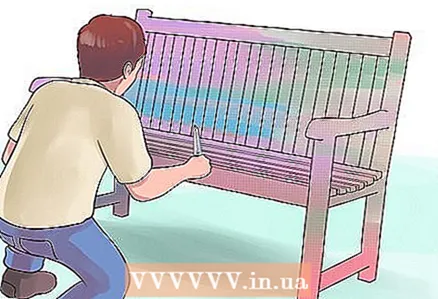
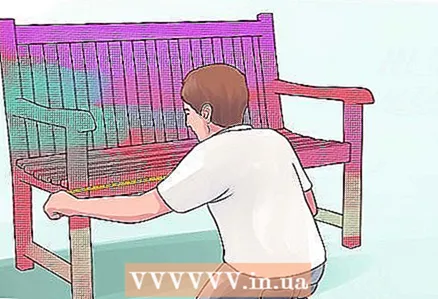 1 Take measurements. Go to the object that you are going to tie and measure it with a measuring tape. For the product to fit it, the measurements must be accurate.
 - For 2D objects such as fences and benches, you need to measure the width and height.
- For 3D objects, you need to measure the width, height, and depth. If the object has a circular cross-section, the girth is measured instead of the depth.
- Measure every part of the object that your project will include. For example, if it's a tree, measure the trunk and all the branches you will be placing your work on, as well as the distance between the branches. If the trunk or branch has a different girth in different places, measure each piece separately.
- Use a woven tailor's tape. This tape has great flexibility, which is valuable for measuring irregularly shaped objects.
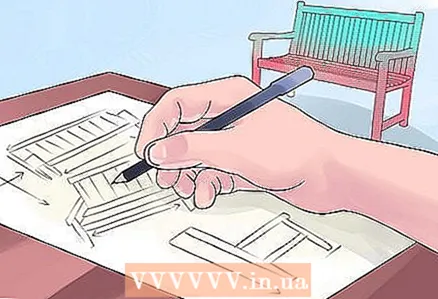 2 Draw an outline of the object. Sketch the object on a piece of paper and sign all the necessary measurements in the appropriate places. This diagram will help you determine how many parts the finished piece will consist of and how they will be connected together.
 - Some people find it easier to measure everything first and then draw a diagram, others prefer to first draw the object and then plot the measurement results on the drawing. Proceed in the order that is most convenient for you.
- It will be useful for you to have several copies of the diagram. This will allow you to sketch out various design ideas while keeping a record of all measurements.
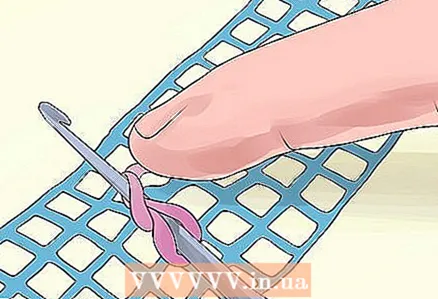 3 Decide which technique to use. As noted in this article, knitting or crocheting are the most common techniques, but you can use any yarn-based technique. Just choose what you like best.
 - If you are creating crochet graffiti on a 3D object such as a tree, road sign, stone, or sculpture, the easiest way is to crochet or knit.
- If you are bombing an object with a lattice structure, such as a wire fence or a metal bench, cross stitching or a carpet technique is best.
 4 Think over the design of the piece. When you have imagined the technical side of the project, you need to think about the aesthetic, artistic component. Think about what colors and patterns you want to use.
 - In theory, you could knit a solid color, but the most notable knitted graffiti often combine a variety of colors in a simple or complex pattern. When using different shades, make sure they match. It's also worth considering whether these colors will look good where you end up posting your work.
- Ask yourself why you are creating knitted graffiti. If you have a specific theme or message in mind, the design should reflect that theme.
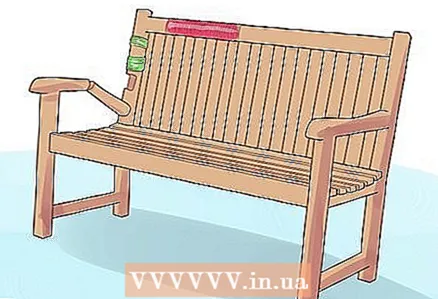
- Decide whether your work will be one large canvas or sewn from separate parts.In the second case, decide what color each part will be and sketch how they will look together. Calculate the dimensions of all parts before starting to manufacture them.
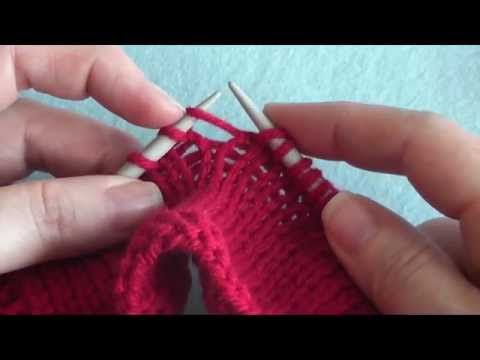
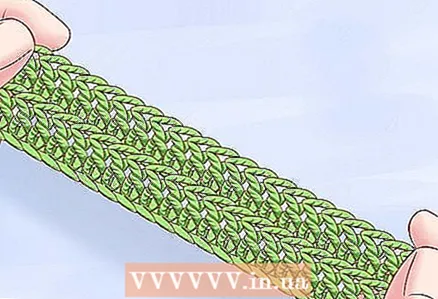
 5 Create a knitted graffiti. When you have all the sizes and the design is invented, it's time to start needlework. You will make each item separately and away from the object on which your work will be placed.
 - You will crochet or knit 2D fabrics, which you will then wrap around 3D objects for the final 3D result.
- If you have chosen carpet technique, cross stitching or yarn wrapping, you will not do anything in advance. With these methods, creating the graffiti is the same as installing it.
- Measure each finished item to make sure it matches previous measurements and calculations.
- If your piece consists of a large number of pieces, you can sew them in advance if together they should form a single two-dimensional canvas.
Method 3 of 4: Assembling the knitted graffiti
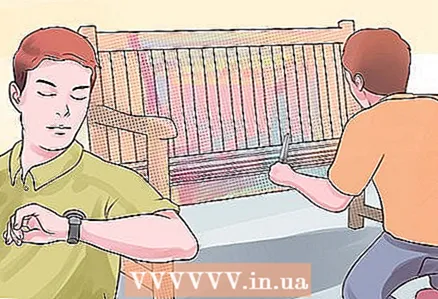
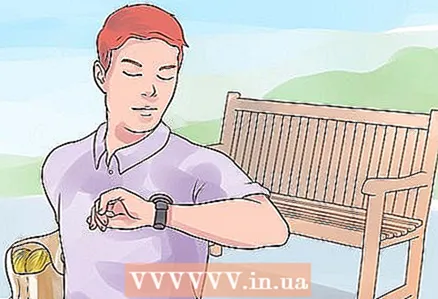 1 Choose the best time. Sometimes it is better to place your artwork (that is, wrap or tie an object) in daylight. Otherwise, you may prefer night hours, when there are fewer people around and you will not be disturbed.
 - Doing yarn-bombing in the daytime can hardly go unnoticed, but if secrecy is not important to you, you will have a better view of what you are doing in the light.
- If you want to remain anonymous, choose a time when there are very few people on the street. This usually means bombing at night.
 2 Take whatever you need. In addition to your knitwork and the tools for assembling it, it is worth bringing a couple of assistants with you.
 - To wrap the object in knitted graffiti, you will need a yoke needle, matching yarn, and scissors. If you are going to be doing carpet or cross stitching, use the tools that are usually required for such needlework.
- Capture your diagram to refer to as you work.
- If you need to climb to a height, bring a ladder; don't forget the flashlight at night.
- Even if you think you can handle it alone, in the evening or at night it is wise to bring at least one friend with you.
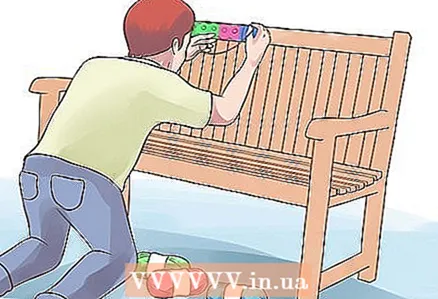 3 Wrap each piece around your subject. Referring to your diagram as a guide, wrap each part of your artwork around the corresponding part of the object. Temporarily secure the parts with safety pins until you place them all in the correct order.
 - Whether you are cross stitching, using a carpet technique, or simply wrapping yarn around an object, you will not have pre-prepared pieces to "slip" them onto the object. Instead, you will create your artwork directly on the object, like on an embroidery canvas.
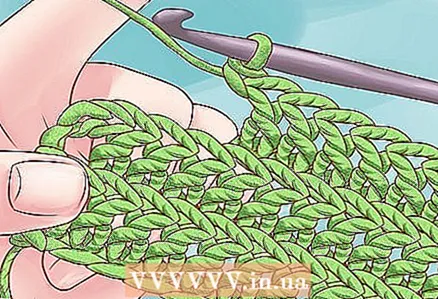
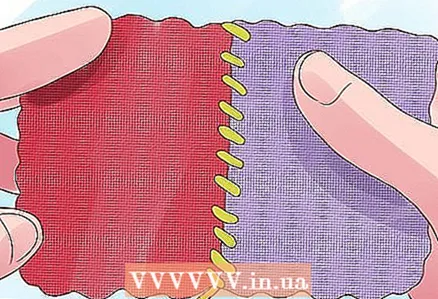 4 Sew the details of your piece. Use a yarn and a yoke needle to complete any required seams and secure the knitted graffiti in place. When you're done, you can remove the pins that held the pieces together in the previous step.
 - To make the process easy and quick, make simple stitches. For example, an over-the-edge seam is a good choice.
 5 Never spoil any property. It is extremely important not to cause any damage to private or city property in the process of creating knitted graffiti.
 - In addition to caring for your property, be it a bench or a road sign, you should also not harm plants or animals.
Method 4 of 4: Enjoy the Results
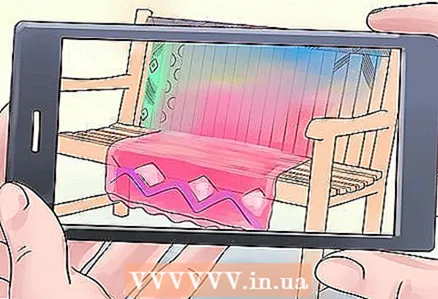 1 Take pictures. Photograph the process and the final result. If you are placing knitted graffiti when it is light outside, take a picture of it as soon as you finish assembling it.
 - After placing your artwork on a street object, take a photo of it as soon as possible, before nothing spoils it.
- If you want to remain anonymous, do not advertise that you are the author of knitted graffiti on any site, including pages on social networks with strict privacy settings. If you absolutely need to claim authorship, do so after you have removed your work.
 2 Check your knitting later. Return to knitted graffiti in a few hours or days. Anonymous observation from the outside will help you find out how people on the street who see it for the first time react to your art object.
 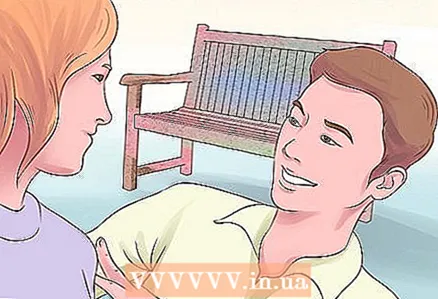 3 Ask for feedback. Anonymous feedback is great, but it is worth asking for the opinion of those who know that it is you who created the work of street knitting.
 - It is best to start with those who already knew that you were going to knit graffiti, or with those who can keep your authorship a secret.
- After you have removed the knitted graffiti or have had enough fun out of the ignorance of those around you, you can start asking the opinions of friends and strangers. Ask both those who are passionate about art and those who just passed by.
 4 Get your work cleaned on schedule. As we noted earlier, knitted graffiti does not imply permanence. It is better to take it off before it finally loses its attractive appearance.
 - Keep in mind that someone can remove your work before you do. People who are annoyed with knitted graffiti may cut it off prematurely. City officials may also decide to remove your artwork if they receive complaints or think the yarn gets too dirty.
 5 Have fun with all your actions. One of the main purposes of street knitting is to revive the monotony of gray everyday life with bright colors. If your own life is not brightened by the fact that you are doing it, the most important component of the whole process is lost.
What do you need
- Yarn
- Scissors
- Clamp needle
- Tape measure
- Paper
- Pencil
- Crochet hook, knitting needles, carpet needle, cross stitch needle
- Camera


