Author:
Eric Farmer
Date Of Creation:
8 March 2021
Update Date:
1 July 2024

Content
- Steps
- Part 1 of 3: Preparing the roof
- Part 2 of 3: Installing three-leaf shingles
- Part 3 of 3: Installing ridge tiles
- Tips
- Warnings
- What do you need
Self-installation of a new tile will significantly save your time and your money, you can do it professionally. Replacing the shingles on your roof can help keep your home in good shape and protect your family and roof structures. Learn how to prepare the roof for shingles, take courses and lay the shingles as well as the professionals. See Step 1 for more information.
Steps
Part 1 of 3: Preparing the roof
 1 Get the right amount of shingles for the job. Covering 100 square feet (9.29 square meters) typically requires three bundles of shingles. Shingles are usually sold in packs of three. Measure your roof and buy the required amount.
 - Measure the length and width of the individual roof sections by multiplying them. Add the areas of the individual parcels together, and then divide the total by 100 to get the number of squares you want. Multiply this number by 3 to get the number of packs you will need to buy.
 2 Measure the length of the shingles with a tape measure, determine how the shingles will fit on the roof. Most shingles are 3 feet (91.4 cm) long. If your roof width is not a multiple of the length of the shingles, you will need to trim the final shingles at one end of each row.
 - When laying the bottom row of shingles, stick to the edge of the roof. For a wooden roof, you will have to trim the shingles that extend over the edge to create a straight line during installation.
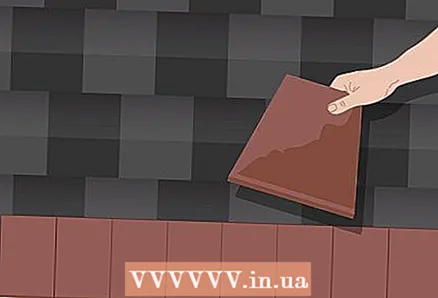
 3 Remove old shingles and edging (metal strips and terminal seals). Begin removing the shingles from the edge of the roof or the corner farthest from the dumpster. To pull off old shingles quickly, use a garden forks or a roof shovel, or use a hammer to clean them more thoroughly.
 - Remove nails and loose skate elements. It's ok if you don't remove all the nails at once, you will have the option to go back and remove them.
- Remove the metal trim around pipes, vents and roof gutters. The edging in the grooves will almost always be badly damaged. Some roofers leave edging in good condition, but it is best to throw it away if you can.
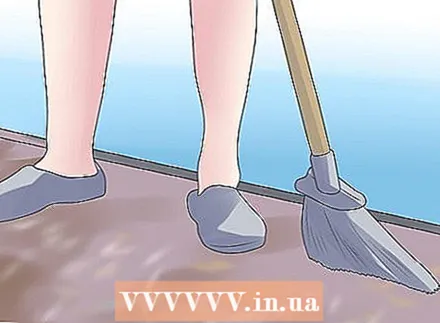 4 Clean the roof. Sweep debris off the roof as carefully as possible. Remove nails that you haven't removed earlier. Secure the boards that are loose. Inspect the battens for damage and rotten boards, replace damaged areas.
 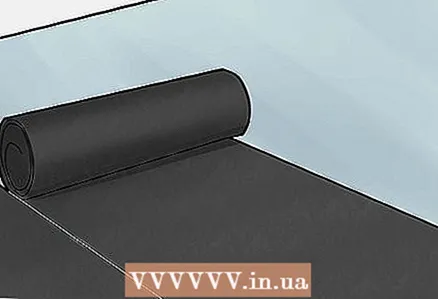 5 Install the underlay and new edging. Place roofing paper, felt paper or special waterproof underlayment over the roof. Some roofers will use 15 lb (6.8 kg) roofing felt, which is an effective method. Do not feel sorry for the staples when attaching felt to the roof. Use "tin covers" under the brackets if the roof can be exposed to wind.
 - Use duct tape for ice and water protection as an underlay where water and ice are most likely to enter, where there are gutters and where the roof is in contact with the wall (wide metal edging can also be used there).
 6 Install new edging. Nail the new edging along the outer edges of the roof.
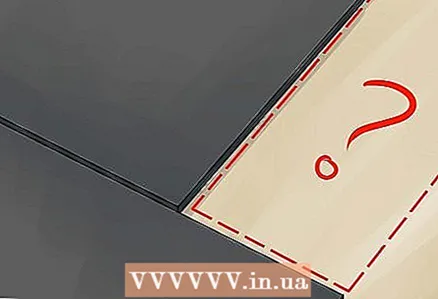
Draw a line with chalk 7 inches (17.8 cm) from the bottom edge. Draw a line from the left to the right edge of the roof so that it is visible immediately above the next row, like a guidebook.Continue drawing additional lines for at least 4 more rows across the roof.
Part 2 of 3: Installing three-leaf shingles
 1 Prepare the petals, lay the first row. Cut the petals from the beginning (bottom row) of the shingles for a special occasion to start with. You will be installing the tiles above this layer so that the bottom layer is double the thickness.
 - Instead of trimming 3 petals, you can install the shingles so that the inner layer of the shingles turns to face your first row. Using a different method, overlay a hard edge on the cornice, cutting six inches from the length of the outermost (row zero) shingles to prevent the slots from overlapping in one row so that the bitumen paper is not exposed through the slot of that bottom row.
- When nailing down eaves (petalless shingles), apply bitumen glue by applying it with a gun in a continuous line along the eaves along the edge, then press down the shingle sheet along the bitumen glue line. A continuous layer of bituminous adhesive will protect the roof from condensation, wind and water.
 2 Cut five different lengths of shingles for the eaves. To make sure you have the correct dimensions and the correct markings, cut a few of the correct sizes from the three sheets of shingles you purchased. Cut half the width of the petal of the first shingle to start the first row. Each cut must be offset 1/2 of the petal width to offset the tile top and bottom slots. Store all waste, especially any single petals for use on the roof ridge. Adjust the shingles as follows:
 - Cut half the petal for the first row of shingles,
- Cut off a whole petal for the second row of shingles
- Cut one and a half petals for the third row of shingles,
- Cut off two petals for the fourth row of shingles
- For the fifth row, half a petal is needed
- For the sixth row, we do not cut the petals
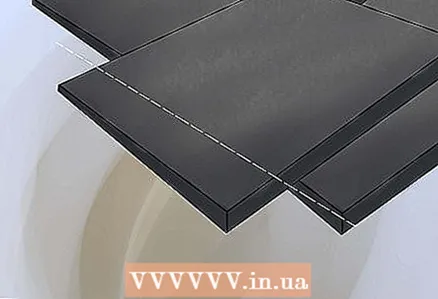
 3 Start laying the rows. Nail the cut tile back into place, about 15 centimeters from the bottom edge. Drive one nail 5 centimeters from each edge of the sheathing and a second nail about 2.5 centimeters above each cutout.
 - The next shingle that is installed higher should cover the nails by about 2.5 centimeters vertically. Horizontally the end nails will be covered by an offset of ½ the petal width of the top row shingles. Make sure the nails secure the top edge of the shingles.
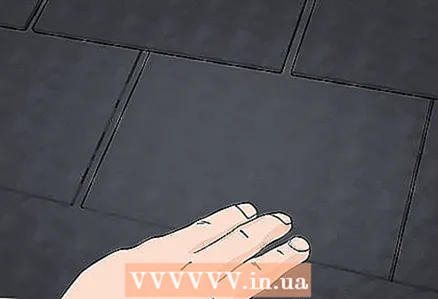
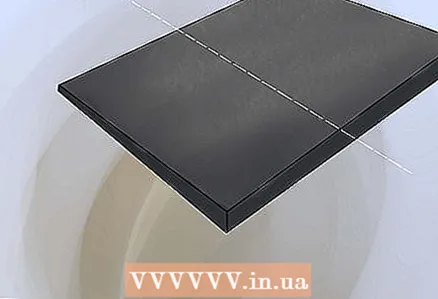
 4 Nail a whole sheet of shingle over the cut piece. Repeat this process to install the shingles all over the roof, laying the shingles from left to right, following the chalk line so that the shingles lay flat.
 - Use 4 nails to fasten the shingle sheet, the upwind side shingles are fastened with 6 nails. Some local regulations require the shingles to be fastened with 6 nails across the entire roof area.
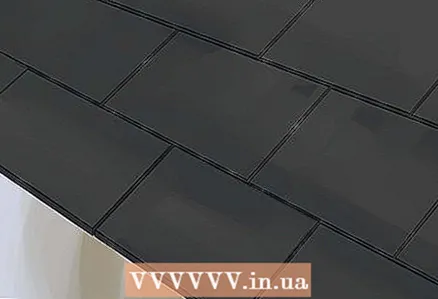
 5 Cut the last shingle to the size you want when you get to the end of the row. You can nail down and then cut off the excess shingles. Continue this process five rows in a row, and then start the same process over, similar to the first row, starting with a whole sheet of shingles and sticking to the chalk markings. Repeat all the steps in sequence to the very top.
 - If it is a hipped roof, it is necessary that one shingle sheet overlaps the next shingle on the roof ridge for this joint to seal the ridge.
Part 3 of 3: Installing ridge tiles
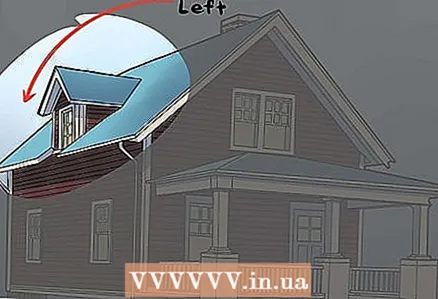
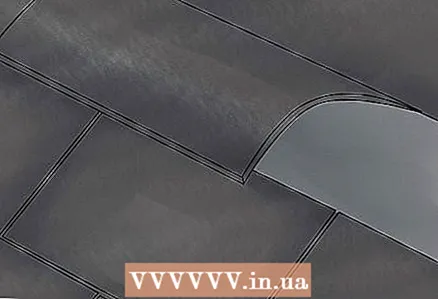 1 Take the last action. Bend the last row of shingles over the ridge about 6 inches to one side and secure the shingles by bending it over to the other side, covering the roof ridge with the shingles, with the nails covered by the shingles, do not leave them exposed.
 - Single leaf shingles (or ridge shingles) are designed for the ridge. Starting at the edge, place a bead of bituminous glue under the first shingle sheet and hold the shingle sheet.The bottom row nail heads will be closed by the edge of the next shingle with an overlap of about an inch horizontally and vertically.
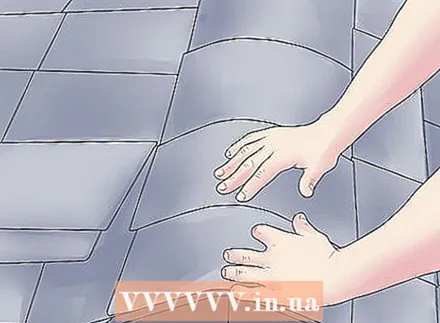 2 Install ridge shingles. Spread with bituminous glue, from one edge to the other, fasten the shingles with nails on both sides as before. Cut off the excess shingles when you get to the other end.
 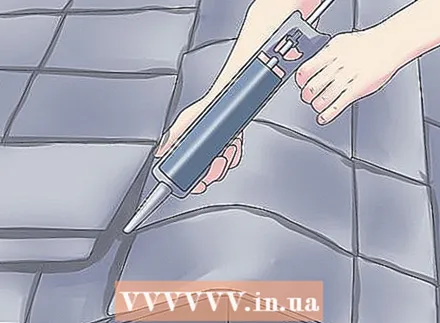 3 Apply bituminous glue. Apply bituminous glue around the perimeter of the last row, around the nails. Apply glue to the four corners of the skate.
 - Also apply bitumen glue to the nail heads used to fasten the roof tiles to the ridge to prevent precipitation from leaking.
Tips
- There are also "non-leaf" tiles (with laminated "wood-look" layers), not three-leaf tiles, but installing them still requires the preparation of tiles in 5 different lengths.
- Before proceeding with the installation of shingles, place the shingles over the roof so that the work proceeds non-stop.
- The quality of the bedding material (bitumen paper), which acts as an additional waterproofing layer, is very important for the roof.
- Remove the protective film from the shingles that keeps them from sticking together in the bag if you want them to stick well together. It is most effective against hurricanes with wind speeds of around 60 miles per hour, as in the tornado alley and on the Gulf Coast. Removable protective film improves back adhesion; however, some roofers believe that the adhesive on the top of the shingles not covered by the protective foil is sufficient to keep the protective foil in place! However, removing the strip doubles the amount of adhesion between the tiles and increases the width of the bonded surface. At the very least it is necessary to remove the strips from the windy side of the roof.
- Some experts recommend starting in the middle of the row to be able to work two workers in different directions in the same row to achieve a more balanced robotic regime. This is a good suggestion anyway.
- There is a smaller dotted line that is not always covered with plastic tape, which helps on the edge of the shingles, but the main sticky strip is 2 or 3 times larger, thus stronger and should always be covered!
Warnings
- "Cheap or fast" roofers do not remove the protective film from the shingles that covers the "sticky" area, resulting in shingles not sticking and often breaking and blowing away in strong winds over 40 miles per hour.
- Note: On steep rooftops, metal strips must be nailed down for roof walking to hold you and the scaffolding and harness.
- Hot weather: Do not try to install shingles and walk or stand on them during hot weather. This can damage the tiles. You can work half a day starting early.
What do you need
- Roofing hammers
- Nail gun / stapler
- a piece of chalk
- Edging
- Bitumen glue gun
- Ladders and / or scaffolding
- Air compressor
- Roofing Nails Clip-on Air Gun
- 5/8-inch (1.6 cm) nails / staples
- 1-inch (2.5 cm) roofing nails
- Bitumen pipes
- 15 lb. roofing felt (6.8 kg)
- Metal edging (cornice strips)
- Sufficient 3- or 4-piece shingles to complete the roof
- Ridge bitumen shingles


