Author:
William Ramirez
Date Of Creation:
15 September 2021
Update Date:
1 July 2024

Content
In this article, we'll show you how to print only certain cells of Google Sheets on your computer.
Steps
 1 Go to the page https://sheets.google.com in any web browser. If you are not logged in yet, please do so now.
 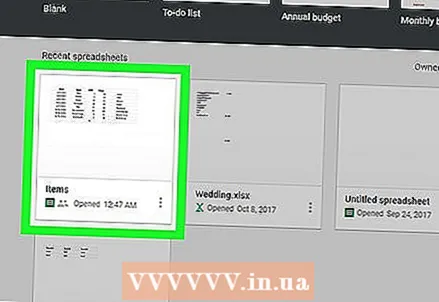 2 Click on the required table.
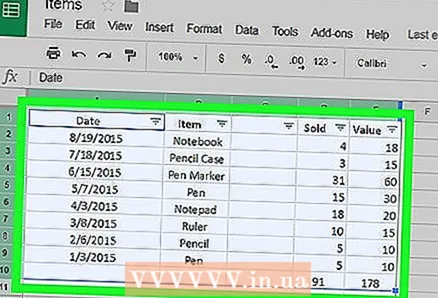 3 Select the required cells. To do this, click on the first required cell and, while holding the left mouse button, move the mouse pointer over other required cells.
 - If you want to select multiple lines, hold down the left mouse button and move the mouse pointer over the line numbers on the left side of the screen.
- If you want to select multiple columns, hold down the left mouse button and move your mouse over the column letters at the top of the screen.
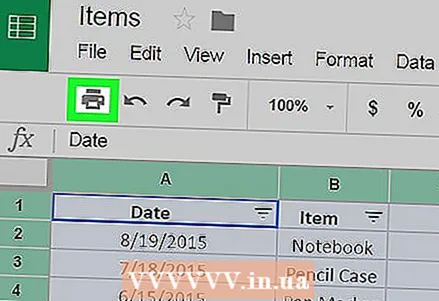 4 Click the printer icon. You will find it in the upper left corner of the screen. The Printing Preferences page appears.
  5 Click on Selected cells in the Print menu. You will find it in the upper right corner of the Printing Preferences page.
 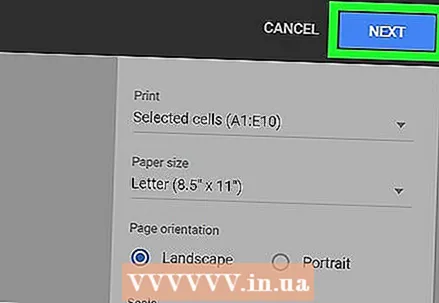 6 Click on Further. You will find this button in the upper right corner of the page. The "Print" window appears, which interface depends on the operating system or printer model.
 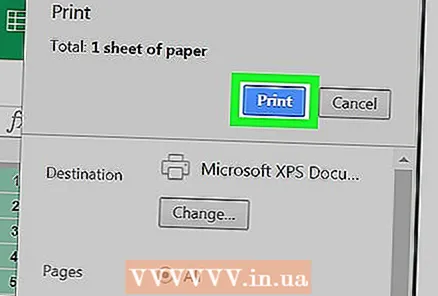 7 Click on Seal. Only the selected cells will be printed.
 - You may need to select a printer first.


