Author:
Helen Garcia
Date Of Creation:
19 April 2021
Update Date:
1 July 2024
Content
- Steps
- Method 1 of 3: Preparation
- Method 2 of 3: Side-to-Side Wheel
- Method 3 of 3: Wheel Forward and Backward
The wheel is a basic and well-known gymnastic element that will strengthen your upper torso and pave a path for you to perform more challenging movements. There are two main types of wheel: a side-to-side wheel and a forward or backward wheel. If you want to learn how to make a wheel, then follow these steps.
Steps
Method 1 of 3: Preparation
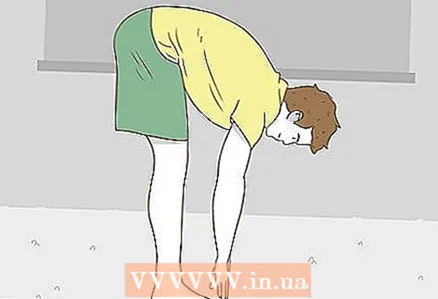 1 Stretch. It is very important to stretch your muscles before attempting the wheel. To begin with, you should stretch your wrists, ankles, as well as your hamstrings and inner thigh muscles, taking a sitting position and spread your legs apart, after which you should bend first to one leg, then to the other, and then forward, trying to place your chest on the floor. Spend a few minutes stretching your wrists by extending one arm forward and pulling the fingers of that hand towards you with the fingers of the other hand. Place your toes firmly on the floor and rotate your feet first with one foot and then with the other.
  2 Make sure you have enough space. The beach, lawn, gymnasium are great places to practice this element. It is best to first train on a soft surface such as a gym mat so you don't hurt yourself. If you only have the opportunity to train at home on the carpet, then remove all foreign furnishings from your path so as not to bump or cut yourself.
  3 Imagine a straight line on the floor. Both of your feet should be on this line. Your hands will also land along this line. If you feel that there is no way you will be able to complete the straight wheel, then just forget about this line and follow the steps below.
Method 2 of 3: Side-to-Side Wheel
 1 Take the correct starting position. Face to the side instead of in the direction of your intended movement. Place your feet shoulder-width apart and raise your arms up, palms facing forward. Keep your elbows in a straight position to avoid hitting your head on the floor when performing the wheel, and prepare to bend your arms at the wrists while placing your palms on the floor.
 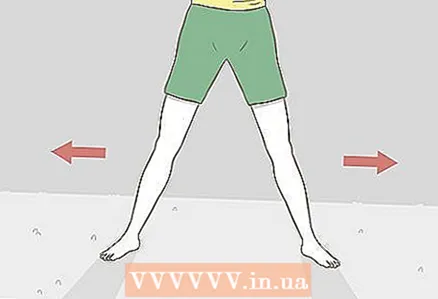 2 Decide on the side of the movement: left or right. You should decide what is more convenient for you. Although the choice of, for example, the right side may be influenced by the fact that you are right-handed, the working side of the body will not always coincide with the more comfortable side for the wheel.
 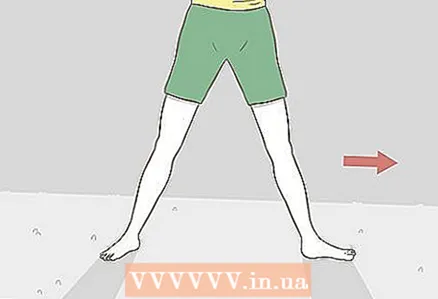 3 Extend the toe of the leg towards which you want to make the wheel. Rotate the other foot slightly outward to improve balance.
 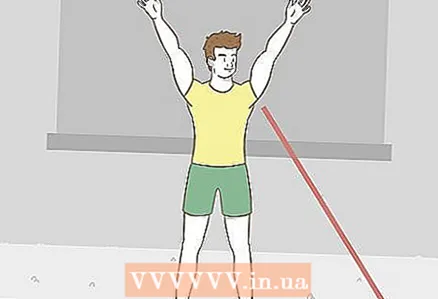 4 Look down at the point where you are going to place your arms, which will help you aim correctly and stay focused.
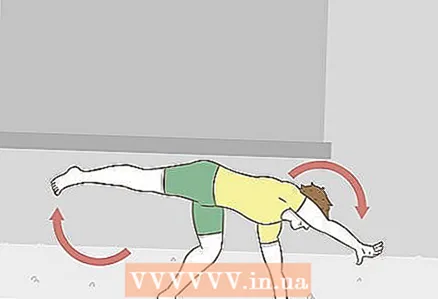 5 Place your dominant hand on the floor in front of you as you move your torso to the other side. If you started with your left foot, then run your left hand down before it touches the ground with your palm flat. When your first arm goes down, the opposite leg should go up.The leg that you originally straightened will come out last. Your second hand will touch the floor immediately after the first hand. Hands should be shoulder-width apart.
 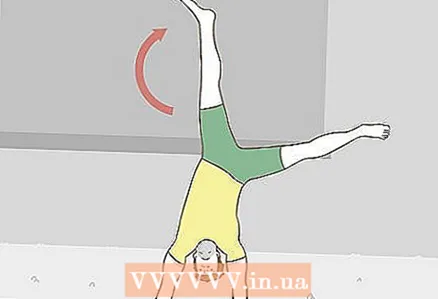 6 Place your other hand on the ground and extend your leg up. Push off the floor well. You will need to balance your arms, using your shoulders and torso for support, as in a handstand; the legs are in the shape of the Latin letter V. Remember that you will not need to maintain this position in a stationary state, as the wheel assumes a smooth and continuous movement.
 - Your arms should be straight, tied and stable.
- Drop your hips over your shoulders and keep your torso straight.
 7 Land on your non-dominant leg. While the arm with which you started the movement is lifted off the floor, the opposite leg should move down, just like your other arm along an imaginary line. Keep in mind that while you swing each leg towards the floor, you will have to bend your knees slightly on landing.
  8 Remember the basic rule of the order of the limbs on the floor when performing the wheel: hand, hand, foot, stop.
 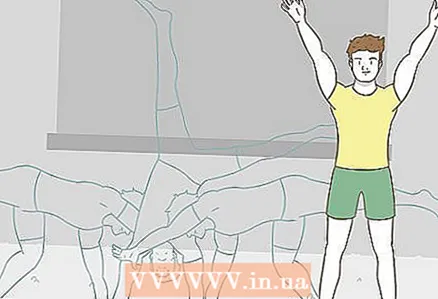 9 Practice. Practice the wheel as much as you like. You will need a lot of work and diligence to achieve pleasant results for yourself. Once you have mastered the wheel from side to side, you can start trying to execute the wheel forward or backward. Some people jump straight to the wheel forwards, a standard gymnastic element that is more difficult than the usual wheel to the side.
Method 3 of 3: Wheel Forward and Backward
 1 Start from a lunge position. Get into a lunge position by extending your arms straight above your head. Decide on a leg that is more comfortable for you. The moment your body leans forward, it should form a straight line from your fingertips to your heels.
 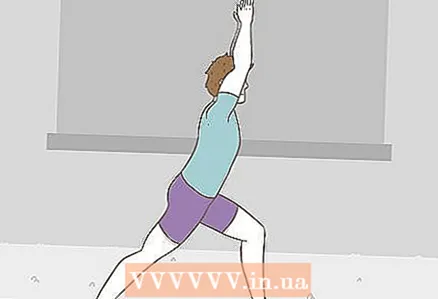 2 Imagine a line going straight ahead of you. When preparing for the wheel, you can turn your shoulders slightly to the side, instead of pointing them straight ahead.
  3 Place your dominant hand on the floor in front of you before you start to roll with your head down.For example, if you start leading with your right foot, bring your right hand down until it touches the ground far in front of the distance that your right foot extended. As you swing your hand, your left leg should begin to go up. Just push off your back leg for support.
  4 Place your other hand on the floor about 30 centimeters from the first hand on an imaginary line. To better prepare for the second part of the element, try to place the first hand perpendicular to the imaginary line, and the other hand should be parallel to this line, facing inward towards the first hand. While your other arm is swinging downward, your front leg is swinging upward.
 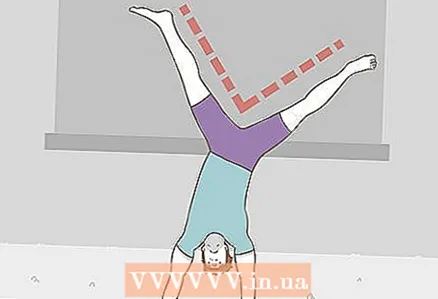 5 Stretch your legs apart in the air. As soon as both hands touch the floor, you will have to balance on your hands, using your shoulders and torso for support, as in a handstand, legs - in a Latin letter V. Remember that you will not need to keep this position still, since the wheel assumes a smooth and continuous movement.
 - From this point on, you should start thinking about how to get out of the position on your hands and land back on the floor, but already in front of the starting point.
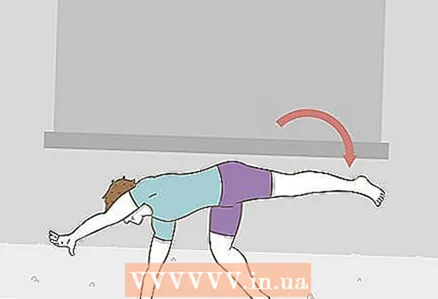 6 Shifting with your shoulders like a spring, push yourself up and forward off the floor, bringing your legs forward to land.
 7 Straighten back into a small lunge position. Your arms should now be above your head, and your face should be looking forward in the same direction as at the beginning.
 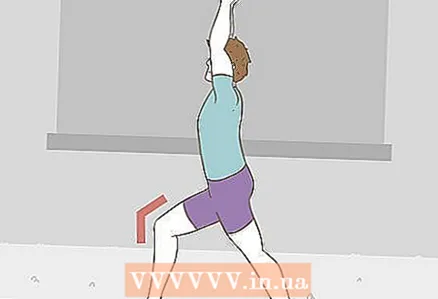 8 Move one leg back to help you balance and give your wheel a boost. Your front leg should be at a comfortable distance from your back leg, and your front leg should be bent at the knee.


