Author:
Ellen Moore
Date Of Creation:
15 January 2021
Update Date:
2 July 2024
Content
- Steps
- Part 1 of 3: How to open the case
- Part 2 of 3: How to install the card
- Part 3 of 3: How to connect your speakers
Want to improve the sound on your computer? Older computers needed sound cards to connect speakers, but most new computers come with built-in audio cards. If you work a lot with sound or just want to improve its quality, install a sound card.
Steps
Part 1 of 3: How to open the case
 1 Make sure you need a sound card. The motherboards of most modern computers have a built-in sound card.To check for a built-in sound card, look for the speaker connector on the back of your computer case. A sound card is necessary for those users who work professionally with sound or want to achieve the best sound quality. Also, an old computer that does not have a built-in sound card may need an audio card.
  2 Turn off your computer and disconnect all cables from the computer. Now move the computer case where it will be convenient to open it. Lay the chassis on its side with the connectors on the back close to the tabletop. The connectors are located on the motherboard, so if they are close to the desk surface, you can access the motherboard when you open the case.
 - Do not place your computer on carpet.
 3 Remove the side panel of the case. Most new cases have thumb screws, but you may need a Phillips screwdriver. The screws are located on the back of the case. Remove the side panel that is on the opposite side of the motherboard.
 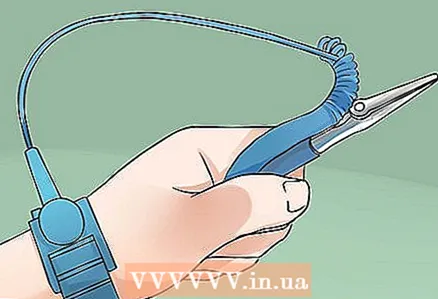 4 Ground yourself. Always ground yourself when working with computer accessories. To do this, use an anti-static wrist strap or simply touch the metal water faucet to get rid of static electricity. Failure to ground can damage computer components.
 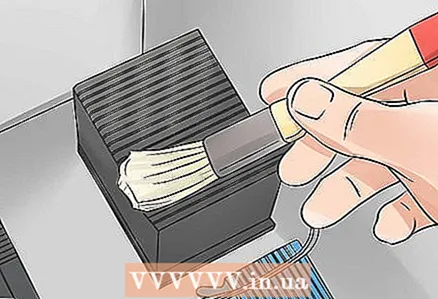 5 Get rid of dust. Since the case is open, use this to remove dust. Excessive dust can cause the computer to overheat and damage its components.
 - Use compressed air to remove dust. Remember to clean the corners and grooves.
Part 2 of 3: How to install the card
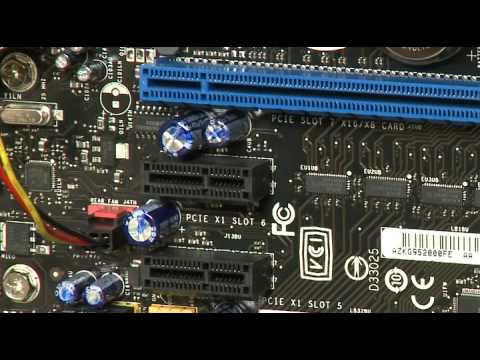
 1 Find PCI slots. Additional cards are installed in them. As a rule, there are from one to five such slots and they are white. The PCI slots are located opposite the removable panels located on the rear of the chassis.
 - If you can't find the PCI slots, check your motherboard manual. It can be found online if you know the model number of your motherboard.
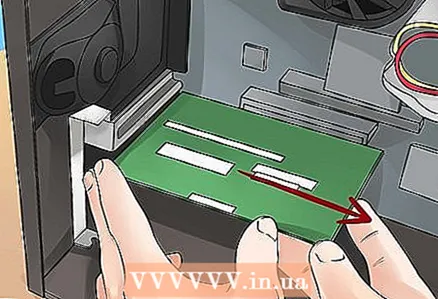 2 Remove the installed sound card (if necessary). If you are replacing an old card, remove it first. If you install two audio cards, they will conflict. Unscrew the screw that secures the card and remove the card from the slot.
 - You may need to disconnect your sound card from the optical drive.
- Make sure the speakers are disconnected from the old card before removing it.
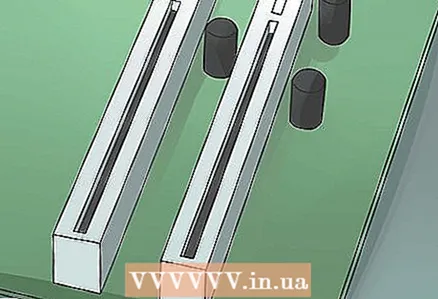
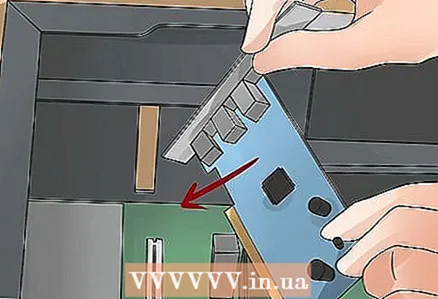 3 Install a new card. Remove the corresponding cover plate on the back of the case if this is your first time installing a card. Make sure that the connectors on the slot line up with the contacts on the card, and then press down on the card without using excessive force. Make sure the card connectors are clearly visible on the back of the case.
 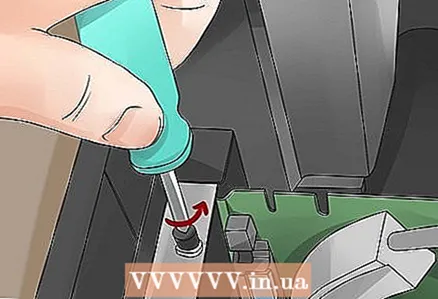 4 Secure the card with the screw. Install one screw in the metal bracket that secures the card to the computer. Do not over-tighten the screw, but make sure the card is well seated.
  5 Connect your sound card to your optical drive (if you like). Some older audio cards can be connected to a CD / DVD drive using a small cable. This does not have to be done on new computers, as this connection is now built into the computer hardware.
 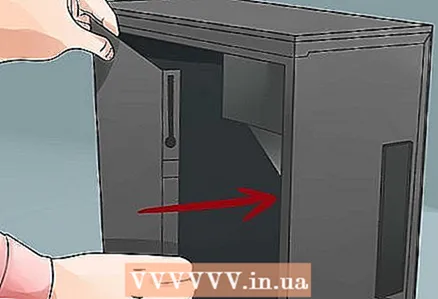 6 Close the case. Replace the side panel and fix it with the screws. Now connect all cables to the case.
Part 3 of 3: How to connect your speakers
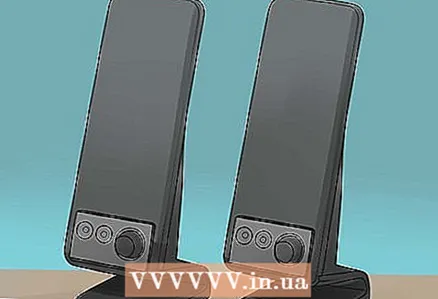 1 Place your speakers. Place them near the computer. Make sure the left and right channels are positioned correctly. Do not place the subwoofer in a corner or near a wall.
 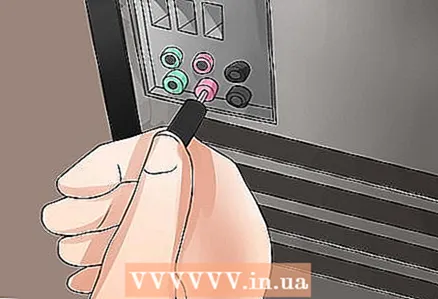 2 Connect your speakers to your sound card. Look at the connectors on your sound card - they are color coded to match the colors of the speaker cables.
 - Green port: for connecting front speakers or headphones.
- Black port: for connecting rear speakers.
- Silver port: for connecting side speakers.
- Orange port: for connecting a subwoofer.
- Pink port: for connecting a microphone.
 3 Turn on your computer. Wait for Windows to boot. The sound card should be automatically detected by the system, which will install the drivers.
 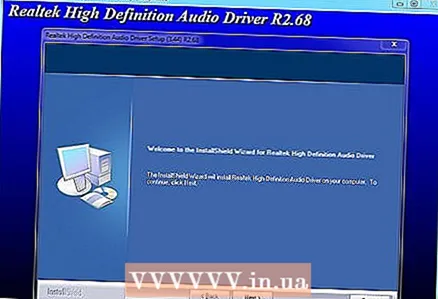 4 Install sound card drivers. If Windows cannot install the correct drivers for your sound card, do it manually. Use the driver disc that came with your sound card, or download them from the audio card manufacturer's website.
  5 Test the speakers. Turn on your speakers / subwoofer and turn up the volume. Click on the "Speakers" icon in the system tray. Move the slider up to hear sound from the speakers.
 - If there is no Speakers icon, the sound card is not installed correctly. In this case, reinstall the drivers.


