Author:
Sara Rhodes
Date Of Creation:
12 February 2021
Update Date:
2 July 2024

Content
In this article, you will find an easy way to create a table in Adobe Illustrator.
Steps
 1 Select the "Rectangle Tool" from the toolbox.
 2 Click in the document margin and drag to create a rectangle of the desired proportions. (You can resize it later with the Scale tool.
 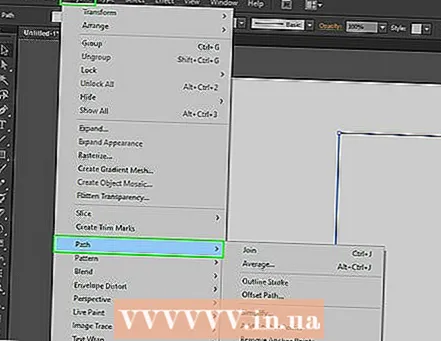 3 Without deselecting the rectangle, go to the "Object" menu, scroll down to the "Path" item and select the "Split to Grid ..." sub-item. Do not click in the document field outside the rectangle, otherwise the required command will not be available, and this step will not work.
  4 Set table parameters. Check the "Preview" checkbox to see the results of changing each setting, then set the desired number of Rows and Columns. To remove white space between table cells, set 0 in the Amount field to 0px in the "Gutter" field.
 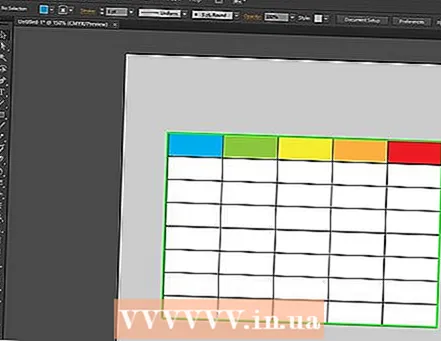 5 You now have a table. In each cell, you can change the color and type of text.
 - Click with the Selection Tool on the edge of each cell to change the color of its borders or fill.


