Author:
Carl Weaver
Date Of Creation:
23 February 2021
Update Date:
1 July 2024
Content
This article will show you how to create a calendar in Microsoft Word on a Windows PC or Mac. You will need to use a Microsoft calendar template to get the job done quickly, or manually create a calendar using a spreadsheet.
Steps
Method 1 of 2: Templates
 1 Start Microsoft Word. Find a dark blue icon with a white "W".
  2 Click the search bar. It's at the top of the Word window.
 - On Mac computers, first click File in the upper left corner, then select Create from template ... in the dropdown menu.
 3 Print the calendar and press the key ↵ Enter. This command will search the template store for a calendar template.
 - This step cannot be completed if there is no internet connection.
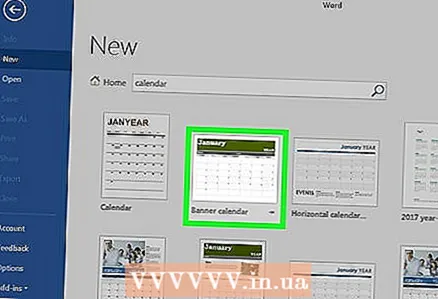
 4 Select a calendar template. Click on the desired calendar and the calendar page will open.
  5 Click on Create. The button is to the right of the calendar. After that, the template will be loaded.
 - If you want to enable macros, select Enable macrosto make it easier for you to make additional calendars for subsequent months and dates.
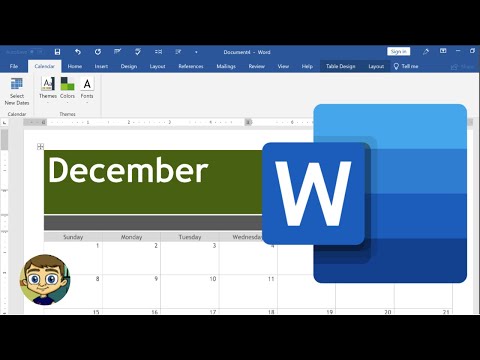
 6 Wait for the calendar to load. When the template download is complete, it will automatically open in Microsoft Word.
Method 2 of 2: Manually
 1 Start Microsoft Word. Find a dark blue icon with a white "W". The Word home page opens.
  2 Click on new document. This item is at the top left of the home page.
 - Skip this step for Mac.
 3 Enter the month. Type the name of the month for which you want to create a calendar, and then press ↵ Enter... This will allow the name of the month to appear above the calendar.
  4 Open the tab Insert. The tab is on the blue ribbon at the top of the Word window. The tab toolbar appears below the ribbon. Insert.
  5 Click on table. The "Tables" section is also on this panel.
  6 Create a table. Drag the mouse cursor seven cells to the right and seven (or six, depending on the month) cells down, then press the left button. A table of 7x6 (or 7x7) cells will appear on the page, which will become your calendar.
  7 Specify the days of the week. In the top row of cells, enter the name of the day of the week for each column.
 - For example, type "Monday" in the top-left cell, "Tuesday" to the right of it, and so on.
 8 Increase the size of the cells. Starting at the third horizontal line from the top of the calendar, pinch and drag the line down to enlarge the second row of cells. Repeat this step for all calendar lines until they are the correct size.
  9 Add numbers. Select the cell that corresponds to the first day of the month, enter 1, press the key Tab ↹ and enter the remaining numbers.
  10 Fill in the required information. When all the numbers are listed, add your events, holidays, appointments and other information to the calendar. Select the cell with the corresponding date and press the key ↵ Enterto start on a new line, then enter the title and details of the event.
  11 Create other months. Add other months to your calendar. Place the cursor below the current month and press the key a couple of times ↵ Enter, and then repeat all the above steps.
  12 Save your calendar. Press the keys Ctrl+S (Windows) or ⌘ Command+S (Mac), then choose a suitable location, enter a name for the calendar, and click Save.


