Author:
Clyde Lopez
Date Of Creation:
20 June 2021
Update Date:
1 July 2024
Content
Merging two or more different images allows you to create beautiful graphics on different planes within a photo. Photoshop allows you to create special effects, but in this article, we'll walk you through how to harmoniously combine two images to create a synergistic, simple fusion.
Steps
Method 1 of 2: Merge Images into One Photo
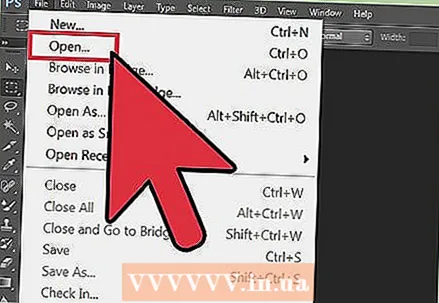 1 Select images for your composition, then open them in one window. This can be done in several ways. The easiest is to drag and drop images into Photoshop directly from your desktop, Finder window, or Windows Explorer. But there are other ways too:
 - Click File → Open. After that, two separate tabs will appear above your image. Move the tab to make it float. Then move the image to the tab that will contain both photos.
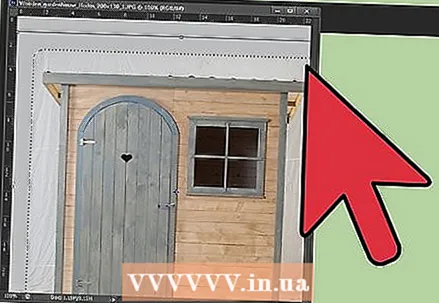 2 Adjust the size of each layer as needed using the Transform tool. This useful feature allows you to scale, rotate, tilt and adjust the size of the image. To use it, click on the desired layer and press Ctrl + T (Windows) or Cmd + T (Mac) to start transforming. A frame will appear with small markers that allow you to make the changes you need to the image.
 - Hold down the Shift key while resizing to maintain the aspect ratio of the image.
- Hold Ctrl / Cmd while resizing to move only the selected point, creating a "perspective".
- Hold Alt / Opt while resizing to keep all corners of the image but resize.
- Click outside the frame to rotate the image.
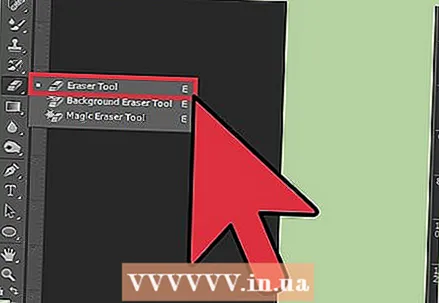 3 Use the Eraser tool to remove unwanted areas. If you know that you definitely don't need a part of the image, activate the Eraser Tool (E) and start erasing. Here are some helpful tips to keep in mind as you work:
 - Press Ctrl + Alt + Z (Windows) or Cmd + Opt + Z (Mac) to undo any accidental deletion. Press Ctrl + Z or Cmd + Z to redo the action if you undo the desired step.
- If you use the selection tool (moving dotted line), you can only erase what is inside the selection. This is a good way to protect the areas you want to leave by selecting only the areas you want to erase.
- It is not possible to recover the erased portion, as this will result in the loss of pixel data. Below are the steps to make the pixels invisible and thus save them in case you still need them.
 4 Use layer masks to reversibly erase and blend images gradually. Layer masks are your best friends when merging. They allow you to erase portions of a layer without actually erasing the data, making it easy to undo the erase if you make a mistake. To create a layer mask, select the desired layer, then click on the small rectangular icon with a black circle in the center, at the bottom of the layer panel. Follow these steps:
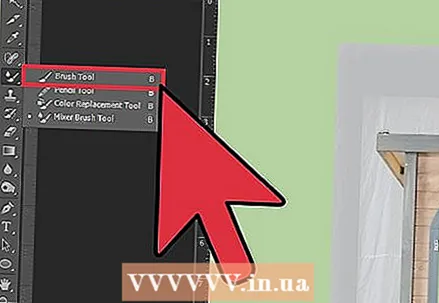
 - Turn on the Brush tool. It will be automatically adjusted to black and white.
- Make sure the Layer Mask is selected. This is the second, white square to the right of the layer.
- Paint whatever you want to erase with black on the real image. This will erase the image instead of adding black ink over it.
- Anything tinted gray will be partially erased until it is completely black or white.
- Re-color the mask white so that the image reappears.
- Note that you can use gradients, strange brushes, stamps, and the Pen tool for this. The image will appear, however you color the mask.
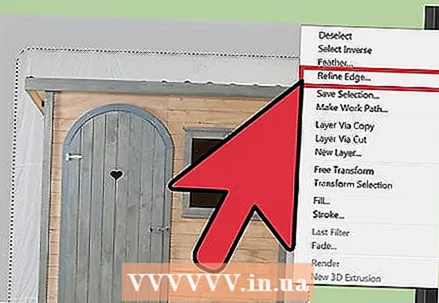 5 Use the selection tools and Refine Edge to select individual elements in the image. If you just want to drag a person onto an image, or move a flag from one photo to the background of another, image fusion may not be necessary. Instead, use the following tools to select the desired object, then right-click and choose Cut to New Layer.
 - Curly selection: The tool icon looks like a dashed border and appears first on the toolbar. Click and hold to display more selection shapes.
- Lasso tools: click to start the selection and finish when you connect the two ends of the line, or click again to complete it. You can also use the "Straight Lasso" and "Magnetic Lasso" (capture similar colors).
- Quick Selection tool: looks like a paintbrush with a small dotted line at the end. This is an incredibly useful tool. Click and drag it over the image and it will try to automatically find and select the desired object. For best results, change the Tolerance value as shown above.
- Magic wand: press and hold to find it behind the Quick Selection tool, or vice versa. The magic wand selects all pixels in the same color range, as well as where you clicked, which helps to instantly remove large areas of the background.
- Pen tool: its icon looks like a normal fountain pen. It is the most powerful tool available, but also the most time consuming. The Pen tool creates “paths” with anchor points that you can modify as you go, giving the user more control over the selection than the basic selection tools.
Method 2 of 2: Create Smooth Merge Transitions
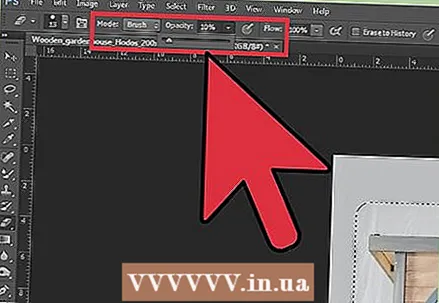 1 Change the opacity of the brushes and erasers for tighter control. Partial transparencies are also superimposed on each other, which allows them to be used for realistic "shading" of images. If you need to make a partial edge or smooth transition, set the opacity of the brush or eraser to somewhere around 10%. Now, every time you shade an area, you will only erase 10% of the pixels. So, if you erase the image 10 times in one place, move and erase 8 times, and then 6 and so on, you get a nice gradual fusion.
  2 Use the Refine Edge tool for perfect cuts and selections. Click Select → Refine Edge to display the image with no background. This will allow you to see your new photo exactly and adjust it before merging. Any selection on any layer can be enhanced. When done, click Select → Invert and press the Delete key to erase any pixels that you changed.
 - Radius: shrinks the boundaries of the region. The higher the value in pixels, the closer to the selection the cropping will be.
- Smooth: rounds the borders.
- Feathering: adds partial blur to the selection border.
- Contrast: as opposed to Smooth, sharpens edges and dots.
- Offset Edge: expands or shrinks the selection based on the specified percentage.
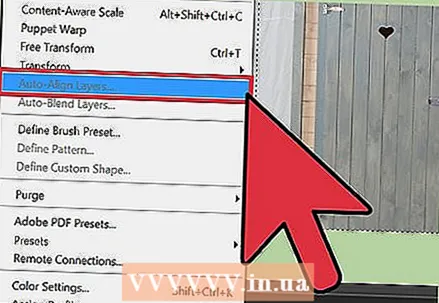 3 Try Auto-Leveling Layers if you're stitching together nearly identical photos. This function allows you to synchronize two images, which can be useful if you have, for example, a group photo where one person has their eyes closed. Blend another copy where his eyes are open, and then select both layers by left clicking on them and pressing Ctrl / Cmd. From the menu that appears, choose Edit → Auto-Align Layers.
 - For best results, select Spread Only.
 4 Experiment with the Blending Modes to adjust the lighting in the combined images. Blending modes relate one layer to another. So, for example, if the bottom layer has strong lighting, the user can tell the top layer to take some of these light pixels and use them to lighten the top layer. Sounds confusing? Most importantly, they are simple and easy to experiment with, and all changes are reversible. Follow these steps:
 - Click on the top layer of the ones you are merging.
- Click on the dropdown menu above the layers, currently set to "Normal".
- Choose a new blend mode, noting how your image will change. Try the following modes:
- point light;
- clarification;
- multiplication;
- imposition;
- diffused light;
- dissolution.


