Author:
Mark Sanchez
Date Of Creation:
1 January 2021
Update Date:
1 July 2024

Content
- Steps
- Part 1 of 4: Learning the Basics
- Part 2 of 4: Choosing a Pattern
- Part 3 of 4: Sewing the garment
- Part 4 of 4: Creating Different Styles of Clothes
- Tips
- Warnings
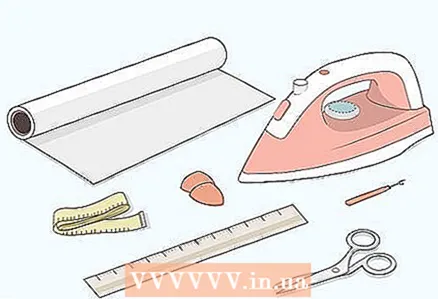
- What do you need
There are many reasons why you might want to sew clothes. If you want to design clothes, have some ideas and want to do something for yourself, or just make some changes to the clothes you already have, then it would be helpful to know how to sew clothes from scratch. You don't need to be a seamstress to know how to create your own clothing.
Steps
Part 1 of 4: Learning the Basics
 1 Learn about the various tools you may need. Sewing clothes requires a bunch of different sewing tools, for making models, and for measuring samples to make sure they fit you. You will need to learn each type of tool and know how to use it. In the beginning, you will feel uncomfortable with all of these tools, but the more you practice, the easier it will feel.
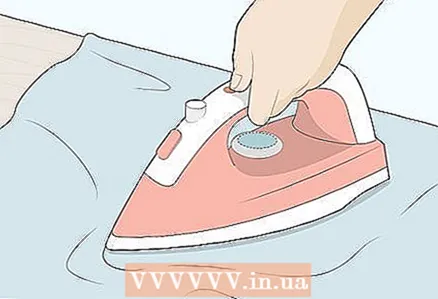
 - Iron and ironing board. It's fine to use one you already own as an iron, but you probably want to invest in a higher quality iron. You will use it as a press when you sew, as it will ensure that the seams fit properly.
- Ripper. You will use it when you sew the wrong stitches and need to pull them out.
- Chalk to mark the fabric so you know where to stitch and cut.
- You will need some really good sharp scissors, which are only for cutting fabric, otherwise the scissors will quickly dull and damage or fray the fabric.
- Tracing paper for developing patterns and modifying models.
- Rulers to measure when you create your model (both at the design stage and while sewing).
- Measuring tape, especially flexible tape measure. You will use it to take measurements and make adjustments as needed.
- Pins to hold the fabric in place before you start sewing. Pins should be used sparingly as they can damage the fabric you are working with.
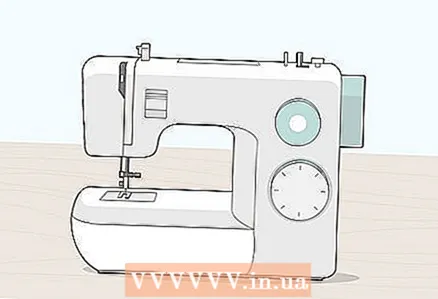 2 Get a sewing machine. There are two main types of sewing machines: those that fall into the home / indoor category and those that fall under the industrial category.There are pros and cons to both categories, so figuring out which one works best for you will take a while.
 - Household sewing machines are generally more portable and more versatile. They can make a variety of stitches. However, they are not very good in terms of speed and power, and they are not very good for heavy fabrics.
- Industrial sewing machines are much more powerful and much faster, but they are usually only able to sew one type of stitch (for example, a straight shuttle stitch). They do this stitch very well, but alas, not that versatile. They also tend to take up a lot of space.
 3 Examine the components of your sewing machine. Hopefully it comes with an instruction manual because you will need to know which direction the spool is spinning and where the bobbin case is. However, you need to know at least the basic components of a sewing machine before you can do fun things.
 - The spool holder holds the spool of thread and sets the thread direction as the fabric passes through the needle of the sewing machine. Depending on the type of clipper, the spool holder can be horizontal or vertical.
- A spool is a threaded bobbin on which the thread is wound. You should wind the thread around the bobbin thread and place the cap (which is under the needle plate) on top.
- Your sewing machine should also have different stitch adjustments to determine the length of each one, the amount of tension needed to make sure the stitches are running properly, and different types of stitches (if you have a sewing machine that does different types of stitches).
- Pay attention to the lever that controls the thread tension. If the thread tension is not at the correct level, the thread will form a knot at the top and stop the sewing machine.
- You can consult a nearby sewing shop, they may have any classes or someone is willing to help you learn how to sew on a sewing machine, or you can ask a knowledgeable family member or friend.
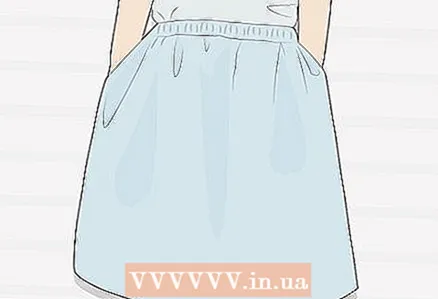 4 Start simple. When you decide to sew clothes, you will want to start with simple designs, otherwise, you can easily get frustrated and leave everything. It is best to start by sewing a skirt because it is easier to do than sewing a 3-piece suit and requires fewer measurements to sew a skirt.
 - When you get started, try to avoid making clothes with buttons or zippers. Sew an apron or pajamas with elastic bands. Once you get the hang of your tools and clipper, you can start moving forward.
 5 Make test clothes. The best way to do a good thing is to make a test model beforehand so that you can tweak your design and make changes to the final piece as you see fit.
 - We recommend using scraps of the same fabric from which you are going to sew.
 6 Take the appropriate measurements required to make a sample. Even if you are making clothes from a pattern you found somewhere, instead of making your own, you will still need your measurements to make the clothes fit.
 - For the pants, you will need the following measurements: waist, hips, crotch depth, and full leg length from waist to floor. For shorts, use the pants measurements you have, just shorten the length.
- For shirts, you will need the following measurements: Neck, Chest, Shoulder Width, Arm Length, Arm Hole Length, and Shirt Length.
- For the skirt, you just need to measure your waist and hips. The length and width of the skirt can vary, depending on what style you want to make.
Part 2 of 4: Choosing a Pattern
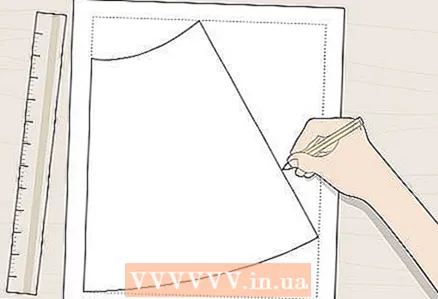 1 Make a pattern. Draw a pattern for your garment using the measurements you took. Use similar clothing as a model for an appropriate design template and layout. There are many good places to find pattern ideas.
 - Fun vintage patterns (especially for dresses) can often be seen in thrift stores and sewing shops, and there are many simple patterns to be found online.
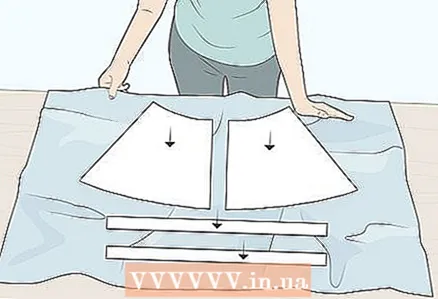 2 Place your chosen fabric on a large, flat surface and place your pattern on the fabric. Deciding what you want to fit into your pattern will take some time.
 - Fold the fabric right side up. The edges must match and hold tight to each other to avoid misalignment. This fold allows for easy cutting of double (sleeves, legs, etc.) and large symmetrical seams.
- If you have large, symmetrical pieces of the pattern that can be folded in half (shirt, for example), fold the pattern in half in the center and attach the folded portion of the pattern to the folded edge of the fabric. This saves the fabric from unnecessary trimming and ensures a perfectly symmetrical cut.
- To sew clothes that fit your body, it is best to fold the pattern obliquely (at a 45-degree angle to the folded edge).
- To sew clothes that won't stretch, place the pattern at a 90-degree angle to the folded edge.
 3 Smooth out any unevenness in the fabric. You need to make sure your fabric is not wrinkled, otherwise it could ruin your garment if the wrinkles cause the fabric to lie unevenly.
 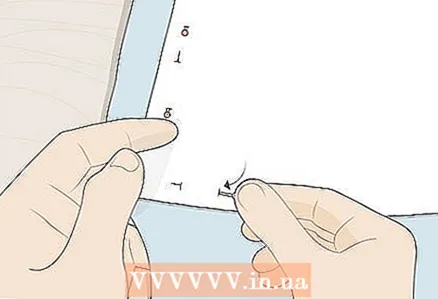 4 Pin the pattern to the fabric. This will show you where to cut the fabric. Make sure the fabric is still free of wrinkles and that the pattern and fabric are correctly aligned.
 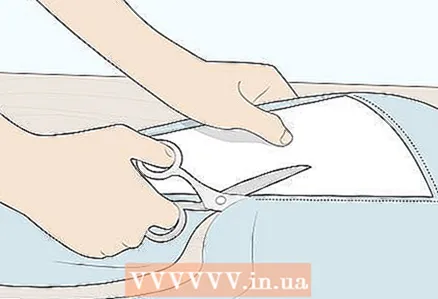 5 Cut the fabric according to the pattern. Make sure to cut through both layers of fabric.
  6 Remove the pattern from the fabric. You are ready to start working on the sewing process.
Part 3 of 4: Sewing the garment
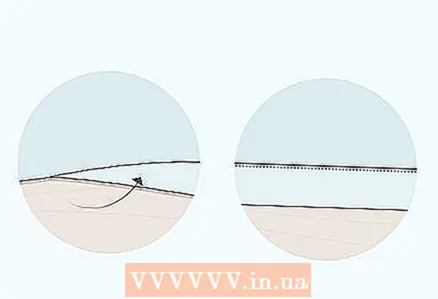
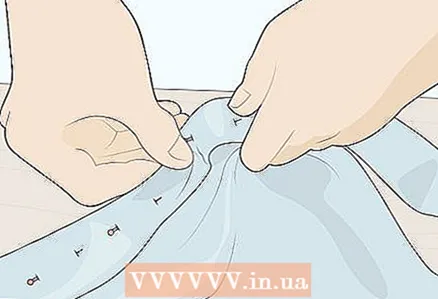 1 Pins the fabric together along the edge seam. Determine which edges you want to line up and stick together (front side). Insert the pins 90 degrees from the edge so you don't have to remove them when you sew the seams.
 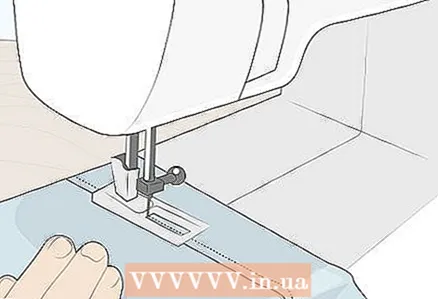 2 Sew the fabric together, one edge at a time and from one end to the other, until the edges of the garment are completely sewn together.
- This will take time, so try to be patient while you work. If you're confused, don't worry, you have a ripper for that.
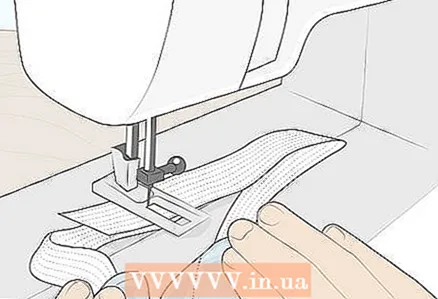
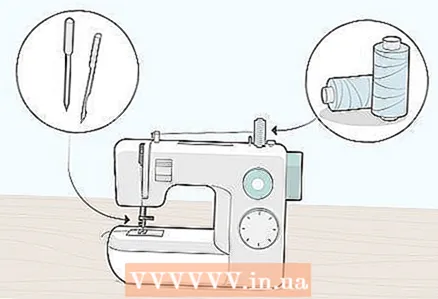 3 Use your sewing machine properly. You need to make sure you have the correct needle and thread for this task. Different types of threads and different types of needles are suitable for different types of fabric.
 - You will need different sewing methods for animal fibers such as silk, wool or alpaca as opposed to natural fibers such as cotton or linen and synthetic fibers such as rayon or polyester. Make sure you know the type of fabric you are using and what type of needle and thread will work best.
- Guide the material carefully through the machine. Do not push or pull on the fabric as you could clog the machine or ruin your clothes.
 4 Hem the edges of the garment. Make the garment complete with clean-cut edges.
 - Fold the hem of the garment with the hem up, with the wrong side to the desired width, tuck more than 1 time and press again. Now sew along the hem along the hem from the wrong side of the garment.
 5 Attach details. This can be anything from buttons, buttons, zippers to various fun embroidery or specialty stitches. The better you sew your own clothes, the more creative you can get with the addition of accessories.
Part 4 of 4: Creating Different Styles of Clothes
 1 [1]. Since each style of clothing is slightly different, there are a few key points for each type to remember when choosing what kind of clothing you want to make and how you want to make it.
 - There are many different types of skirts to choose from: straight, round, flared, gathered, maxi and miniskirts, pencil skirt, pleated skirt and the list goes on. You must decide what type of skirt you want to try to sew.
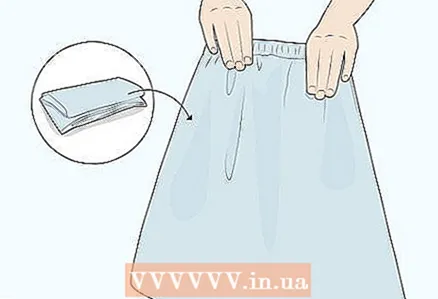
- The simplest skirt to sew is a tube, which requires elastic and fabric (elastic if possible). You can make a skirt like this in an hour and it will look fun, comfortable, and easy to wear.
- General sewing order: sides, front and back seams, zipper or loop, belt, hem.
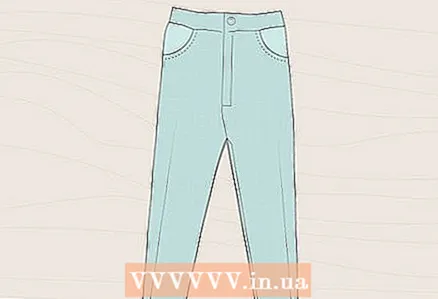 2 [2]. Since the pants are incredibly versatile and can be made from just about any fabric, they are a great option for tailoring once you get a little bit of experience. The easiest way is trousers with an elastic waistband, but you can also choose a more sophisticated option, with zippers, buttons and a belt.
 - The general order of sewing denim trousers (or other trousers): pockets, side, front and back seams, zipper or loop, belt, hem.
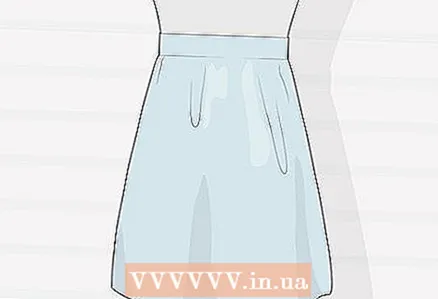
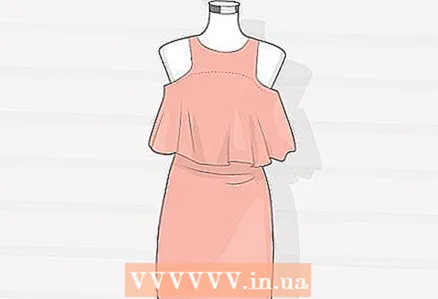 3 [3]. There are tons of different types of dresses that can be sewn, from short summer cotton dresses to long flared ball gowns. Dresses can be more complex than, say, skirts, so be sure to grasp some sewing basics before tackling a dress.
 - The general order of sewing a dress: joining, forming the shoulders, side seams, the upper part of the dress excluding the hem, the lower part of the dress, side, back and front seams. When you connect the bottom of the skirt at the hips to the top of the dress at the waist, attach the zipper or buttons and hem.
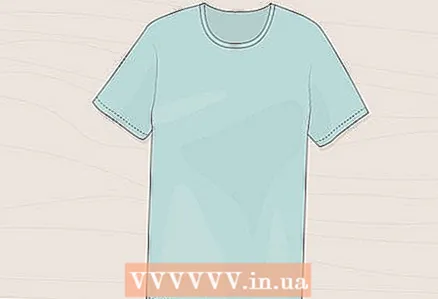 4 [4]. While it is fun to sew a shirt, it can be tricky to do as you will have to sew on buttons and arches (since you sew along the lines made for the neck and shoulders). There are other details that you will be dealing with.
 - The easiest way to do this is to make a wraparound top without any buttons or pockets.
- The general order of sewing a shirt (or jacket): joining, forming shoulders, zippers or buttons, shoulder seams, side seams, neck and leading edge, armhole, sleeves, hem.
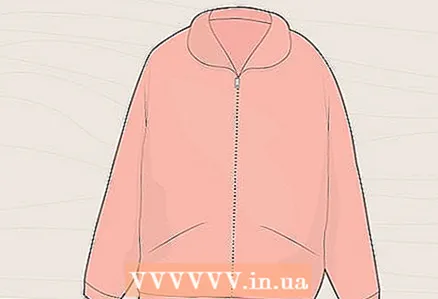 5 [5]. Jackets and coats are some of the most difficult types of tailoring. You should refrain from sewing them if you do not yet have sufficient experience in sewing buttons and pockets, working on contours, and not on straight lines and creating a large number of details.
 - The simplest type of jacket is one that has no padding, or it doesn't have to be sewn into the sleeves.
Tips
- Wash and dry the fabric before cutting a pattern out of it. This is required to shrink the fabric.
- If you want to include pockets in the pattern, they must be made and pinned in place before you sew the garment.
- Remember to add RUNNERS to your measurements when making your pattern. For example, if you use 1.27 cm for seams, you will lose 2.54 cm of fabric for each seam you sew. Leave a seam allowance for each seam.
- First, draw a design for the item and try it out on a mannequin.
- When laying out the pattern on the fabric, do not forget about the fabric pattern. If you need to make any matching patterns, you will need to think carefully in order to correctly place the pattern.
- It is advisable to use unnecessary fabric in the form of a pattern, before cutting off the fabric chosen for sewing clothes. This way, you can make the necessary adjustments to the pattern to ensure the details match as closely as possible.
Warnings
- Remember to turn off the iron when you are finished ironing, otherwise you will probably either burn yourself or something else.
What do you need
- Roulette
- Pencil
- Pattern
- Textile
- Iron
- Safety pins
- Sewing machines
- Threads
- Accessories (buttons, zippers, belts, etc.)


