Author:
Florence Bailey
Date Of Creation:
27 March 2021
Update Date:
21 June 2024

Content
At some weddings, guests are not allowed to throw rice, petals, bubbles, or anything like that. When this happens, people tend to worry. Ribbon sticks are gaining popularity, but ordering them will cost more than making them yourself. This is an inexpensive yet elegant method that won't break your budget.
Steps
 1 Calculate your budget for this stick. How much money can you set aside for a stick for each guest? This will help you choose the right material.
  2 Choose a stick size. The length of the stick will affect everything from the thickness to the length of the bands.
 - Hardware stores sell unprepared wooden sticks 90 cm and 120 cm long. (In 2014, a 6mm poplar 120cm stick sold for $ 0.78 on the international market. This price equates to six 20cm sticks, four 30cm sticks, and three 40cm sticks.)
- The thickness of the stick also matters. Long and thin are equated with delicate (easily breakable), and too thick do not justify either the money or the look.
- Type of wood / material. The type of wood affects the strength / durability, but also the cost.
- If you will be using nails (cheaper than hooks), you will want a softer wood stick to prevent cracking
- If you are using a thread, you will want the stick to be thinner, or be sure to drill with a suitable size drill to prevent the stick from cracking.
- Take a pencil or roll a piece of paper. A normal pencil is 17 cm long. And a regular sheet of paper is 21 cm * 27 cm.
- Decide how many sticks you need to have one for each guest. (You can add another 10% if you suddenly have more guests or make a mistake.)
 3 Select a ribbon.
- Look in stores, the Internet, wherever you can find good wedding ribbons in the colors you want at a good price.
- Consider ordering (making) your own stick ribbons.
- If you will be using nails or hot glue, the tape should be twice the length of the stick. (But you can change how it is best for you).
- If you are using a thread, you need a tape that is 5-7 cm longer than the stick.
- Generally, it will be better to use 3 different types of tape, or 3 different colors. You can do everything at your own discretion. Some people change thickness, texture, imagination ... really. within budget.
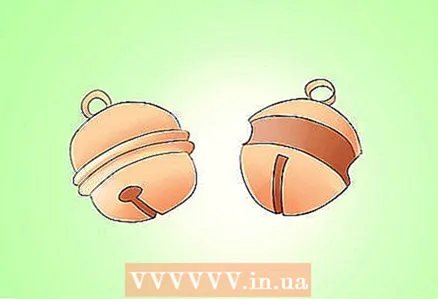 4 Select the bells you will use to attach the ribbon.
- Bells or ordinary bells? Bells are cheaper but more attractive.
- The size of the tape will also determine the size of the bell, but if you are using a thread, insert the bell there. (See Step 12)
- What about color? Here the choice depends only on you - gold, silver, shiny, multi-colored, etc.
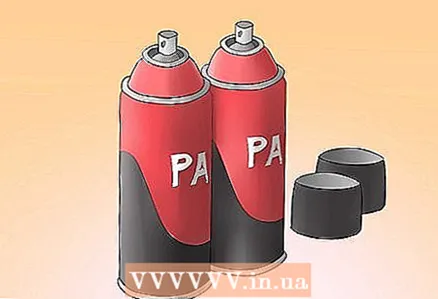 5 Decide if you want to paint your stick. If so, buy the necessary supplies. Spray paint is faster and the result will be prettier, but if you've already painted like this, you can use another option.
 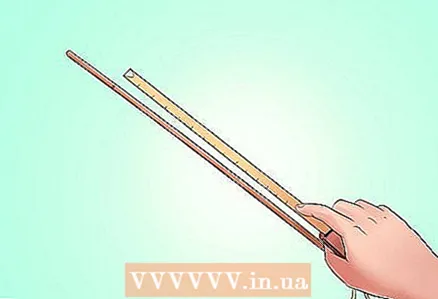 6 Measure the stick and mark the appropriate length with a pencil.
 7 Cut off the stick. Take the necessary precautions, no matter which way you cut.
 - When handcrafted, it will be easier if you use the filing base to cut straight and neatly.
 8 Sand the cut edges. Use sandpaper to sand down the edges and make them even and smooth.
 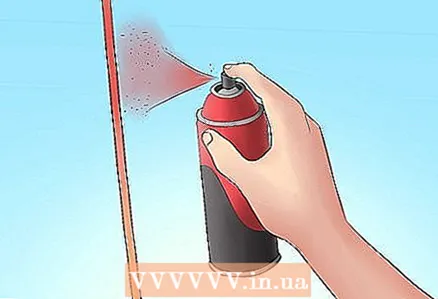 9 Change or color the stick.
- If you want to save money and like the existing look, leave it as it is.
- Some people like to make these sticks antique, so you can dip them in tea or coffee to tint them, or use any other method.
- Use one stick to experiment on it.
- When your sticks are completely colored, move on to the next step.
 10 Cut off the tape. The length is up to you.
 - One or more tapes? Straight or oblique? Tapes to the middle of the stick or to the end?
- If you are using nails, you will want to hammer them into the middle of the stick (no bell), so measure accurately (add an extra couple of centimeters to attach the bell).
- If you use hot glue, you will lose some material on the tape, and a little more in place for attaching the bell, so count correctly.
- If you will be using a thread, use the end of the tape to wrap the stick.
- If you don't want to think about it now, you can always use long ribbons, and shorten them on occasion.
 11 Attach the tape to the stick. Use the method of your choice to attach the tape to the stick.
  12 Add embellishments.
- If you will be using threads to attach the bell, you may need a ring that you can unfold, attach the bell, and close it again.
- Attach a bell (or other decorations) to the ribbon.
- After attaching all the bells, tie the ribbon
- Once you're done, use glue to make sure everything is holding up well.
- You can add other decorations as well.
 13 Shake the tape!
Tips
- If you know how to engrave, you can write on these sticks.
- If you want a thick tape, use a thread. If you want thinner (less expensive tape), use nails.
- If you make a lot of sticks yourself at once, do everything in stages. Measure everything first, then cut, then sand, etc. Rest after each step so you don't get hurt, especially if you're not used to the job.
What do you need
- Sticks
- Roulette
- Saw
- ribbon
- Bells and / or other decorations
- Sandpaper
- Precautions (gloves, glasses)
- Nails, glue, carving
- Hammer (optional)
- Hot glue (optional)
- Drill (optional)
- Ring (if using thread)
- Painting supplies (optional)


