Content
- Steps
- Part 1 of 3: Getting Started
- Part 2 of 3: Making the Simplest Game
- Part 3 of 3: Advanced Techniques
Flash is a popular format for games that run in browsers. Although this format is losing ground to mobile applications, many good games are written in this format. Flash uses ActionScript, an easy-to-learn programming language that allows you to control objects on the screen.
Steps
Part 1 of 3: Getting Started
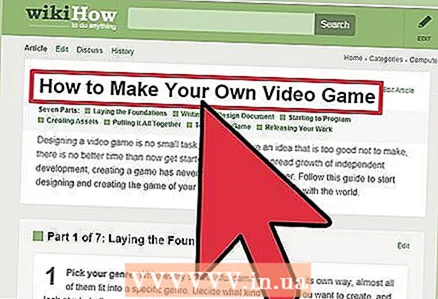 1 Come up with a game (its storyline) before you start coding. Flash makes simple games, so pick a game genre and think about a concept. Read the article How to make a computer game. Major genres include:
 - Endless run. In such games, the character moves automatically, and the player only guides him and jumps over obstacles (or otherwise interacts with the game).
- Fights. In such games, the main character must defeat enemies in endless fights / battles.
- Puzzles. Puzzle games. They range from the simplest puzzles (collecting three identical balls) to the complex puzzles that form the basis of adventure games.
- RPG. In such games, it is necessary to develop the main character (his skills, appearance, character) in order to be able to fight with various opponents. The RPG game code is much more complex than the simplest game code.
 2 Flash is better suited for creating 2D (2D) games. You can also create 3D games (three-dimensional) in it, but for this you need to know the programming language and other advanced techniques very well. Almost all popular Flash games are 2D games.
 - Flash games are best suited for short-term gaming sessions because they are played when there is free time (no more than 15 minutes).
 3 Become familiar with the ActionScript3 (AS3) programming language for writing Flash games. You can create a simple game with a basic knowledge of AS3.
 - There are several ActionScript books available on Amazon and other stores, along with many tutorials and online examples.
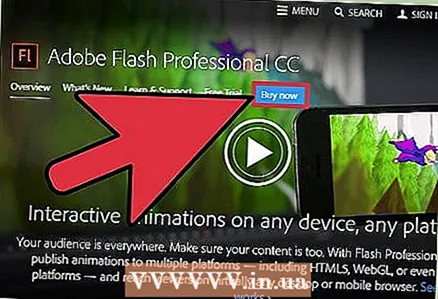 4 Download Flash Professional. This is a paid, but the best program in which Flash games are created. There are other similar programs, including free ones, but often they lack compatibility or it will take you longer to achieve the same goals.
 - Flash Professional is the only program you need to create a game.
Part 2 of 3: Making the Simplest Game
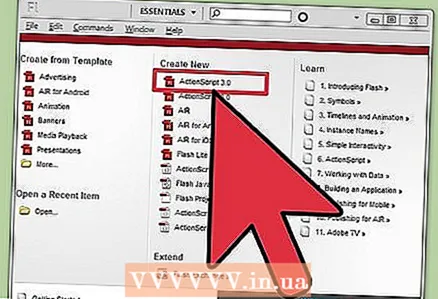
 1 Understand the basic structures of AS3 code. There are three main parts of any AS3 code:
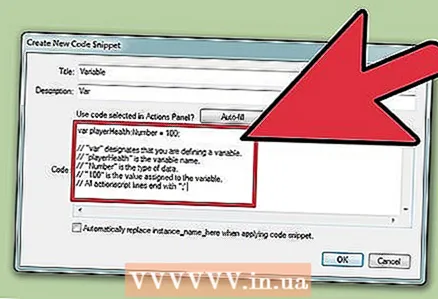
 - Variables. They store data (numeric, text, object, and many others). Variables are defined by code var and in one word.
var playerHealth: Number = 100; // "var" - you are defining a variable. // "playerHealth" is the name of the variable. // "Number" is a data type (numeric here). // "100" is the value assigned to the variable. // Any line of AS3 code ends with ";"
- Event handlers. They look for certain events that need to be executed and report them to other parts of the program. This is necessary to enter the player and repeat the code. Typically, event handlers refer to functions.
addEventListener (MouseEvent.CLICK, swingSword); // "addEventListener ()" - definition of an event handler. // "MouseEvent" is the category of input expected to be executed. // ".CLICK" is a specific event in the MouseEvent category. // "swingSword" is a function that is triggered when the event is executed.
- Functions. Sections of the program defined by a keyword; they are referred to as the program progresses. Complex game code can contain hundreds of functions, while simple game code can contain only a few. Functions can be arranged in any order, since they only run when they are called.
function swingSword (e: MouseEvent): void; {// Code} // "function" is a keyword entered at the beginning of any function. // "swingSword" is the name of the function. // "e: MouseEvent" is an optional parameter indicating that // the event handler will call the function. // ": void" is the value returned by the function. // If no value is returned, use: void.
- Variables. They store data (numeric, text, object, and many others). Variables are defined by code var and in one word.
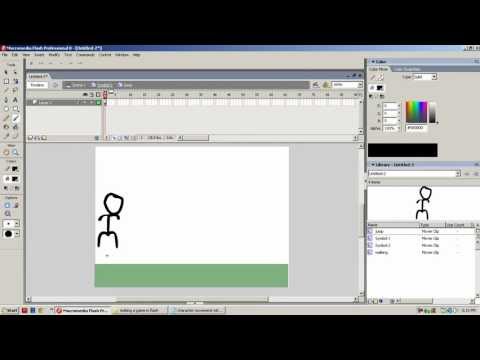
 2 Create objects with which the player will interact. Objects include sprites, characters, or video clips. In our simple game example, you will be creating a rectangle.
 - Start Flash Professional. Create a new ActionScript 3 project.
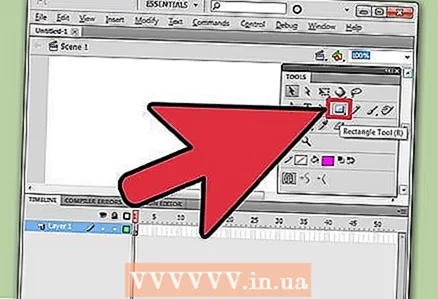
- On the toolbar, click the Rectangle tool. This panel may appear in different locations depending on your Flash Professional configuration. Draw a rectangle in the Scene window.
- Select the rectangle with the Selection tool.
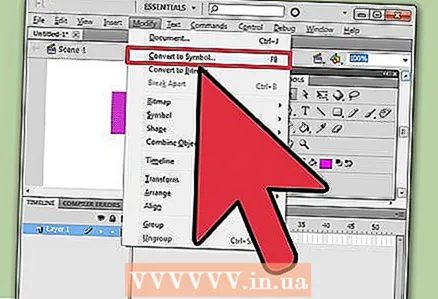 3 Set the properties of the object. To do this, open the "Change" menu and select "Convert to Symbol" (or press F8). In the Convert to Symbol window, give the object an easily recognizable name, such as enemy.
 - Find the Properties window. At the top of the window is an empty text field labeled "Sample Name" (if you hover over this field). Enter the same name that you entered when converting the object to a symbol (in our example, "enemy"). This will create a unique name that can be used in AS3 code.
- Each "sample" is a separate object that depends on the code. You can copy already created "samples"; to do this, click the "Library" several times and drag the "sample" to the "stage". Each time you add a "sample", its name will change ("enemy", "enemy1", "enemy2" and so on).
- When you refer to an object in code, just use the name "sample" (in our example, "enemy").
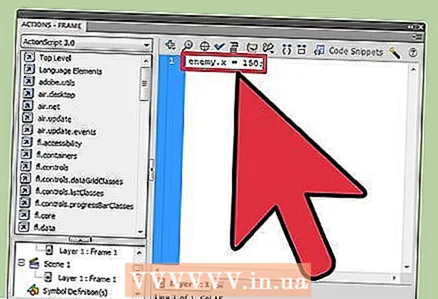 4 Changing the properties of the sample. After creating the sample, you can change its properties, for example, resize. To do this, enter the name of the sample, then ".", Then the name of the property, and then the value:
 - enemy.x = 150; Sets the position of the enemy object along the x-axis.
- enemy.y = 150; Sets the position of the "enemy" object along the Y axis (the origin of the Y axis lies at the top point of the "scene").
- enemy.rotation = 45; Rotate the enemy object 45 ° clockwise.
- enemy.scaleX = 3; Stretches the “enemy” object in width by a factor of 3. A negative value will flip the object.
- enemy.scaleY = 0.5; Will cut the height of the object in half. .
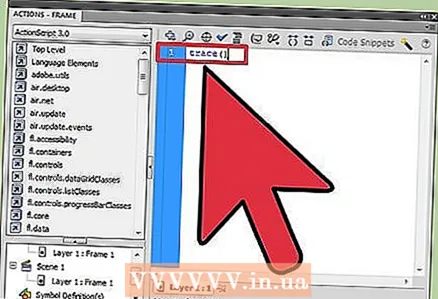 5 Explore the command trace (). It returns the current values for specific objects and is necessary to determine that everything is working correctly. You shouldn't include this command in the game source code, but you will need it to debug the program.
 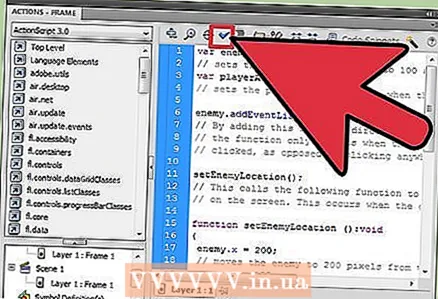 6 Create a basic game using the information above. In our example, you will create a game in which the enemy will change size every time you click on him, until he runs out of health.
 var enemyHP: Number = 100; // Sets the size of the enemy's health (100 at the beginning of the game). var playerAttack: Number = 10; // Sets the player's attack strength when clicking on an enemy. enemy.addEventListener (MouseEvent.CLICK, attackEnemy); // The action of this function is directed directly to the "enemy" object, // that is, the function is triggered only when the object is clicked, // and not somewhere else on the screen. setEnemyLocation (); // Places the enemy on the screen. // Runs at the very beginning of the game. function setEnemyLocation (): void {enemy.x = 200; // Moves the enemy to the right 200 pixels from the left side of the screen. enemy.y = 150; // Moves the enemy down 150 pixels from the top of the screen. enemy.rotation = 45; // Rotates the enemy 45 degrees clockwise. trace ("enemy's x-value is", enemy.x, "and enemy's y-value is", enemy.y); // Displays the current position of the enemy for debugging. } function attackEnemy (e: MouseEvent): void // Creates a function to describe an attack when an enemy is clicked. {enemyHP = enemyHP - playerAttack; // Subtracts the player's attack strength from the opponent's health value. // The result is a new value for the enemy's health. enemy.scaleX = enemyHP / 100; // Changes the width based on the enemy's new health. // This value is divided by 100 to get a decimal.enemy.scaleY = enemyHP / 100; // Changes the altitude based on the new health value of the enemy. trace ("The enemy has", enemyHP, "HP left"); // Displays lost health. }
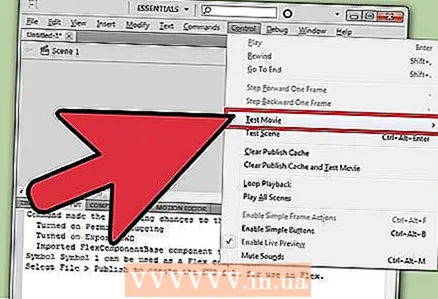 7 Start the game. Open the Manage menu and select Test. Your game will start; click on an enemy to resize it. Debug information will be displayed in the Output window.
Part 3 of 3: Advanced Techniques
 1 Packages. They (in separate files) store variables, constants, functions and other information; you can import packages into your program. By using a package already created by someone else, you will greatly simplify your task of creating a program.
 - Read this article for details on how packages work.
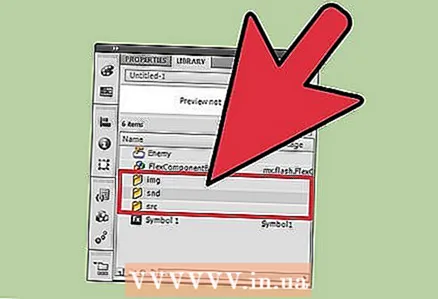 2 Create project folders. If you are creating a game with multiple images and sound files, create multiple folders. This will allow you not to get confused in various elements, as well as store packages in the appropriate folders.
 - Create a base project folder. In the base folder it is necessary to create a subfolder "IMG" where images will be stored, a subfolder "SND" for sound files and a subfolder "SRC" with packages and game code.
- Create a Game folder in the SRC folder for the Constants file.
- This folder structure is optional; it is provided as an example of how to organize and organize the elements of your project (this is especially important in the case of large projects). If you are creating a simple game (as in our example), you do not need to create any folders.
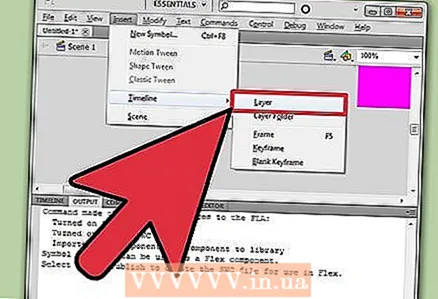 3 Add sound to your game. Playing without sound or music will quickly bore any player. You can add sound using the Layers tool. Look for more information on this on the Internet.
 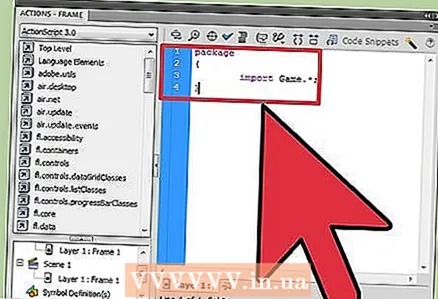 4 Create file "Constant". If you have a lot of constants in your game that do not change throughout the game, you can create a "Constant" file to store all the constants in it. The constant values are the force of attraction, the speed of the character, and others.
 - If you are creating a "Constant" file, place it in the appropriate project folder and then import it into the package. For example, you create a constants.as file and place it in the game folder. To import it, you have to use the following code:
package {import Game. *; }
- If you are creating a "Constant" file, place it in the appropriate project folder and then import it into the package. For example, you create a constants.as file and place it in the game folder. To import it, you have to use the following code:
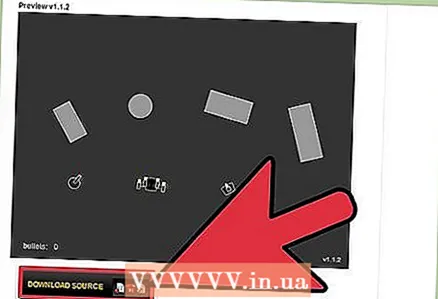 5 Check out games from other developers. Many developers do not disclose the codes of their games, but there are many tutorials and other projects where you can look at the code. This is a great way to learn some of the best techniques to help you create a good game.


