Author:
William Ramirez
Date Of Creation:
17 September 2021
Update Date:
1 July 2024

Content
- Steps
- Part 1 of 3: Designing the Flag
- Part 2 of 3: Building the Flag
- Part 3 of 3: Hanging a Garden Flag
To make a garden flag, you will need a piece of sturdy material such as canvas or tarp. If you want to simplify the task as much as possible, you can simply glue the flag with fabric glue, although it is not much more difficult to sew it by hand or on a typewriter. Once you've built your flag, you can change or decorate it however you like, giving your garden a personal touch.
Steps
Part 1 of 3: Designing the Flag
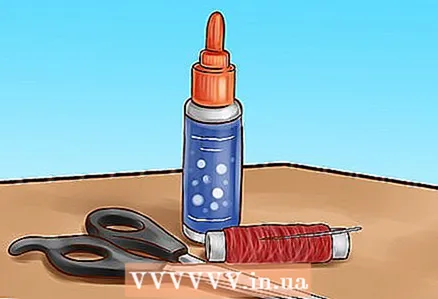 1 Gather the required materials. You will need a piece of sturdy fabric, paint or other trimmings (such as overlay material), scissors, fabric glue, a needle and thread, or a sewing machine.
 - You will also need fasteners for the flag. One of the options would be a stainless steel garden flagpole that fits easily into a flower bed, or a large handle.
- These can all be purchased at hardware stores or garden centers.
 2 Choose a fabric for your flag. A rough-looking tarp would be an excellent option.
 - You can use any thick fabric, such as canvas. Heavy fabric is your choice.
- An inexpensive tablecloth will also work; you can cut an old sturdy canvas bag.
 3 Decide on the design. Usually bright colors are used for the garden flag. Tarpaulins, unbleached textiles, or canvas can be used to give the flag a rougher look. For inspiration, you can check out sites like Pinterest or craft blogs.
 - If the flag is hung vertically, then it is not so important for it to flutter in the wind.
- You can pull the bottom of the fabric with a heavier material so that the flag hangs evenly and is clearly visible without wrapping around the flagpole.
 4 Call on inspiration. Here are some garden flag ideas:
 - Use an overlay ornament to paint your house number or a word that has special meaning to you on the canvas. The color of the material should contrast with the background.
- For painting, fabric paint is used.
- Use a glue gun to add elements to the flag. These can be seashells, Christmas toys, silk flowers, or buttons.
- Make a patchwork garden flag by stitching different fabrics onto a tarp using brightly colored threads.
- You can quickly create a flag design using templates and paint cans.
- Use a similar or contrasting material to add bows or frills to the flag.
Part 2 of 3: Building the Flag
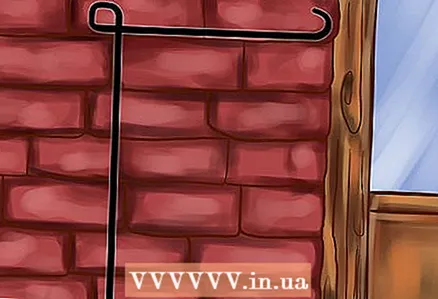
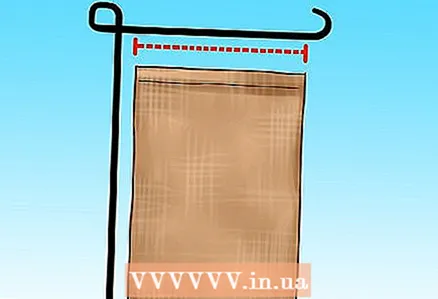 1 Measure the material against the flagpole. It's best to get a flag holder first so you can measure out the correct size fabric. Cut the base material for the flag to the width of the crossbar of your flagpole.
 - For most flagpoles, the width of the horizontal bar from which the flag hangs is about 30 cm. Therefore, the width of the material for the flag in this case will also be 30 cm or slightly narrower.
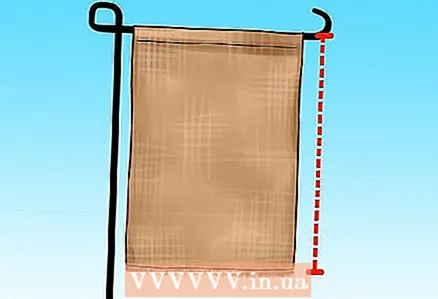 2 Decide on the vertical length of the flag. The usual height of a flagpole is 45 cm.Add 10 cm for a curl and it will be 55 cm.
 - If you have tall plants under the flagpole, make the flag shorter so it can be seen above the plants. The main thing is that the material does not touch the ground, otherwise it will get wet and dirty.
- The length of the flag can be doubled to make it heavier and hang better from the bar.
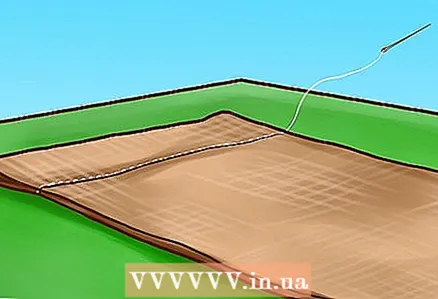 3 Sew on or glue on the flag. Spread the flag material on a flat surface. If you are making a flag from two pieces, then do it now and glue the two sides together along the left and right edges, as well as along the bottom.
 - Peel back 10 cm of material at the top. This will be the pocket into which the crossbar will be inserted.
- Glue or sew on the bottom horizontal part of the folded material, but do not glue the left and right sides as the crossbar will be inserted through them.
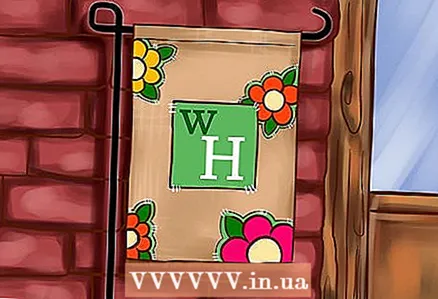
 4 Decorate the flag. After completing the main part of the flag, you can decorate using the ideas described above.
 - Sew, glue, or paint the desired elements onto the stitched or glued backdrop.
- Vibrant colors look very good, but remember that they fade over time.
Part 3 of 3: Hanging a Garden Flag
 1 Choose a protected location for the flag. It is best to use a sufficiently protected area for the flag. Remember to secure the flagpole securely.
 - It is usually sufficient to drive the support teeth deep into the ground, but remember that strong winds can topple the entire structure.
- Avoid placing the flagpole near destructible objects like terracotta tubs or windows in case the flagpole topples over during a storm.
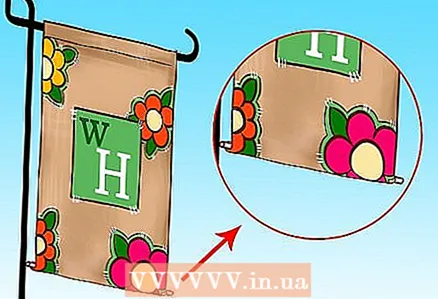
 2 Thread the flag over the crossbar. Thread the top folded part of the flag over the cross member of the flagpole. If the cross member expands at the edge, this is sufficient to secure the flag.
 - If the flag does not fit securely enough, then the folded part can be squeezed a little and secured with pins.
 3 The bottom of the flag should be weighted down so that it does not wrap around the crossbar. A flag that is too light will wind up. For weight, you can sew a metal bar into the bottom edge. So it will definitely hang down beautifully and motionless.
 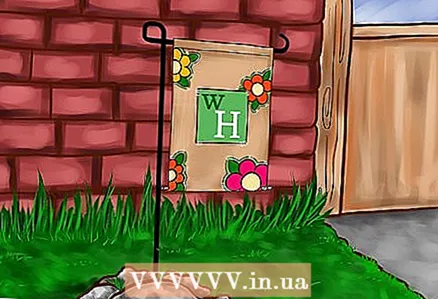 4 The flagpole can be concreted. If you are unable to securely install the flagpole in the ground, then it can be concreted. To do this, dig a hole, insert the base of the flagpole into it and temporarily secure it at the correct angle with bricks.
 - Without moving the flagpole, pour concrete or other mortar into the pit. The level of the solution in the pit should be slightly below the surface of the ground.
- When the mortar has hardened, remove the bricks holding the flagpole and cover the concrete with earth. Now you can hang up the flag.


