Author:
Mark Sanchez
Date Of Creation:
7 January 2021
Update Date:
27 June 2024
Content
- Steps
- Method 1 of 3: Building a heater
- Method 2 of 3: Build a Large Solar Distillery
- Method 3 of 3: Build a Small Solar Purifier
- Tips
- Warnings
- What do you need
Distillers are used for many purposes, from purifying water to making gasoline. The distiller is also used in many countries to make alcohol, but almost everywhere it is illegal to use it to make liquor and can be dangerous in terms of the process itself and the end product. However, it is perfectly legal and healthy to use a purifier to filter water. Also, water distillers are an interesting invention for those interested in science, so some people make them as a fun project.
Steps
Method 1 of 3: Building a heater
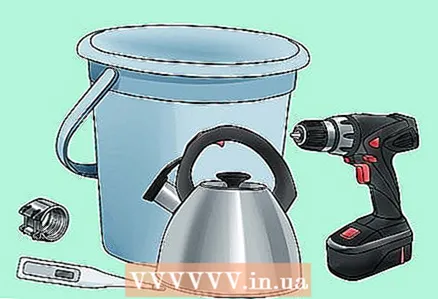 1 Gather all the materials you need. You will need a wide variety of items, most of which you can find at your local hardware store. Bending the copper tubing is required, so if you want to make your life easier, get a tool that allows you to bend the pipes (you will find these in the locksmith department of your local hardware store). Here are the materials you will need:
 - You will need a kettle or pressure cooker (preferably copper or stainless steel, never aluminum or lead).
- A stopper or rubber stopper that will fit the diameter of the lid of your kettle or pressure cooker.
- -8mm copper tubular hose (length will depend on conditions, about 3-6 meters).
- Extra large thermos, small water cooler, or plastic bucket (if you're on a budget).
- Connecting parts
- Thermometer
- Good drill
- Some silicone or sugru
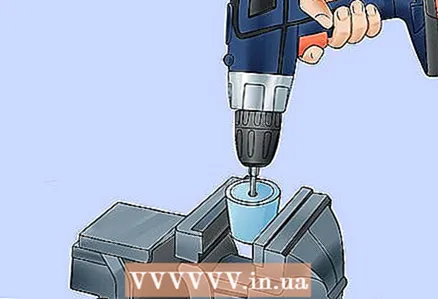 2 Make a stopper. Drill two holes in your rubber stopper or plug, one for the copper tube and the other for the thermometer. These holes must be smaller than the diameter of the tube and thermometer to fit tightly. Make sure that the stopper you are using is very snug against the lid of your kettle or pressure cooker.
  3 Prepare a copper coil. You will need it in order to seal the steam coming from the water heater. Take an 8mm copper hose and fit it on one side to the spool. You will need a long straight section and a short (at least 15 centimeters) straight section on each side of the coil. To give the coil the required bend, you can use physical force and bend it around a solid object, or use a special pipe bending device. The coil should be small enough to fit in a thermos or water cooler, while retaining approximately 3 centimeters of free space on both sides.
 - Copper coils are very easy to twist and get tangled.To avoid this, you can block the pipe at one end and fill it with salt or sugar (never use sand). Use a watering can for this, be sure to shake the tube to make sure you fill it evenly.
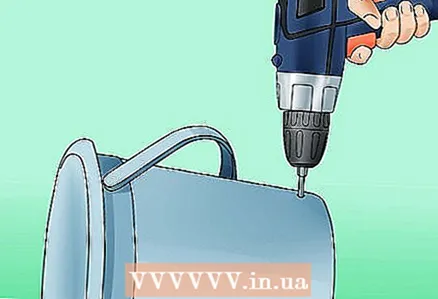 4 Make your own capacitor. The water cooler will be your condenser. Drill a hole from the base side where a short piece of copper pipe will come out and bring in your distilled product. Then drill a hole from the top, on the lid. This is where the longest section of the pipe will come out.
 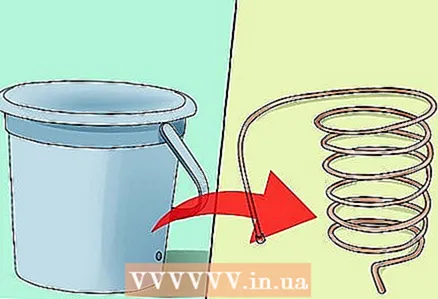 5 Place the coil in the condenser. Place the copper hose into the capacitor by threading the short end through the hole in the base. As soon as the short end is long enough from the capacitor, immediately seal the edges of the holes with silicone or other similar material such as sugru or plug. Then thread a long, straight section of pipe through the top hole.
 - If you want to make it easier for you to put on and remove the cap, cut the pipe a few centimeters after it exits through the top hole. Have a separate section of tubing that is long enough to fit into the kettle. If necessary, connect the two tubes using special connections.
- Make sure to unplug the pipe before filling it with salt. You should also clean the pipe and wash the salt before doing this step, although it can be done afterwards, but with great difficulty.
 6 Connect the tube to the water heater. Connect the longest pipe to the kettle or pressure cooker by inserting the other end of the pipe into the kettle. It should be inserted into the kettle quite a bit, without reaching the liquid in it.
 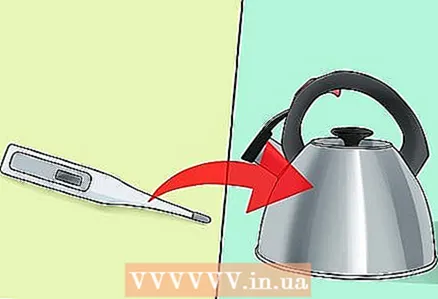 7 Insert the thermometer. Place the thermometer in the appropriate hole. Make sure the end is deep enough for the end to be submerged in the liquid without touching the bottom.
 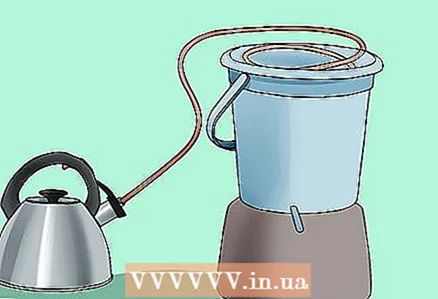 8 Use the distiller correctly. Fill the condenser with water, ice and rock salt. Make sure you use it on an electric stove, as open flames can be unsafe. Do not heat the container if everything has boiled away, be careful because the pressure can build up if you do something wrong. If you are distilling alcohol, do not drink anything when the exit temperature is below 78 degrees Celsius, or you will indulge in a drink that can blind you.
Method 2 of 3: Build a Large Solar Distillery
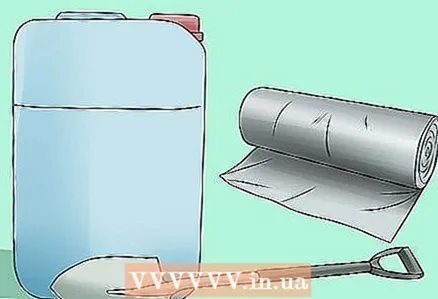 1 Prepare the necessary materials. You will need a container for distilled water, a plastic sheet, and a scoop. You may also need a plastic tubing.
 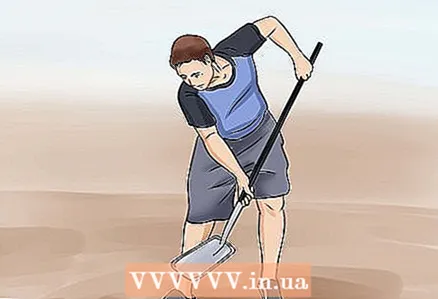 2 Dig a hole. It is necessary to dig a hole almost as large as the plastic sheet, and also deep enough so that when the center of the sheet is bent downwards, 6-8 centimeters remain between the base of the sheet and the base of the hole.
 - This method of making a distiller is good if you really need to purify drinking water. If you are stuck on a desert island, this is your best option.
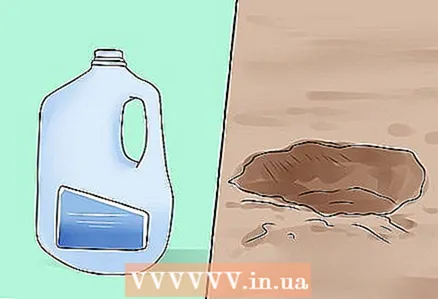 3 Insert the container. Place your drinking water container in the center of the pit, and fill it up a bit to keep from falling. Insert one end of the plastic tube into the container and place the other outside the hole. The goal is to keep the end of the tube clean and prevent it from falling into the pit.
  4 Add plant material. Place cacti, leaves, or other plant parts in the hole, if you have one. This is not necessary, but it can help your purifier produce more water.
 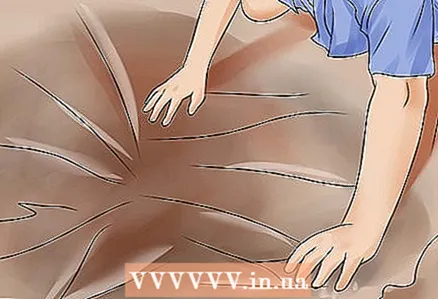 5 Cover the pit. Cover it with a plastic sheet, using stones to press down on the corners.
 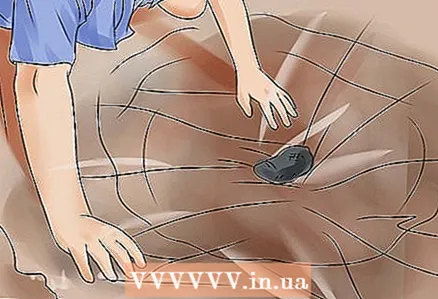 6 Add weight. Carefully place the stone in the center of the sheet so that it bends at an angle of about 45 degrees, and its lowest point is directly above the container without touching it.
 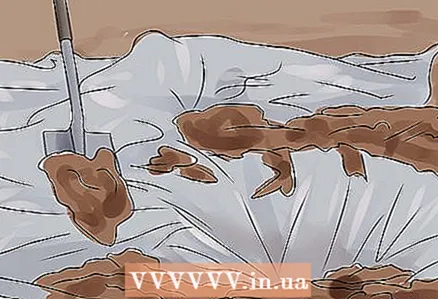 7 Seal the edges. Cover all edges of the plastic sheet with sand or mud to prevent water vapor from escaping. Be careful not to stain the edge of the plastic tube.
  8 Wait for moisture to collect. You will have to wait two to three hours for the moisture to collect on the plastic sheet and drain into the container in the corners.
 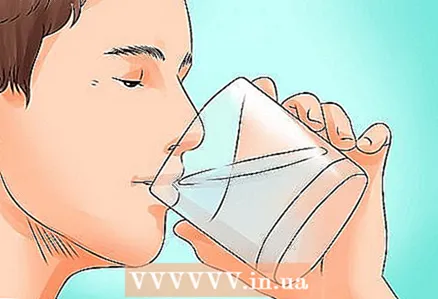 9 Drink! Drink water through plastic tubing. You can also dismantle the device and drink directly from the container, but in this case, you will have to rebuild everything in order to get more vapors.
Method 3 of 3: Build a Small Solar Purifier
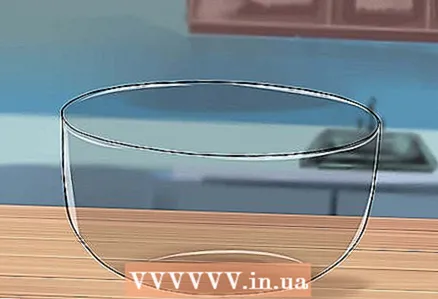 1 You will need a fairly deep large bowl. This bowl can be plastic, aluminum, or steel, BUT never lead. Place this bowl on a sunny outside surface.
 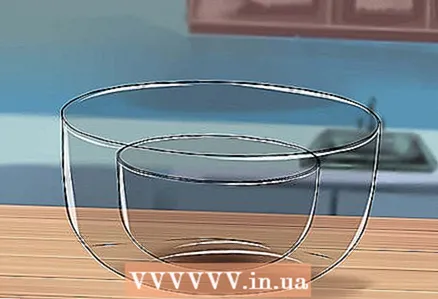 2 Place a cup or any small container in a large bowl. The cup or bowl should be shorter than the edges of the large bowl.
 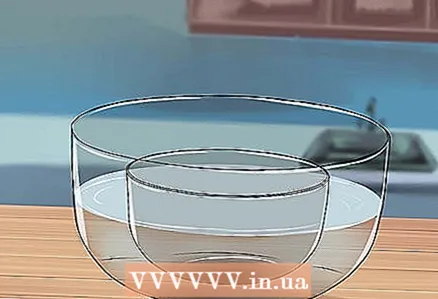 3 Fill a large bowl with water. But no more than the edges of a smaller capacity.
 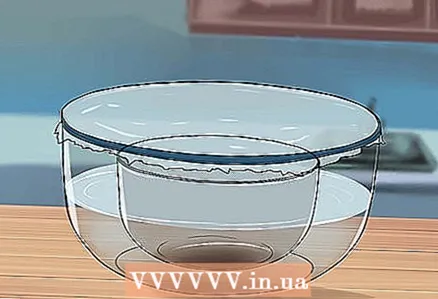 4 Cover the bowl with plastic wrap. Cover the bowl very tightly with the plastic wrap. Use tape or rubber bands to seal the bowl as tightly as possible.
 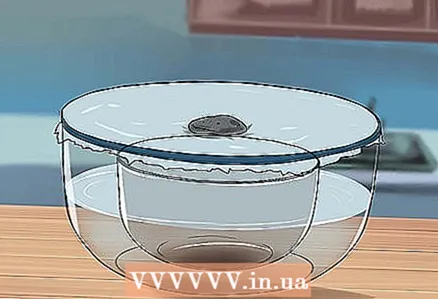 5 Place the weight in the center of the plastic cover. It should be right over your cup and fold the plastic down. Make sure the plastic does not touch the small cup. It is good to use small stones.
 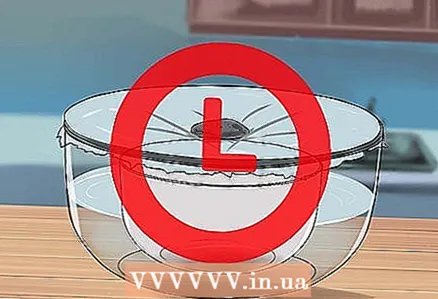 6 Wait for water. Sunlight will vaporize the water in the large bowl, causing the water vapor to rise up and settle on the plastic. Since the plastic is weighted and tilted towards the center of the small container, condensation will drain into your cup. Mmmmm! Pure water!
Tips
- When cleaning water with an oven, try to use a glass hose instead of a copper tube. This way you get the cleanest water!
Warnings
- Do not seal the container too tightly on the stove. Using the weight in the bowl will prevent too much water vapor from escaping, but it will also create pressure in the container. If you seal it too tightly, it will explode.
- Be sure to control the levers on the stove. If you don't turn off the stove once all the liquid has boiled out of the pot, you could damage the container itself, the glass, and possibly the bowl.
What do you need
- Large heating container.
- Large metal bowl
- Drinking glass (200 grams)
- Weight
- Ice
- Bake
- Plastic sheet
- Scoop
- Water bottle or other clean container
- Plastic tube (optional)


