Author:
Mark Sanchez
Date Of Creation:
1 January 2021
Update Date:
29 June 2024

Content
In this article, we will tell you how to restore Microsoft Outlook to its original settings on your computer. The easiest way to do this is to create a new profile and set it as the main profile.
Steps
Method 1 of 2: Windows
 1 Open the search bar. To do this, click on the magnifying glass or circle icon to the right of the Start menu.
  2 Enter Control Panel in the search bar. The search results are displayed.
  3 Click on Control Panel.
 4 Enter mail in the search bar of the Control Panel. This line is in the upper right corner.
  5 Click on Mail (Microsoft Outlook 2016). The version number may be different.
  6 Click on Show Profiles. You will find this option under the "Profiles" section.
 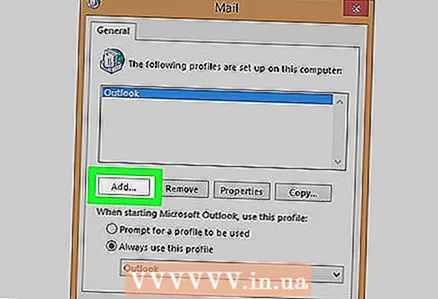 7 Click on Add. This is the first button in the list of profiles.
  8 Enter a name for the profile and click OK. Do this in the "Profile name" line.
  9 Enter your account credentials and click Further. Enter the username and password with which you connect to the mail server. Outlook will try to connect to the server.
  10 Enter your Windows password and click OK. If you do not need to enter a password, skip this step.
  11 Click on To complete. It's at the bottom of the window. A new profile will be created.
  12 Click on Always use this profile and select a new profile. From now on, Outlook will use the new profile.
  13 Click on OK. The changes made will be saved. When you start Outlook, you will find an empty profile, but your emails and calendar entries will be synced to the server so you can access them.
Method 2 of 2: macOS
 1 Open Finder
  . Click on the first icon in the dock.
 - To reset Outlook on macOS, you need to create a new profile.
 2 Double click on the folder Programs. A list of installed applications will be displayed.
  3 Hold Ctrl and press Microsoft Outlook. A menu will open.
 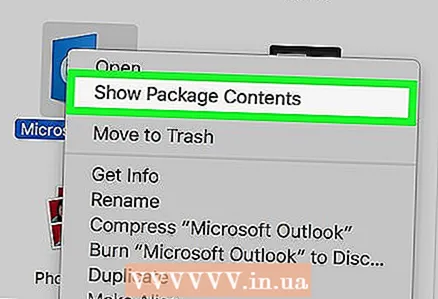 4 Click on Displaying the contents of a package. The folders will be displayed.
 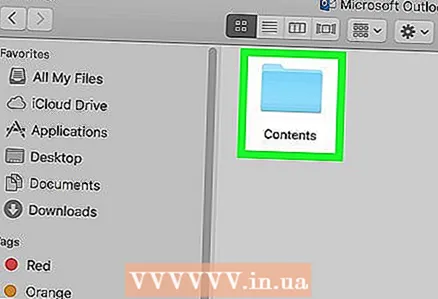 5 Double click on Content.
 6 Double click on SharedSupport.
 7 Double click on Outlook Profile Manager.
 8 Click on + Create a new profile.
 9 Enter a name for the profile and click OK. Typically, the profile name is the user's first and last name.
 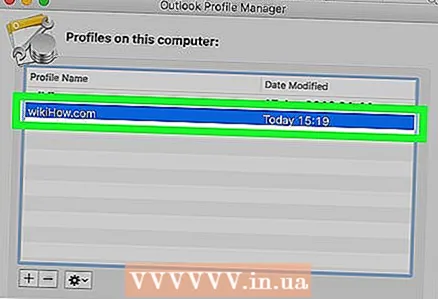 10 Select a new profile. To do this, click on it.
  11 Open the menu Selecting a default profile and press Set as default. Now when you start Outlook, you will find an empty profile. Therefore, you need to add your account to the new profile.
 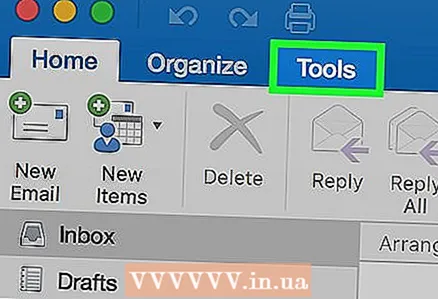 12 Start Outlook and open the menu Tools. You will find it at the top of the screen.
  13 Click on Accounts.
 14 Add your new account. Your actions will depend on the postal service. To correctly add an account, ask your ISP for server and login information.
 - Once you've created your account, click Always Allow when prompted to sync emails and calendar entries with the server.


