Author:
Marcus Baldwin
Date Of Creation:
14 June 2021
Update Date:
1 July 2024
Content
- Steps
- Method 1 of 3: Installing VMware Workstation
- Method 2 of 3: Installing the operating system
- Method 3 of 3: Working with VMware
VMware Workstation is a program that emulates an independent computer (virtual machine) and allows you to work with it as with a regular computer, that is, install operating systems and applications on it. A virtual machine is great for testing new operating systems, visiting suspicious websites, creating a computing environment specifically for kids, studying the effects of computer viruses, and more. You can even connect printers and USB drives to the virtual machine.
Steps
Method 1 of 3: Installing VMware Workstation
 1 Make sure your computer meets the VMware Workstation system requirements, which are quite high. If your computer does not meet these requirements, you will not be able to work effectively with VMware.
 - Your operating memory must be sufficient to run the virtual operating system and any programs installed on that operating system. 1 GB is the minimum, but 3 GB or more is recommended.
- You must have a 16-bit or 32-bit video adapter. Most likely, 3D effects will not work well in a virtual operating system, so it is not always possible to play games in it.
- You will need at least 1.5 GB of free hard disk space to install VMware Workstation plus at least 1 GB to install a virtual operating system.
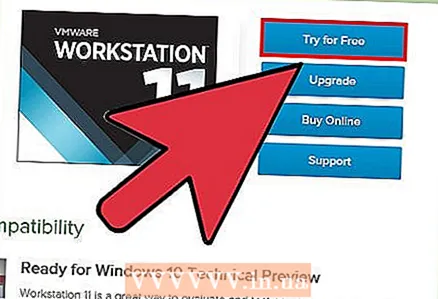 2 Download VMware software. You can download the VMware installer from the official VMware website. Select the latest version and click on the download link.
 - You will be prompted to review the license agreement before you can download the file.
- You can only install one version of VMware Workstation.
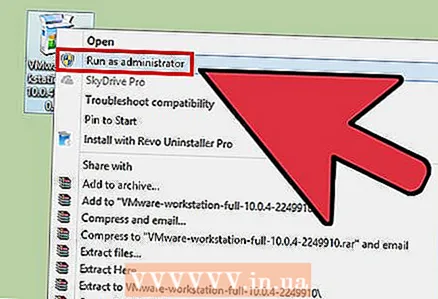 3 Install VMware Workstation. Once you've downloaded the file, right-click on the file and select "Run as administrator".
 - You will be prompted to read the license agreement again.
- Most users can use the Typical installation.
- At the end of the installation, you will be prompted for a license key.
- After the installation is complete, restart your computer.
Method 2 of 3: Installing the operating system
 1 Start VMware. Installing an operating system on a virtual machine is largely the same as installing it on a regular computer. You will need an installation disc or ISO image, as well as the required license keys for the operating systems that you want to install.
 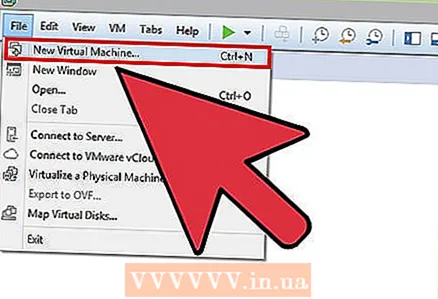 2 From the File menu, select New Virtual Machine and then select Typical. VMware will ask for the installation media. If the program recognizes the operating system, it will perform an "Easy Installation":
 - Physical Disk - Insert the installation disk with the operating system you want to install and then select the disk in VMware.
- ISO Image - Browse to the location of the ISO file on your computer.
- Install the operating system later. This will create an empty virtual machine. You can install the operating system later.
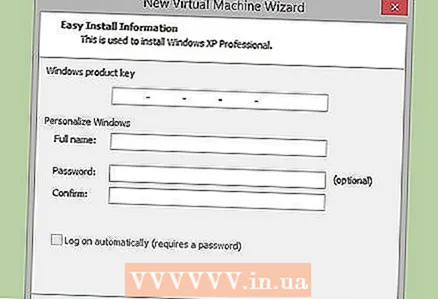 3 Enter the operating system parameters. For Windows and other paid operating systems, you will need to enter a product key. In addition, you must enter your username and password (if necessary).
 - If you are not using Easy Install, you need to look at the list of operating systems.
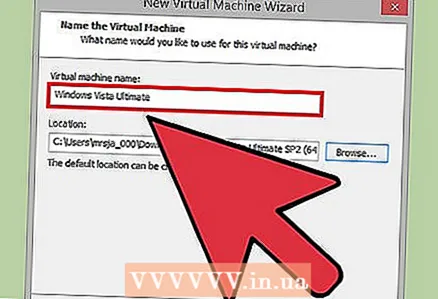 4 Name the virtual machine. The name will help you find it on your computer and distinguish between several virtual machines running different operating systems.
 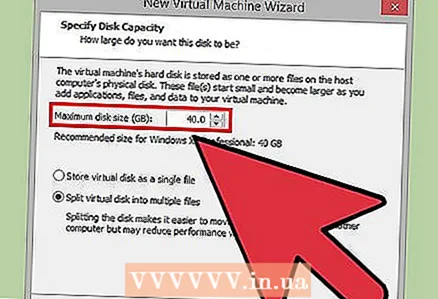 5 Set the size of the hard drive. You can allocate any amount of free hard disk space as a virtual machine hard disk. Make sure that the allocated space is sufficient to install the required programs.
 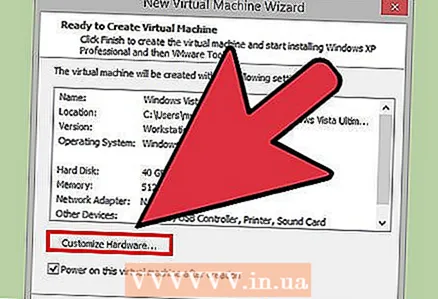 6 Configure the hardware of your virtual machine. A virtual machine can emulate specific hardware; to do this, click on Customize Hardware. This can be useful when trying to run an old program that only supports certain hardware.
 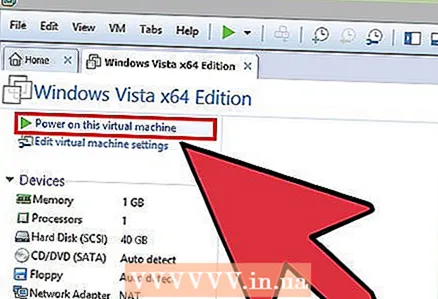 7 Select the Power on this virtual machine after creation check box if you want the virtual machine to start after it is created and configured. If you have not checked this box, you can select the virtual machine from the list and click “Power On”.
 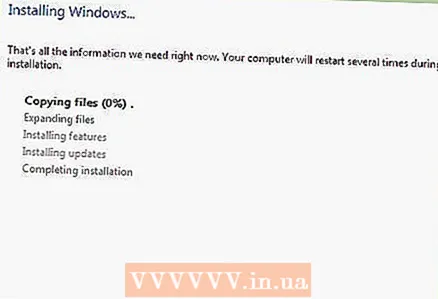 8 Wait for the installation to complete. After you start the virtual machine for the first time, the automatic installation of the operating system will begin.
 - If you did not enter your product key or username when creating the virtual machine, you will most likely be prompted to do so during operating system installation.
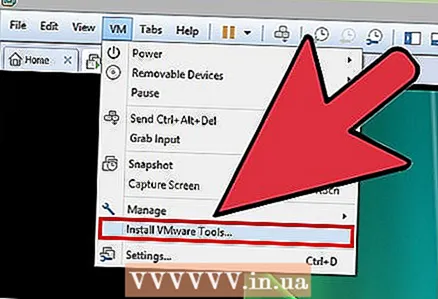 9 Check VMware Tools installation. After installing the operating system, VMware Tools should install automatically. Make sure that the program icon is on the desktop or in the folder with installed programs.
 - VMware Tools is designed to configure a virtual machine.
Method 3 of 3: Working with VMware
 1 Launching a virtual machine. To start a virtual machine, open the VM menu and select the virtual machine you want to power on. You can choose between starting the operating system or booting into the BIOS.
 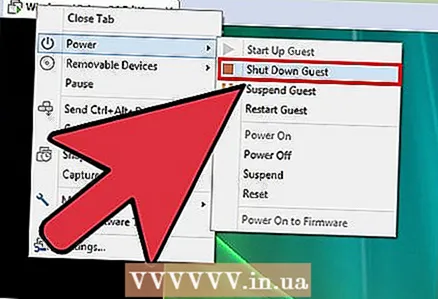 2 Shutting down the virtual machine. To shutdown a virtual machine, select it and open the VM menu. Select Power.
 - Power Off - The virtual machine shuts down as if the computer were disconnected from the network.
- Shut Down Guest - the virtual machine shuts down as if you shut down the computer by pressing the corresponding button in the operating system.
- You can also turn off the virtual machine using the shutdown button in the virtual operating system.
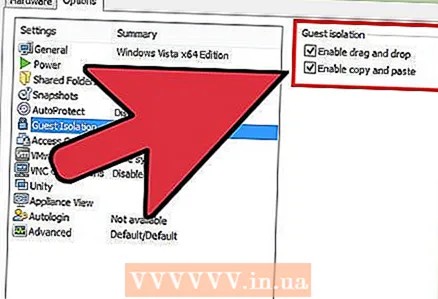 3 Moving files between virtual machine and computer. Moving files between the computer and the virtual machine is simple drag and drop. Files can be moved in both directions between the computer and the virtual machine, and they can be dragged from one virtual machine to another.
 - When dragging and dropping, the original file will remain in its original location and a copy will be created in the new location.
- You can also move files through copy and paste.
- Virtual machines can connect to shared folders.
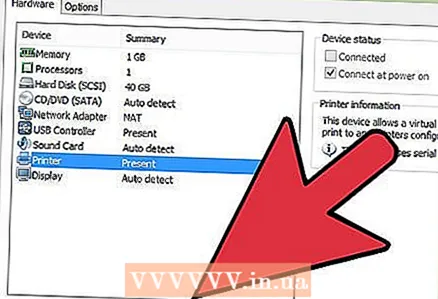 4 Installing a printer on your virtual machine. You can install any printer on your virtual machine without installing any additional drivers (if they are already installed on your computer).
 - Select the virtual machine where you want to install the printer.
- Open the VM menu and select Settings.
- Go to the Hardware tab and click Add. This will launch the Add New Hardware Wizard.
- Select your printer and click Finish. Your virtual printer will be turned on after restarting the virtual machine.
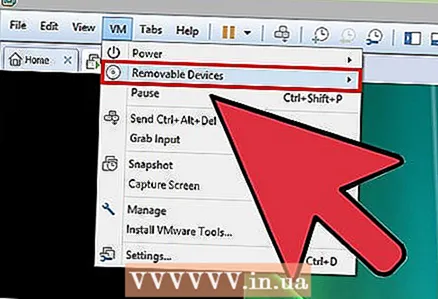 5 Connecting a USB drive to a virtual machine. Virtual machines work with USB drives the same way your computer does. However, the USB storage will not be available to both the virtual machine and the computer at the same time.
 - If the virtual machine window is active, the USB drive is automatically connected to the virtual machine.
- If the virtual machine window is not active or the virtual machine is not enabled, select the virtual machine and open the VM menu. Select Removable Devices and click Connect. The USB drive will automatically connect to the virtual machine.
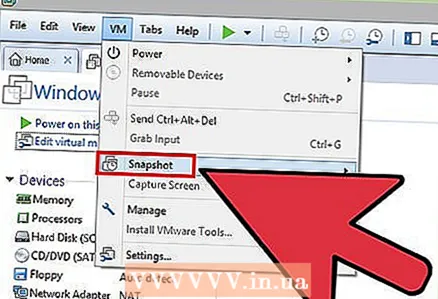 6 Take a snapshot of the virtual machine. A snapshot is the saved state of a virtual machine at a given point in time, and it will allow you to boot the virtual machine in that state as many times as you like.
 - Select the virtual machine, open the VM menu, hover over Snapshot and select Take Snapshot.
- Name the snapshot. You can also describe the snapshot, although this is optional.
- Click OK to save the snapshot.
- Load a snapshot by opening the VM menu and clicking Snapshot. Select the snapshot you want to upload from the list and click Go To.
 7 Check out the hotkeys. The shortcut Ctrl with other keys is used in working with virtual machines. For example, Ctrl + Alt + Enter opens the virtual machine in full screen mode. Ctrl + Alt + Tab is used to move between multiple running virtual machines (when the mouse is used by one machine).


