Author:
Ellen Moore
Date Of Creation:
20 January 2021
Update Date:
27 June 2024

Content
A perpendicular is a line that intersects another line at an angle of 90 °. Perpendiculars are often used in geometry, so it is important to know how to draw them. Use a protractor to quickly draw a perpendicular. You can also build a perpendicular using a compass and a ruler.
Steps
Method 1 of 2: Using a protractor
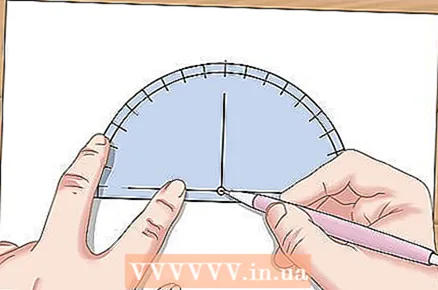 1 Place the ruler (straight side) of the protractor to this line segment. Align the zero division of the protractor with the point on the segment. Align the line of the protractor with this line.
 - The zero division is in the center of the protractor ruler.
- The angle scale is located on the semicircular side of the protractor and is used to measure angles (from 0 ° to 180 °).
 2 Put the point at division "90" on the goniometric scale. This division is at the top on the semicircular side of the protractor. Remember that two perpendicular lines form a 90 ° angle. Thus, to draw a perpendicular, you need to set aside an angle of 90 °.
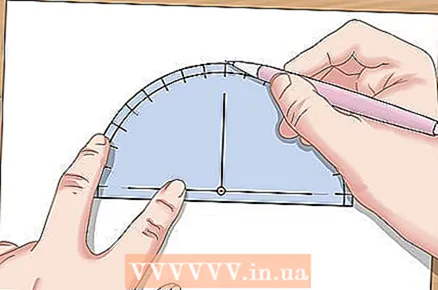
  3 Connect the point on the line with the point that you put at division "90". To do this, use the protractor ruler. The resulting segment is perpendicular to this segment and passes through a given point on the segment.
Method 2 of 2: Using a compass and ruler
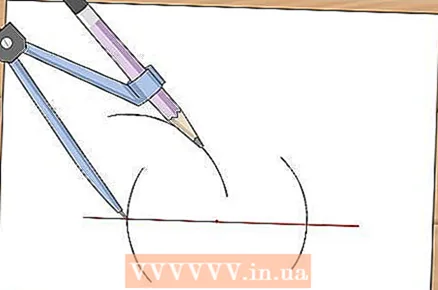
 1 Draw arcs on both sides of the specified point. To do this, place the needle of the compass at a given point on a straight line. Then draw two arcs on either side of the specified point. The arcs must intersect the straight line. Mark the points of intersection of the arcs with the straight line.
 - At this stage, the compass solution can be anything.
- For example, point A is given on a straight line. Using a compass, place points P (on the left) and point Q (on the right) on the straight line.
 2 Increase the compass solution. Place his needle at a point to the left of the starting point. Now make the compass solution so that the compass pencil is approximately halfway between the starting point and the point to the right of the starting point.
 - For example, place the needle of your compass at point P, and then increase the solution so that the pencil is approximately halfway between points A and Q.
 3 Draw an arc above or below the line. Do this with the compass at a point to the left of the starting point.
 - For example, if the needle of the compass is at point P, draw an arc above or below the line.
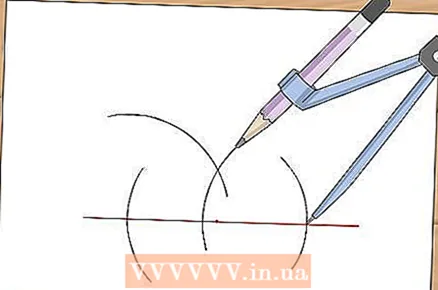 4 Draw a second arc crossing the first. Do not change the compass solution. Place the needle of the compass at a point to the right of the starting point, and then draw a second arc above or below the straight line; the second arc must cross the first. Mark the intersection point of the two arcs.
 - For example, place the needle of the compass at point Q. Draw an arc that crosses the first arc at point T.
 5 Connect the intersection of the arcs to the origin. To do this, use a ruler. The resulting segment is perpendicular to this line and passes through the specified point.
 - For example, draw a line between points A and T.
 6 Ready.


