Author:
Ellen Moore
Date Of Creation:
16 January 2021
Update Date:
2 July 2024
Content
- Steps
- Method 1 of 2: Method One: Attaching the Kindle Fire to a Windows Computer
- Method 2 of 2: Method Two: Attaching the Kindle Fire to Mac OS X
- Warnings
- What do you need
The Kindle Fire can be connected to a computer to download and exchange data between devices, such as transferring e-books, videos, photos, and other types of media files. Follow the steps in this article to learn how to connect your Kindle Fire to your computer.
Steps
Method 1 of 2: Method One: Attaching the Kindle Fire to a Windows Computer
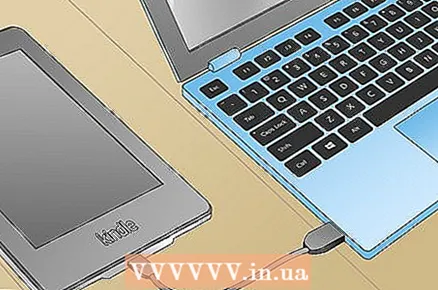 1 Connect the Kindle Fire to your computer using a micro-USB cable. Micro-USB cables are sold separately and are not included with your Kindle Fire.
 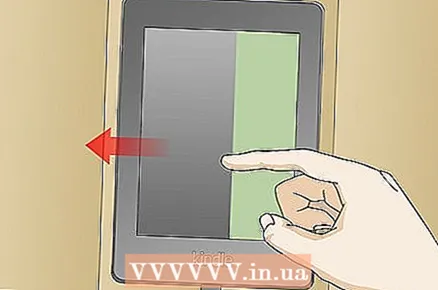 2 Unlock your Kindle Fire by swiping your finger along the arrow on the screen from right to left.
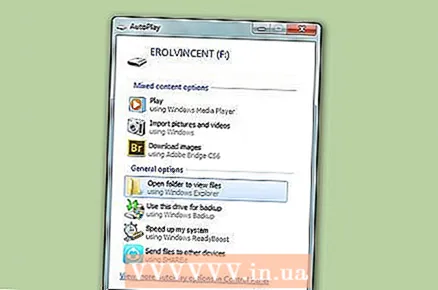 3 Wait for your Windows computer to recognize the Kindle Fire. A window will appear that provides details on how to manage your Kindle device.
 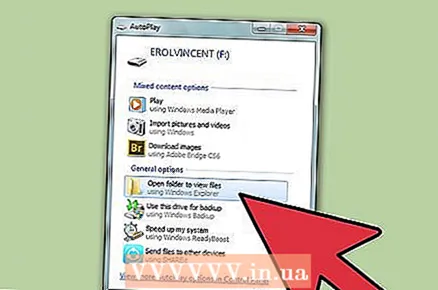 4 Click on “Open folder to view the files.” A new Windows Explorer folder will open to display the data on your Kindle Fire.
 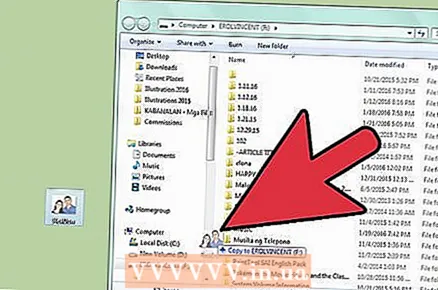 5 Take and move the files wherever you want. This is done using Windows Explorer.
  6 Click on the button labeled “Disconnect” at the bottom of your Kindle's screen when you're done transferring files to your Kindle Fire.
 7 Remove the micro-USB cable from your Kindle Fire. After exiting USB mode, you will see the Kindle Fire home page and it will be ready to use.
Method 2 of 2: Method Two: Attaching the Kindle Fire to Mac OS X
 1 Connect your Kindle Fire to your Mac using a micro-USB cable. The micro-USB cable is a device that you need to purchase separately and is not included with your Kindle Fire.
  2 Swipe the arrow on the Kindle Fire screen from right to left. The device will unlock.
 - 3 Wait for your Mac to recognize the Kindle Fire as an external device. An icon titled “Kindle” appears on the Mac desktop.
- 4Click on the “Kindle” icon to display its folders and files in the Finder.
- 5Move files however you want with Finder.
- 6Close Finder when you're done moving files.
- 7Press and hold the “Control” button on your Mac's keyboard, then click on the Kindle icon on your desktop.
- 8Click “Eject” on the displayed floating options menu.
 9 Disconnect your Kindle Fire from the micro-USB cable. Your Kindle Fire is ready to use when the home page is displayed.
Warnings
- You will not have access to data on the Kindle Fire itself as long as it is connected to your computer via a micro-USB cable. If you want to access data on your device, you will need to disconnect your Kindle Fire from your computer.
What do you need
- Micro-usb cable
- Kindle Fire device
- Computer


