Author:
Gregory Harris
Date Of Creation:
16 August 2021
Update Date:
1 July 2024
Content
In this article, you will get a step-by-step guide to adding a different look to your car and car accessories using a rubberized finish. This coating is a substance that is used to protect the wheels and car body in winter. It is a high quality product that is resistant to sun, ice, cold and salt. It is also a fairly durable material that will begin to peel off after a long period of time. Most importantly, everyone can use this substance for their car to give it a matte look and protect it from various pests.
Steps
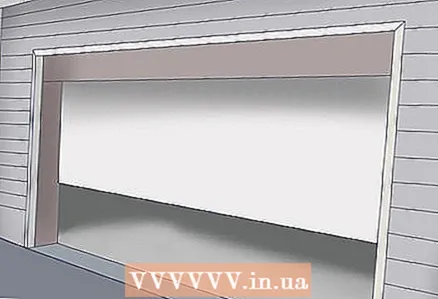 1 Find a suitable site. Find a place that is large and well ventilated. An open garage is a good idea, but if you don't have a garage it is possible to paint outdoors. Avoid direct sunlight.
 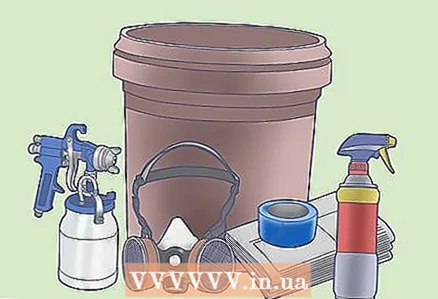 2 Collect materials. Gather the necessary materials, which are described in the section "What is useful for you".
 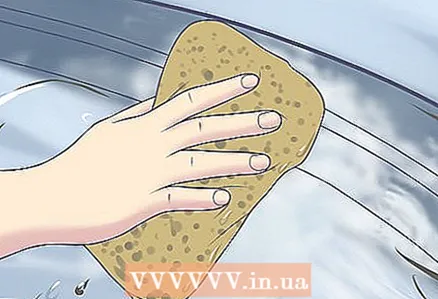 3 Rinse and clean the surface gently. Before applying any coating to the car, it must be clean. This coating creates a separate layer on any surface - just like dirt or surfaces smeared with hands or bird droppings. In other words, you need a clean surface to work with.
 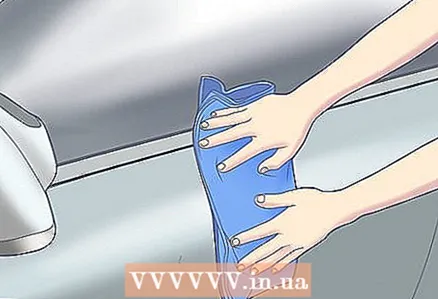 4 The surface MUST be dry. After cleaning the place, dry it with a cloth of your choice. We recommend using dry microfiber cloths, but you can use a terrycloth towel. Don't use logo T-shirts or paper towels - they will scratch.
  5 Prepare the surface. Although the coating can already be sprayed, the surface must be prepared. Surface preparation will eliminate the appearance of problems with the removal of excess spray on the layer. Using masking tape or newspapers, close windows and any areas you do not wish to paint.
  6 Shake the can. As with any spray material, the can should be shaken well for about a minute.
 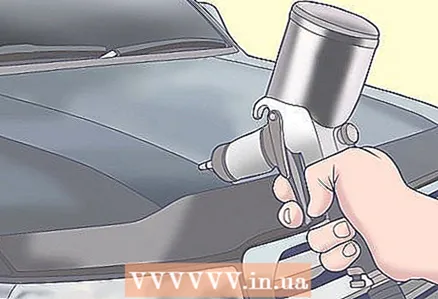 7 Paint in patches. Painting with patches will take the shortest time (up to 6-8 hours). For example, add one layer to the hood while the roof layer is drying. You don't have to start with the hood. You can start from anywhere. Important note - do not touch the coating applied to the vehicle during operation to avoid unpainted areas. The coating is safe after dry. It is recommended to wear a mask and goggles for protection.
  8 Spray the first coat. It is very important that this layer is not covered with dust, because the first layer is a bonding layer that will allow for 50-60% transparency. This will allow the rest of the layers to stick together and adhere to the paint. Spray with light, sweeping strokes, holding the can 20-30 cm away from the coverage area. Let the coating dry for 15-30 minutes depending on the weather before moving on to the next coat.
  9 Spray additional layers. Increasing the number of layers. On average, 4-5 coats are required. More coats are sprayed at discretion. The layers after the first one will be light. Spray with light, sweeping strokes, holding the can 20-30 cm away from the coverage area. Remember to allow each coat to dry for 15-30 minutes.
  10 Remove the tape / newspaper. After painting the last coat, immediately remove any masking tapes or newspapers that have been used and discard them in the trash. Remove them before the coating dries.
 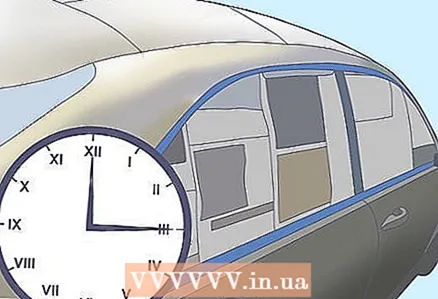 11 Setting time. From this moment, you need to wait four hours until the coating is completely hardened. IMPORTANT do not allow any liquid or substance to enter that could damage the hardening site.This can disrupt the entire process.
 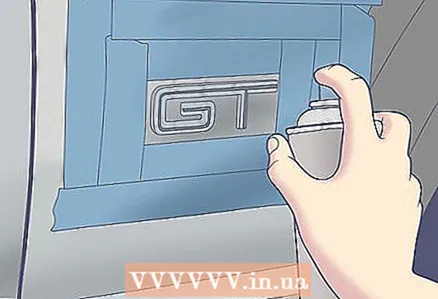 12 Spray automotive supplies. For car accessories such as emblems and grilles, repeat steps 1-11. Important Note - If the coating on the vehicle hardens, wait until this process is complete before preparing another area. Spraying on car parts can be combined with painting the car body.
 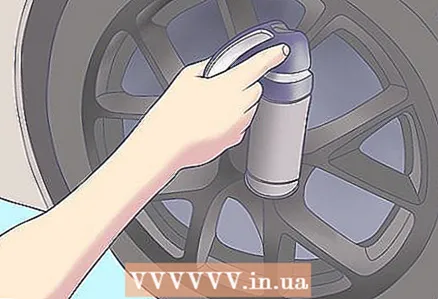 13 Cover the discs. The cleanest way to coat the rims is to unhook the wheels from the car. Follow the car instructions to complete this procedure. Repeat steps 1-11 for drives. It is entirely up to you to cover the tires of the wheels, as the cover is easily removed. But tires require simple cleaning after coating.
Tips
- To maintain durability, we suggest using 4-5 layers for a matte finish.
- Have patience and your car will look exactly the way you want it.
- Don't try to do this quickly, as you will get confused.
- The final look of the car should be matte, but there are compounds that will give a glossy shade.
- For larger jobs, such as covering the entire machine, use a spray gun. It is used for convenience and reduces the likelihood of getting the spray on your hands.
- The best spray distance is approximately 20 cm. Try to maintain this distance.
- It is best to use 3 by 5 cards to cover the area around the tires. Then you won't touch them.
- Do not spray too close - it will look “too thick” and filled with bubbles and pits. Also, don't spray too far - it will get too textured.
- Remember, jobs like this one take time and patience. Vanity will only worsen the quality of work. Our recommendation is to paint the body and wheels in a few days. Although it is possible to cover the entire car in one day.
- Shake cans thoroughly before spraying. If this is not done, nothing will be sprayed.
- When preparing the area for painting, set aside up to 20 cm of space from the surface to be painted to easily remove excess coating.
- It is recommended that you use a professional spray gun from your local tool store, as well as coated buckets instead of spray cans. But the coating can be done with a spray can and a conventional spray.
Warnings
- It is highly flammable and poisonous. Affects eyes, skin and respiratory tract.
- Be sure to wash your hands after use.
- Keep away from open flames and sparks.
- Do not store at temperatures over 50 degrees Celsius.
- Avoid contact with eyes and skin. The contact can cause numbness in the limbs, which take a long time to come off and can be constant.
- Do not pierce or ignite the can.
- The contents of the can is pressurized. If the contents are swallowed, call a doctor immediately, if inhaled, move to fresh air. Give oxygen to the lungs or use a respirator if necessary. In case of contact with skin, wash off with plenty of water. If irritation persists, seek medical attention.
What do you need
- Painter's tape 3-10 cm wide.
- Newspapers
- Rubberized protective coating (approximately 15-20 cans, depending on the size of the car).
- 300 ml can, covering an area of 5 square meters with a thickness of 5 millimeters.
- Sprayer (optional if it fits the can)
- spray gun (optional)
- two 5 liter buckets of coating (only when using a spray gun).
- Painter mask (it is not necessary to use a professional one, you can also use a disposable one).
- Cards.
- Latex gloves


