Author:
Florence Bailey
Date Of Creation:
26 March 2021
Update Date:
1 July 2024

Content
- Steps
- Part 1 of 4: General Tips
- Part 2 of 4: Check your phone number
- Part 3 of 4: Unprotect Tweets
- Part 4 of 4: Edit an account for verification
- Tips
- Warnings
In this article, you'll learn how to improve your chances of your Twitter account being verified, usually accompanied by a blue and white checkmark next to your name.
- Note: Since Twitter suspended the verification process in November 2017, this option is no longer for you, but optimizing your account for verification will speed up the verification process.
Steps
Part 1 of 4: General Tips
 1 Find out who is usually eligible for verification. The most common reasons for verification - whether you submitted your request yourself or were selected by the Twitter team - are high visibility in society (musicians, actors, athletes, artists, civil servants, public or government agencies, etc.) and the similarity of your name or appearance to other Twitter accounts, which could be confusing.
 - When considering whether to verify an account, Twitter does not take into account the number of followers or tweets.
- For more information, see the account verification rules. To find them, go to the Genuine Accounts page in the Help Center.
 2 Be active on Twitter. Post at least twice a day and interact with the people who tag you in their posts to make your account more “active”, as well as increase the engagement of your subscribers and increase the number of positive responses to your content.
 - Discuss your posts, services, or other skills with your audience so Twitter can see that your followers care about the impact you have on public opinion.
 3 Make your account publicly visible. As mentioned above, Twitter favors publicly significant accounts: performer and entrepreneur accounts, over user accounts that have little impact on the public. If you work for a publishing house, speak for a company, or do any public engagement, use that.
 - Do not post on controversial or controversial topics. While account validation and Twitter endorsement are not the same, the company takes account of the decency (or lack thereof) of the account.
- For example, you might have a blog or YouTube channel that you use to communicate with your audience. If you want to increase your chances of verification, focus all your attention on this.
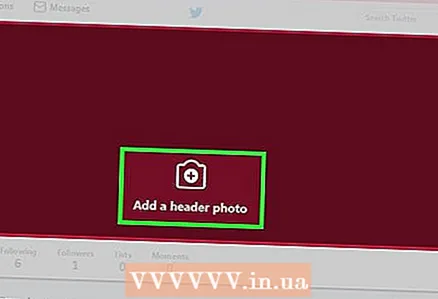 4 Update your account information. Twitter has pretty strict verification criteria, so your profile must contain all the information that meets these criteria, including: profile photo, header image, your name, bio, and location.
  5 Subscribe to verified accounts. This will give you an idea of how other verified accounts are behaving and increase your chances of being verified. Subscribing to verified accounts will indicate that you are serious about participating in discussions with an active community.
 - Like any other type of social media activity, tagging and engaging with these verified accounts in your posts will add value to your account.
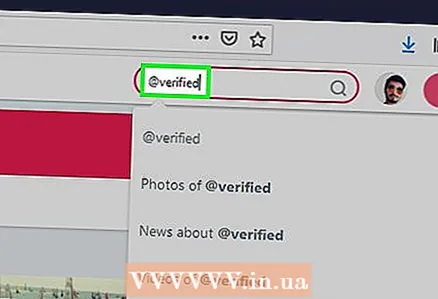 6 Connect with the official Twitter Verified account. If you want to take a more proactive stance, write Twitter Verified (@verified) and ask them to verify your account. This is just a way to submit your account to the Twitter Verified team, and is not a guarantee of specific results.
 - Please be polite when accessing your Twitter Verified account. If they don't like your behavior, they can blacklist you.
 7 Be patient. Even if you have a perfect account and users actively participate in discussions about your content, account verification can take an indefinite period. Twitter has millions of content accounts, so be patient and don't ditch your account in case Twitter does take the time to check it out.
 - The request to verify your Twitter account is likely to come someday, which means it will be much easier to verify your account. But until that moment, you just have to wait.
Part 2 of 4: Check your phone number
 1 Open Twitter. Go to https://twitter.com/ in your browser. If you are already signed in, you will be taken to your account page.
 - Otherwise, click "Login", enter your account details (email / username / phone number, password) and click "Login".
 2 Click on your profile icon in the upper right corner of the page to display the dropdown menu.
 3 Please select Settings and privacy from the dropdown menu. The settings page will open.
 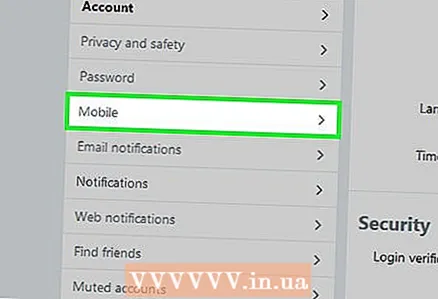 4 Go to the tab Telephone on the left side of the page.
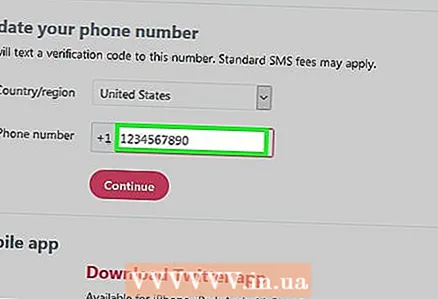 5 Enter your phone number in the text box in the center of the page.
- Provide a phone number that can receive text messages.
- If the field already contains a phone number, then the number has already been confirmed.
 6 Click on the blue button Proceed below the text box with a number. Twitter will send a confirmation code to the specified number.
 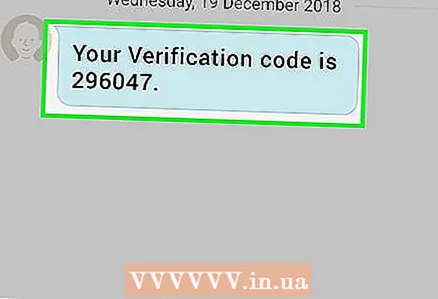 7 Make a note of the verification code. Open the Messages section on your phone, open the message from Twitter and write down the six-digit code.
 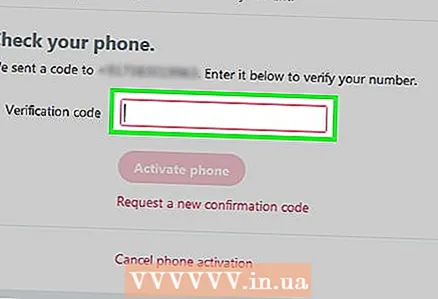 8 Enter confirmation code. Enter your six-digit verification code in the text box on the Phone tab.
 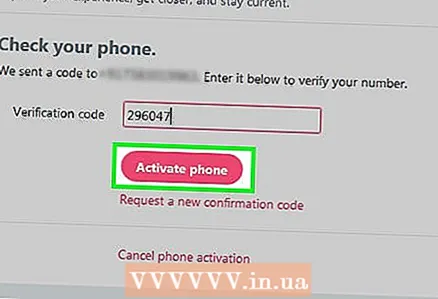 9 Click on the blue button Connect phone below the text box. This will verify your phone number by linking it to your account.
 - Linking your phone number will allow you to restore your account if you ever lose access to it.
Part 3 of 4: Unprotect Tweets
 1 Open Twitter. Go to https://twitter.com/ in your browser. If you are already signed in, you will be taken to your account page.
 - Otherwise, click "Login", enter your account details (email / username / phone number, password) and click "Login".
 2 Click on your profile icon in the upper right corner of the page to display the dropdown menu.
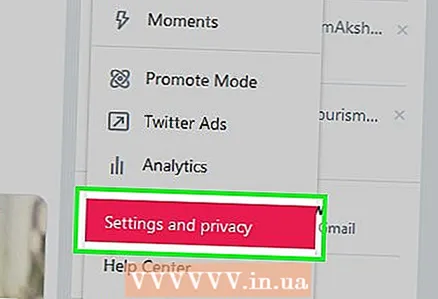 3 Please select Settings and privacy from the dropdown menu. The settings page will open.
 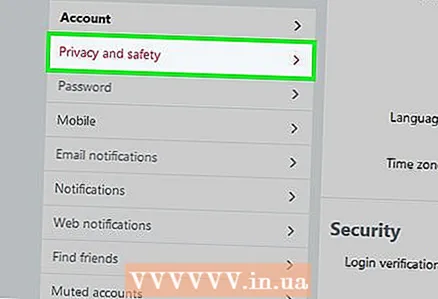 4 Go to the tab Privacy and security on the left side of the page.
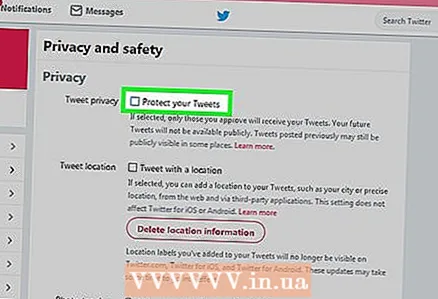 5 Uncheck the "Hide my Tweets" option in the Tweet Privacy section at the top of the page.
- If the checkbox is already unchecked, then your tweets have not been secured.
 6 Scroll to the bottom of the page and click Save. This will remove protection from tweets so that any user can now view your past and future tweets.
Part 4 of 4: Edit an account for verification
 1 Open Twitter. Go to https://twitter.com/ in your browser. If you are already signed in, you will be taken to your account page.
 - Otherwise, click "Login", enter your account details (email / username / phone number, password) and click "Login".
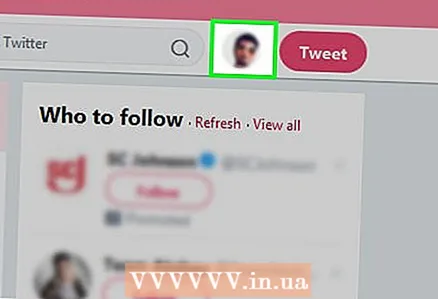 2 Click on your profile icon in the upper right corner of the page to display the dropdown menu.
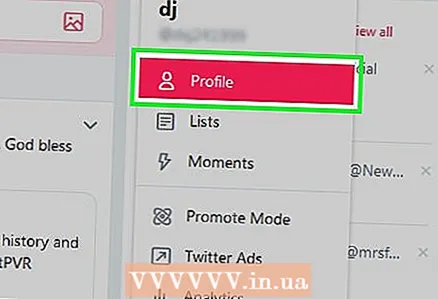 3 Please select Profile at the top of the drop-down menu to access your Twitter profile page.
 4 Press Change profile on the right side of your profile page to switch to Edit mode.
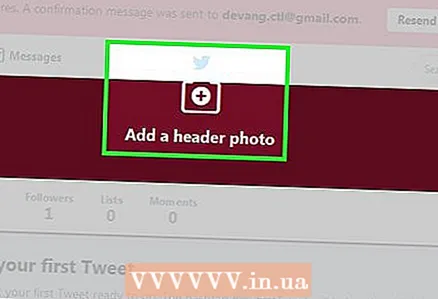 5 Change your profile photo and header image. To change them, click on the image you want to change, click on "Upload Photo" in the menu that appears, select a photo and click "Open".
 - In a hat, it is better to use a photo where you are portrayed in an environment that reinforces your role in society (for example, it can be a photo where you make a presentation at a conference or perform on stage).
- Profile photos should be professionally taken (or at the very least, they should be well-lit, high-quality photos).
 6 Use your real name. Your name is displayed on the left side of your profile page. If your Twitter name is not your real name (or your nickname if you are a performer or actor), enter your real name in this text box.
 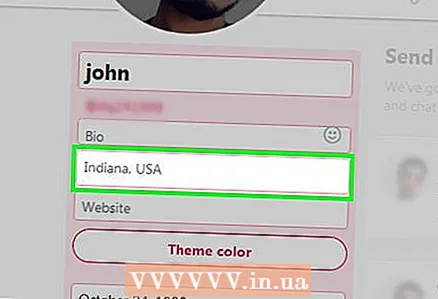 7 Add your location. Enter your location in the Location text box on the left side of the page. Many people use the Location text box to indicate a funky or fake location, but you should include your current location (such as city and state) so that Twitter can verify your account.
  8 Add a link to the site. In the Website field, add a link to your most impressive online achievement, whether it's an author profile, YouTube channel, or your startup landing page.
 - The website listed should explain why you deserve the right to be reviewed. For example, if you have an author profile on a news site, add a link to that profile.
- List your biggest online achievement as your website. For example, if you've climbed the career ladder from full-time employee to publishing owner, be sure to update your profile on the website.
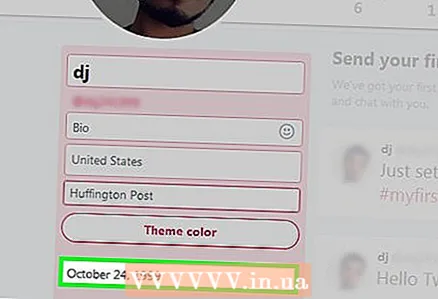 9 Add your date of birth. This is more of a formality, but it will not be superfluous. Give Twitter as much information as possible about yourself, and then its employees will decide for themselves whether to check you or not. Enter your date of birth in the Birthday text box on the left side of the page.
 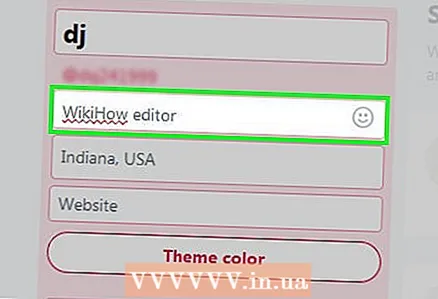 10 Complete your biography. To do this, use the text box under the name on the left side of the page. Your bio is a key place to prove to Twitter (and your audience) that you deserve a verified status. It should contain the following information:
 - The type of job or government service you do (describe your account in a few words).
- Links to useful profiles (for example, write "@wikihow Editor" instead of "wikiHow Editor").
- One or two major personal accomplishments (eg, "CEO of [company name]").
- A humorous signature (but only if it doesn't distract from the rest of the biography).
- It's okay if you misrepresent your role in certain situations. For example, if you set up a "small business" to edit other people's work, call yourself an "entrepreneur" or even give yourself the title "CEO."
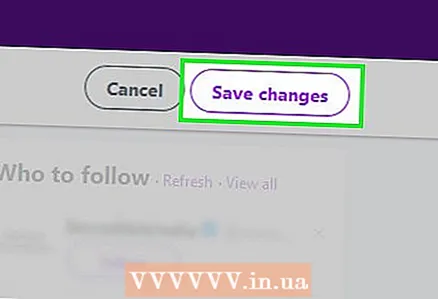 11 Click on Save changes at the top right of the page. This will save the current changes and apply them to the profile. Now that your profile is optimized for Twitter verification, you're one step closer to getting that little checkmark next to your name.
Tips
- If that's not enough for you, check out other verified accounts to understand how they behave. The easiest way to do this is to go to your Twitter Verified (@verified) account page, select the Subscriptions tab, and see a list of verified users.
- After verification, some of your followers may disappear.
Warnings
- Do not add a fake verification checkmark to the end of the header. This is unlikely to impress anyone and may lead to account suspension.
- Changing the username may result in the loss of the verification badge.
- If your account is verified, it does not mean that other users will no longer be able to create fake accounts under your name.
- Until you remove protection from tweets, your account will not be verified, as the purpose of verification is to draw attention to publicly significant accounts.


