Author:
Eric Farmer
Date Of Creation:
11 March 2021
Update Date:
1 July 2024
Content
In this article, you will learn how to properly (and most importantly, safely) fix an electrical cord. It will be shorter than before, but it will be safe to use.
Steps
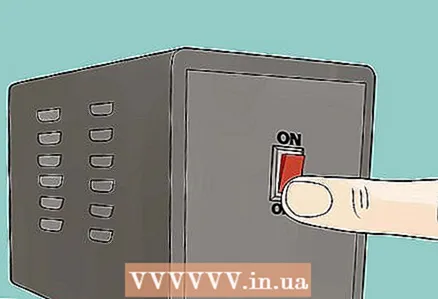 1 Disconnect electrical power to your home. A defective or damaged cord should not be handled while it is energized.
 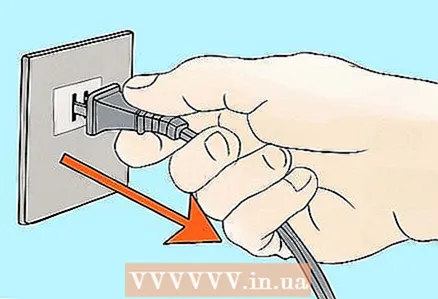 2 Unplug the power cord.
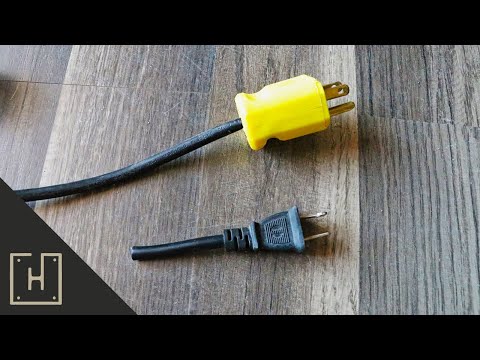
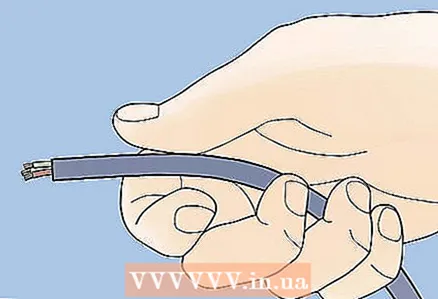 3 Examine the end of the cord. If it is an extension cord, disconnect all connected cords from it. While holding the end of the cord in your hand, pay attention to whether it is warm. A warm end indicates a potential problem (more on this later). You should inspect the plug for flaws or defects and for melted, darkened, or burnt insulation around the plug. You should also inspect the female end of the extension cord for the same damage.
 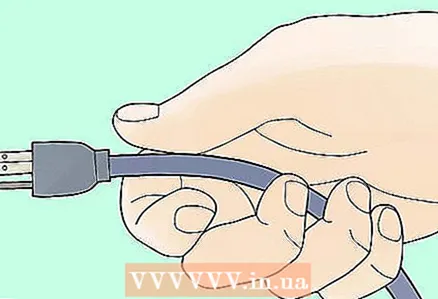 4 Examine the entire cord. Visually inspect the full length of the cord for damage such as cuts, breaks, or burn marks on the casing or insulation. Pull the cord through your hand to feel inconsistencies that may be difficult to see, especially on the blind side of the cord. Mark the places of the possible defect.
 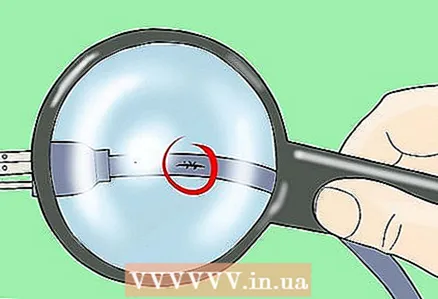 5 Examine the marked locations on the cord. Identify potential hazards to those using this cord, from those that are minor.
 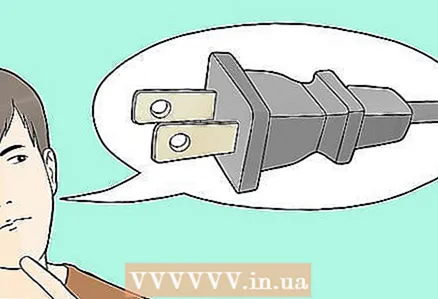 6 Determine if you are using a polarized plug and cord. Many appliances and 2-wire (ungrounded) extension cords use polarized cords and plugs. These plugs connect to a (flat) two-wire wire. These wires tend to recognize one wire from another. This wire may contain a rib that will run along the entire length of the cord, printed at regular intervals about the cord, different color coding (gold / silver), and so on. Take a look at the end of the old cord to see if it has a polarized plug. If it does, then you will need to remember which wire is connected to the wide contact and which to the narrow one.
 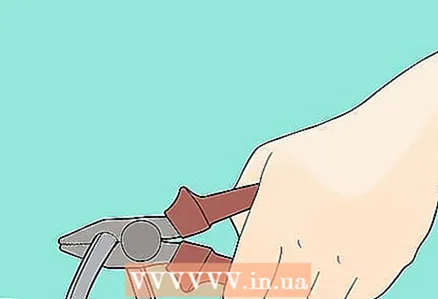 7 Cut the cord. After determining the cause of the malfunction, select a place on the cord between the electrical appliance and the damaged area (as close as possible to the damaged area) and cut the cord.
  8 Install the replacement plug. The replacement plug must have the same number of contacts as the old one. Round cords are usually three-wire grounded wiring in which the wires are wrapped in different colored insulating material. If the cord is represented by (1) white or gray wire, (2) green or green / yellow wire, and (3) colored wire (often red or black), the green / yellow wire will be connected to a long, round pin; the white / gray wire will be connected to the wide terminal and the remaining colored wire to the narrow terminal. If it is a flat, two-wire cord, then make sure that the defective wire is connected to a pin the same width as it was originally, to maintain the polarity specified by the manufacturer.
 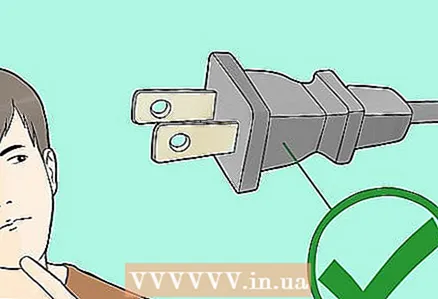 9 Check your work. Make sure all strands of wires are securely fastened under their pins. They should be screwed together and then wrapped clockwise around the screw terminal (s). Strands that intersect with other pins can cause a short circuit, which in turn can lead to an arc flash, blown fuse, meter breakdown, or more serious problems. If all strands are not fully secured under their pins, it can reduce the amount of load that the wire can carry, leading to a heating of the plug or a drop in voltage. Tighten all connections securely and assemble the plug body. Remember to install the insulating materials that came with the replacement plug.
 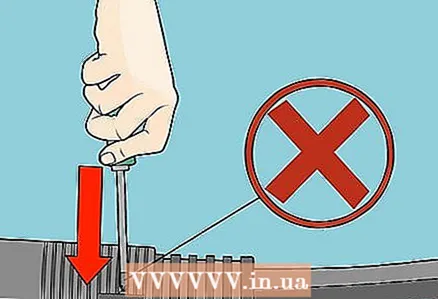 10 Do not pinch the pins in the plug around the cord. This could rupture the sheathing / insulation of the wire and create a new hazard for anyone who touches the cord.
 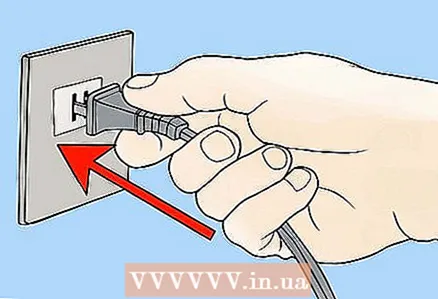 11 Test the cord. If possible, turn off the power to the outlet and then plug in the repaired power cord. Turn on the power and test the appliance or cord, staying away from the place of repair.
 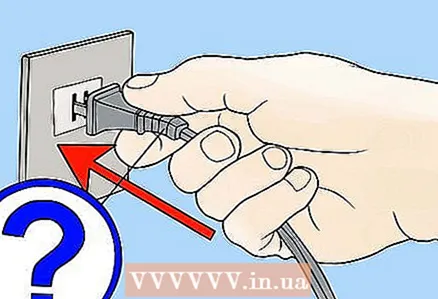 12 Does not work? It is likely that there were multiple sources of malfunction. A warm plug may indicate excessive build-up of oxidation, dirt, or other substances that interfere with the operation of the cord. The problem can also be inside the outlet (or in the holes in the extension cord), as the heat you feel on the plug can also come from the matte surface of the outlet. Over time, the heating and cooling of the metal contacts in the receptacle will wear out the parts, which will weaken the force of their "compression". Because of this, the socket does not compress the plug contacts strongly enough and needs to be replaced (and in the case of an extension cord, the female end of the plug).
Tips
- If the cord is damaged, cut off the damaged part and fit replacement caps on each side. This will allow you to insert them into each other and use them almost their entire length.
- Test extension cords by connecting the ohmmeter and tester probes for continuity to the ground pin and to the hole in the socket, to the wide pin and to the wide hole, and finally to the narrow pin and the narrow hole. You should get a continuity or 0 ohm reading each time. Next, check each pin of the plug. Each time you have to receive discontinuity and an infinite number of Ohms.
Warnings
- Never install a two-prong plug or socket outlet with a three-wire cord supplying power.
- If the colors in your cord differ from those indicated in the article, then you must determine which wire to connect to this or that contact. This can be done with an inexpensive continuity tester, tester, or ohmmeter. DON'T GUESS.
- Never install a three-prong plug or outlet if it is powered by a two-wire cord.
- Never wrap electrical tape around an electrical appliance or extension cord if the casing or insulation is damaged.
- Never wrap the cord seam.
")


