Author:
William Ramirez
Date Of Creation:
16 September 2021
Update Date:
1 July 2024
Content
- Steps
- Method 1 of 6: Direct connection
- Method 2 of 6: USB Card Reader
- Method 3 of 6: Email
- Method 4 of 6: Cloud
- Method 5 of 6: iCloud
- Method 6 of 6: Windows XP
Digital cameras have awakened photographers in many of us, allowing us to achieve an unprecedented level of creativity - and as a result, we began to take hundreds of pictures!
Of course, viewing photos with friends is not possible on the small camera screen. So the only way to enjoy your pictures (and upload them to Facebook) is to upload them to your computer. We'll show you some ways to do this.
Steps
Method 1 of 6: Direct connection
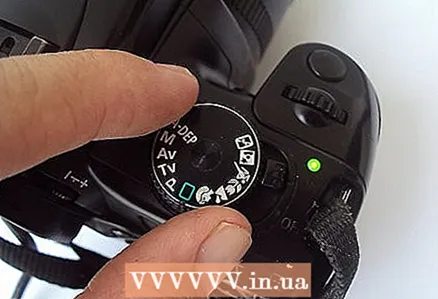
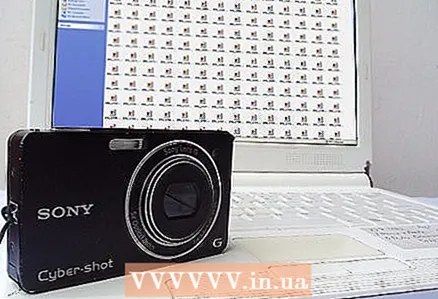
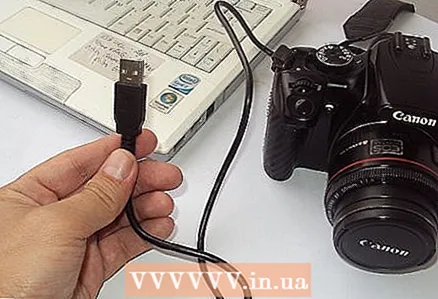 1 Use a USB cable. Since many cameras nowadays support the USB connection function, this is a very simple method. However, it is not always effective as it depends on the specific combination of your camera, computer, and operating system.
 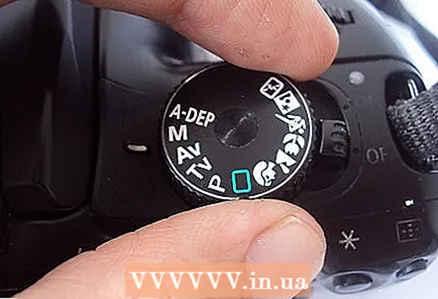 2 Turn off the camera. When you connect or disconnect electronic devices, especially sensitive ones such as digital cameras, it is best to turn them off first.
 - Connect one end of the cable (usually the small plug) to the camera.

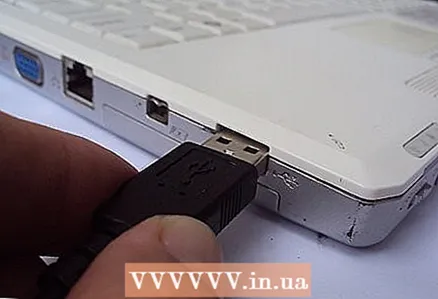
- Connect the other end of the cable (wide connector) to your computer's USB port.
- Connect one end of the cable (usually the small plug) to the camera.
 3 Turn on the camera. Your camera should appear as a drive on your Desktop.
Method 2 of 6: USB Card Reader
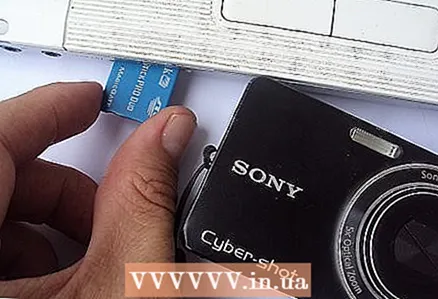
- 1 Find an SD card reader. It is a small external device like a box that plugs into a USB port.
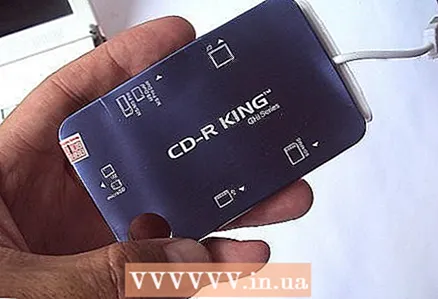 2 Connect the card reader to a USB port on your computer. The device can connect directly to a computer or have a USB cable at one end.
 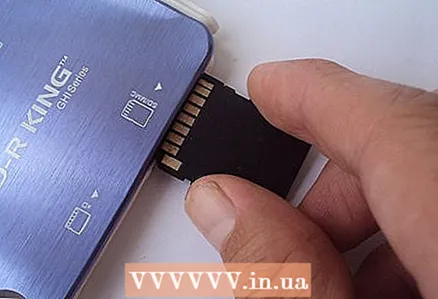 3 Insert the SD card from your camera into the card reader. The map will appear on the Desktop as a disk.
 - Drag images from the card to your computer. Ready!

- Drag images from the card to your computer. Ready!
Method 3 of 6: Email
 1 Take pictures with your smartphone camera. Empty is not a camera of the level of Canon EOS 7D, but cameras of modern smartphones are enough to take high-quality pictures.
 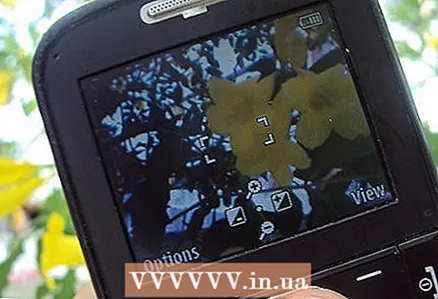 2 Take a picture. All photos start with pressing the camera shutter button!
 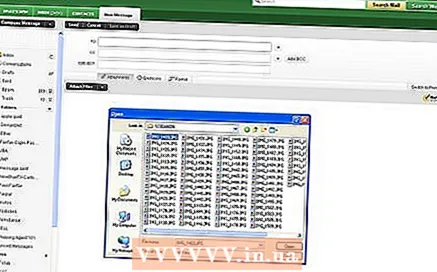 3 Create a new email document. Attach a photo to it as an attached file and send an email to yourself.
Method 4 of 6: Cloud
 1 Use your smartphone's camera. Some apps, like Instagram, automatically upload images to the shared space. Thus, your images will be available to you or other users to download to your computer.
  2 Take a photo with Instagram. Apply filters as desired.
  3 Post a photo to Instagram and email from there to yourself.
Method 5 of 6: iCloud
 1 Go to iCloud. This is possibly the easiest and fastest way to transfer images from your camera to your computer. With iCloud, your iOS camera photos are automatically uploaded to the cloud and made available to iCloud-enabled devices, be it Mac or PC.
  2 Take a picture. When you get home, access Photo Stream using iPhoto, Aperture, or any device that recognizes Photo Stream.
Method 6 of 6: Windows XP
 1 Connect your camera or memory card to your computer. This is an easy step. You can directly connect the camera to the computer, or remove the memory card and insert it into a card reader connected to the computer. Usually the connection is via USB.
 - The Camera Connection Wizard window should appear. If it does not appear, then you can call it manually: Start> Accessories> Wizard for working with a scanner or digital camera.
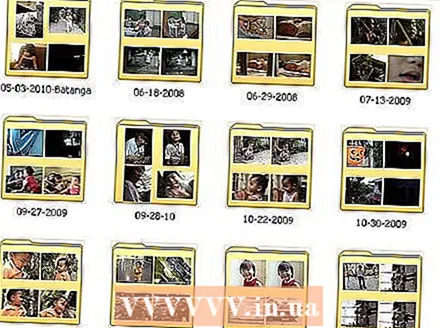
 2 Select images. This step will allow you to select the images you want to move. The wizard will also allow you to rotate images and view information about them, such as the date they were taken. This way you can define for yourself what you will call the folder for photos. In most cases, you just copy all the pictures into one folder on your computer, but if you need information, the wizard will provide you with it.
 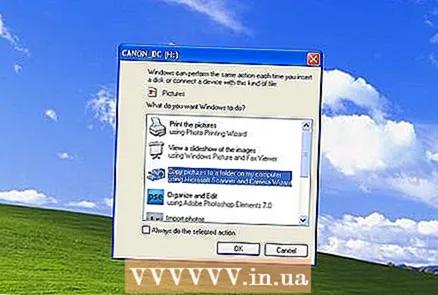 3 Select the destination folder. Now you need to fill in two fields.
 - First field: "Enter a name for the group of photos." The value you enter will appear in the name of each file that is moved to your computer. For example: if you know that the pictures were taken on June 21, 2012 in the park, then name the file group "210612 - Park", after that each file name will include this name and counter: 01, 02, etc. This way, you will be able to identify each image by name.
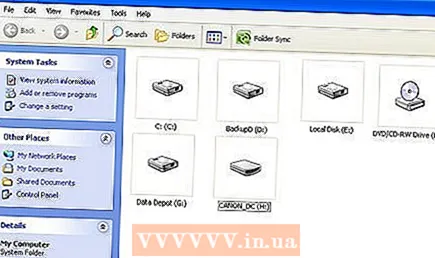
- Second field: "Select a location to save this group of images." This is where you want to save the group of images. Click on the "Browse" button (yellow folder) and select a save location on your hard drive.
- First field: "Enter a name for the group of photos." The value you enter will appear in the name of each file that is moved to your computer. For example: if you know that the pictures were taken on June 21, 2012 in the park, then name the file group "210612 - Park", after that each file name will include this name and counter: 01, 02, etc. This way, you will be able to identify each image by name.
 4 Wait for copying to finish. Check the destination folder - all images should be in it.
  5 Note: this method only works on Windows XP.


