Author:
Sara Rhodes
Date Of Creation:
17 February 2021
Update Date:
1 July 2024
Content
- Steps
- Method 1 of 3: Soldering Basics
- Method 2 of 3: Soldering electronics
- Method 3 of 3: Brazing the pipes
- Warnings
- What do you need
Soldering is a widespread and effective method of joining metal parts. To learn about the two basic types of soldering and how to do them at home, read the steps below.
Steps
Method 1 of 3: Soldering Basics
 1 Learn about soldering. Simply put, brazing is the process of melting metal to metal parts in order to join them.
 - Brazing is different from welding. When welding, parts are fused to each other; and when brazing, a lower melting metal with a lower melting point is used to connect them.
- Since soldering does not melt, it is more useful for joining thinner parts such as electronic components and plumbing fixtures.
- The purpose of soldering is to connect two pieces. Solder can be thought of as “metal glue”. It can be used to fill gaps or fix parts, but it is not suitable for more complex purposes.
- Since solder is a metal, it is a conductor of electrical current, which is another reason why soldering is so popular for connecting electronic components.
- Brazing is different from welding. When welding, parts are fused to each other; and when brazing, a lower melting metal with a lower melting point is used to connect them.
 2 Solder is used to connect the parts. Solder is the name of the material used for soldering. Historically, many solders have contained lead or cadmium, but this trend has recently diminished due to the fact that these metals are hazardous to health.
 - Typically, a solder is composed of two or more metals that form an alloy. Common components of solders are silver, antimony, copper, tin, and zinc.
- Solder is a soft and elastic material. Solders are generally sold as spools of wire that can be stretched and bent.
- Solders have a low melting point and cool very quickly after melting (150-175 degrees C)
- The solder may contain a flux core of natural rosin (tree sap) or acid. The solder metal surrounds the core like a tube.
- This core is designed to be a flux, or cleaning agent. The flux prevents the solder from oxidizing as it cools, keeping it strong and clean.
 3 Heat the solder with a soldering iron. There are soldering irons of a wide variety of configurations, but in principle they are oblong tools with tips that are heated to melt the solder.
 - Most soldering irons will heat up to 425 to 485 degrees Celsius, so be careful when handling them.
- After using the soldering iron, solder deposits remain on it, which can oxidize and reduce the efficiency of the soldering iron with subsequent uses. To clean this plaque without any problems, before turning on the soldering iron, prepare a sponge soaked in water and, when the soldering iron is hot, gently run the tip of the soldering iron over it.
- A layer of fresh solder can make a soldering iron more effective. This process is called "tinning" and consists of allowing a small amount of fresh solder to melt evenly on the tip of the soldering iron before using it.
- The best soldering iron models have a thermostat that can be configured to work on a variety of projects and with different types of solders.
 4 Use optional equipment when soldering. Soldering is not particularly dangerous or difficult as long as you follow reasonable safety precautions. To solder as efficiently as possible, use some useful gadgets.
 - Retainers, or "crocodiles", to hold components in place while soldering
- Thick gloves to protect hands from the heated soldering iron tip while soldering is applied to it
- Safety glasses to prevent accidental exposure of solder particles to eyes
- Soldering iron stand to place your soldering iron on between uses.
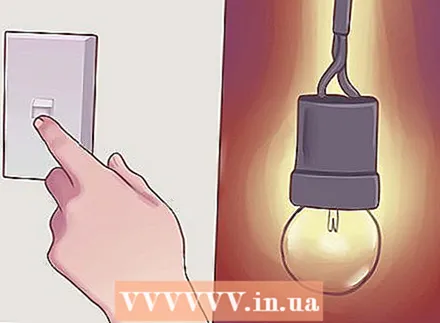 5 Turn on the light. For your work to be as accurate as possible, you must see everything well.
 - If you need to solder in a dimly lit room, take a bright light source (such as a portable lamp) with you.
 6 Provide adequate ventilation. Even if the solder does not contain lead, it, as well as the flux, can be a source of harmful fumes. Try not to inhale rosin or metal vapors by opening a window, turning on a fan, and do your best to provide fresh air.
 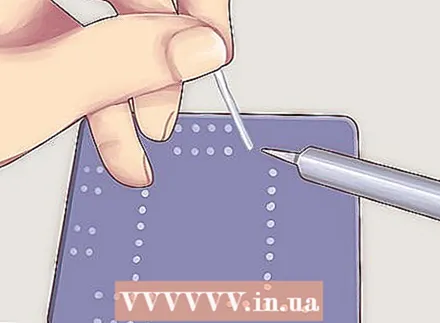 7 Don't solder too much in one go. Soldering is a quick process, and it usually takes only a few minutes to do everything that is needed. But if you work longer than 15-20 minutes, then take regular breaks to get some fresh air.
Method 2 of 3: Soldering electronics
 1 Choose a soldering iron. In most cases, the soldering of electronic components is carried out in order to secure them to a PCB (printed circuit board). Hence, a small tip soldering iron is recommended. Use a small flat tip soldering iron for normal soldering and a tapered pointed tip for soldering parts.
 - There are no soldering irons with replaceable tips, so you will need to buy a soldering iron with the tip you need. Fortunately, they cost about $ 15, but good quality soldering irons cost about twice as much.
- A common electronics soldering iron is a 40 watt one that heats (or has a heating setting) to 480 degrees. Thanks to this, the soldering iron can easily melt the small wires of the electronics components themselves.
 2 Select a solder. Both solid and rosin-cored solders can be purchased in the store and online. Remember that the solder you choose must be able to bond the materials you want to solder. When using solid solder wire, you may need a separate flux to break down the oxide coating and provide adhesion to the solder.
 - Previously, 60/40 tin / lead solders were the standard for electronics soldering, but due to the toxicity of lead, they have become obsolete. Silver slightly raises the melting point to 220 degrees, increases the cost of solder, but makes it easier to join parts.
- The numbers in the solder description are the percentage of the element in the alloy. (60Sn / 40Pb = 60% tin and 40% lead)
- Previously, 60/40 tin / lead solders were the standard for electronics soldering, but due to the toxicity of lead, they have become obsolete. Silver slightly raises the melting point to 220 degrees, increases the cost of solder, but makes it easier to join parts.
 3 Prepare a soldering iron. Plug the soldering iron into a power outlet and let it heat up on the stand for a few minutes.If you have used a soldering iron before, do not forget to gently run it over the sponge as described above. When the soldering iron is clean, tin it (as described above). When you're ready, prepare the components, retainers, and solder.
 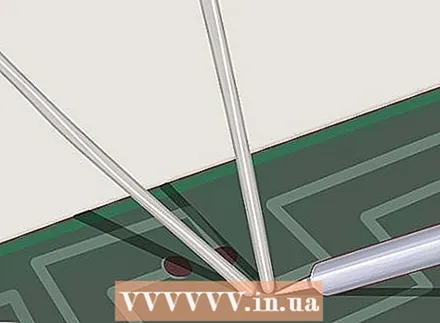 4 Prepare the product. Place the component where you want to solder it. If you are soldering a PCB, be sure to place the component wires in its sockets.
 - For most components, you can use a small retainer or clip to hold them in place before you solder.
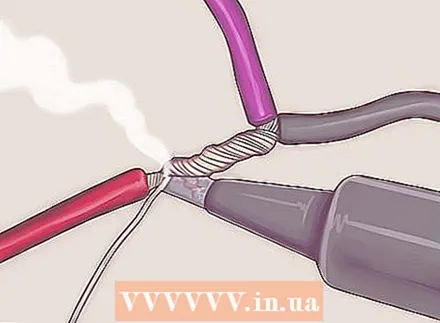
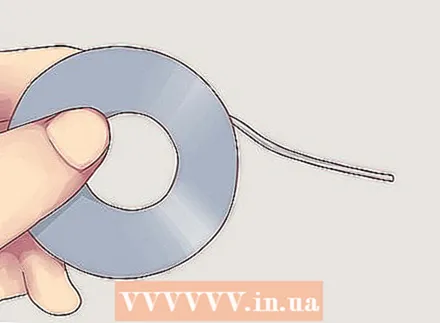
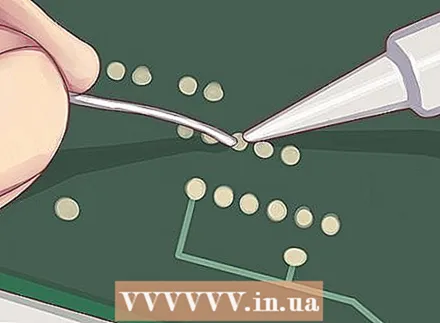
 5 Take the solder wire. Hold a long piece of solder with your non-dominant hand. Unwind a lot of the solder so you can hold it at a point away from the tip of the soldering iron.
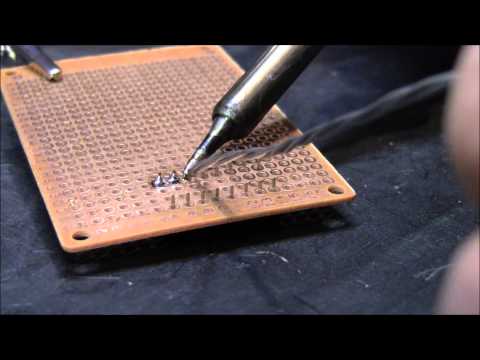
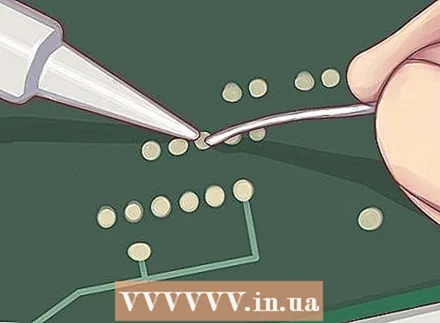
  6 Heat the component. Touch the tip of the soldering iron to the component you want to solder. Touch it for just one second. This will heat up the metal and make the solder more malleable.
 - Quickly touch the solder wire to the soldering point and attach the soldering iron to it. The solder should melt immediately. When soldering PCBs, it should not take more than 3-4 seconds to melt the solder.
- If more solder is required to secure the joint, apply it gently by hand.
- As it flows around the component wire, the solder should form a movable pool with concave edges. It should not roll into balls and look bulging.
 7 Finish the work with the solder. Remove the solder wire first, wait one second, and then remove the soldering iron from the soldering point to allow the molten solder to cool. Again, this entire process should take 5-10 seconds maximum.
 - Never blow on the solder or help it cool in any other way. This can make it round or dirty.
 8 Repeat until complete. Repeat the above steps for each point where you want to solder the component.
 - Tin your soldering iron every few rations and additionally before putting it aside. This helps to extend the life of the soldering iron.
Method 3 of 3: Brazing the pipes
 1 Prepare yourself. Brazing copper pipes is not difficult, but significantly more confusing than soldering electronics and requires different equipment. Brazing of pipes is usually carried out in order to seal the seams between pipe sections, for example at the junctions with a pipe elbow.
  2 Use a burner. For brazing copper pipes, it is recommended to use a propane torch rather than a soldering iron. You can find them at hardware stores.
 - You can use special soldering irons to solder pipes, but a propane torch has the same efficiency in most cases and is cheaper.
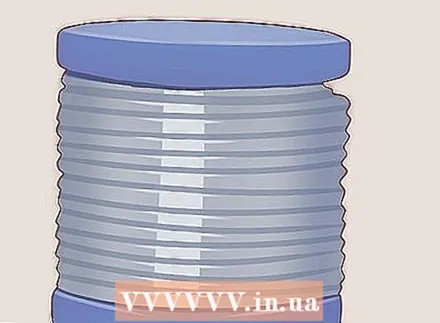 3 Find the right solder. Manufacturers offer specialized solders for pipe brazing. They are usually thicker, and usually have a diameter of 1/8 ". Pipe solders often contain acidic flux, but solid solder wires are also suitable. Solid solder wires may require a separate flux.
 - Eliminate the use of lead solder for pipe brazing completely. Be sure to read the label carefully to determine the alloy composition. Pipe solders mainly contain tin and may also contain antimony, copper and / or silver.
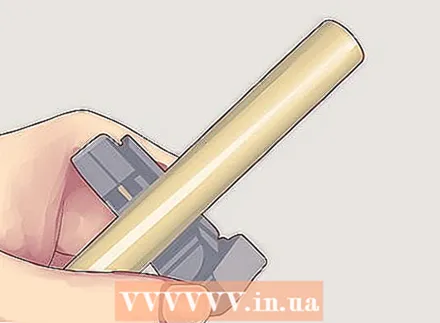
 4 Prepare an abrasive. To be sure that the solder will adhere to the pipes, it will not be superfluous to clean them in advance with sandpaper or a steel wool with a fine thread.
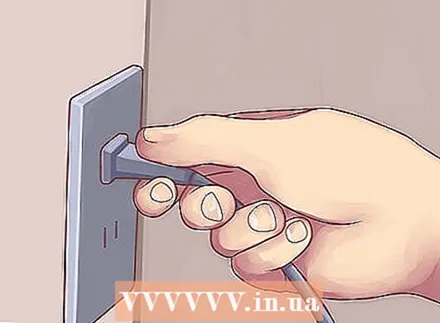
  5 Shut off the water supply. Before starting work, turn off the water that flows through the pipes. This will allow you to work with them without fear of flooding your apartment.
 - Fill a bucket of water before turning off the water. Place it nearby in case anything ignites from the burner.
 6 Cut the pipe. If you are installing new pipe, use a pipe cutter to cut any pipe up to an inch in diameter. Pipe cutters are sold at hardware stores.
 - Do not hurry. The pipe cutter works best with a slow, steady motion.Cut the pipe too quickly, and a chipping will remain on the pipe.
- Larger pipes will have to be cut with a hacksaw. Sand the jagged edges after trimming.
- After cutting off the pipes, place them where you want to solder them.
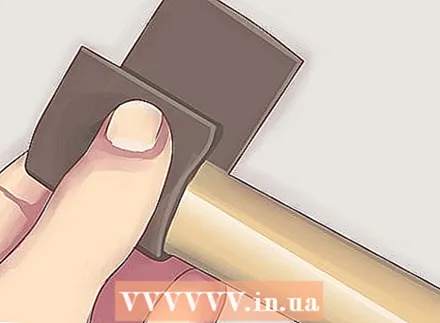 7 Clean the pipe. Using sandpaper or a similar abrasive tool, carefully sand the section of the pipe where you will be applying the solder to flatten and clean it.
 - A smooth and clean surface will allow the solder to flow into the seam without problems and seal it evenly.
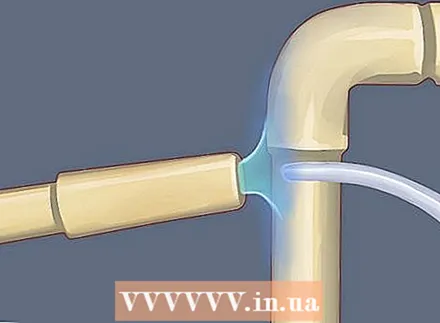
 8 Solder the pipe. Light a propane torch and apply heat to the pipe you plan to solder.
 - Maintain uniform heating by moving the torch along the work area.
- Once the pipe is hot, apply the solder to the place you want to solder. It should melt immediately.
- The solder should be on the back of the pipe from the burner. It should flow around the seam and fill it along the entire diameter.
- Let the seam cool. It will cool down quickly. If necessary, move on to the next seam to be soldered.
 9 Check your work. When finished, wait a few minutes and turn on the water again. Run water through the welded pipes and check for leaks. If they appear, then you will need to repeat the process.
Warnings
- Do not touch the soldering iron between the tip and the handle - it is hot enough to cause burns.
- After completing the seam soldering, place the soldering iron on the stand.
- Always solder in a well ventilated area.
What do you need
- Soldering iron or propane torch
- Solder suitable for the field of application.
- Soldering iron stand
- Retainers or clamps for holding components
- Soldering components
- Protective gear
- If you are brazing a pipe - a pipe cutter or a hacksaw
- Abrasive for pipe stripping


