Author:
William Ramirez
Date Of Creation:
15 September 2021
Update Date:
1 July 2024
Content
- Steps
- Method 1 of 3: Repairing minor scratches and cuts
- Method 2 of 3: Repairing a bulged floor
- Method 3 of 3: Replacing a damaged floor
- Tips
- What do you need
Sometimes vinyl flooring can suffer from small cuts and cracks that result from wear and tear, and paint on corners can be washed off if the glue dries. If your hardwood floor is damaged by water, it can bulge anywhere. If your vinyl flooring cracks, streaks, or burns, sealant and glue won't help you, you will need to replace the damaged areas. Regardless of the content of your coverage, there are several ways to get home renovations done without having to hire a contractor.
Steps
Method 1 of 3: Repairing minor scratches and cuts
 1 Use a vacuum cleaner or brush to remove dirt and debris from the surface of the vinyl floor where there is a cut or scratch.
- If the vacuum cleaner fails to remove all the dirt, take a mop and rag and rinse the damaged area with fresh, warm water.
- Check with your vinyl flooring manufacturer to select a safe cleaner for your parquet flooring if neither the vacuum cleaner nor the mop has been able to remove the dirt.
- If the vacuum cleaner fails to remove all the dirt, take a mop and rag and rinse the damaged area with fresh, warm water.
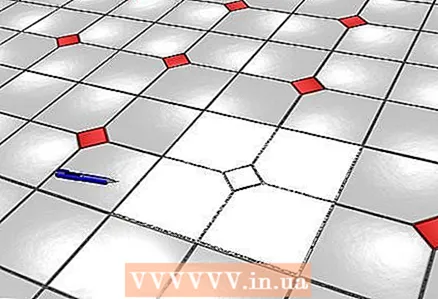
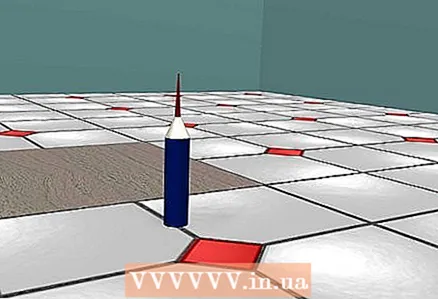 2 Apply a matte or silicone sealant to the seams and scratches on the floor, or cut out an area of the damaged floor.
- These products will help fill and seal any scratches and cuts, preventing further deterioration of the underlying layers.
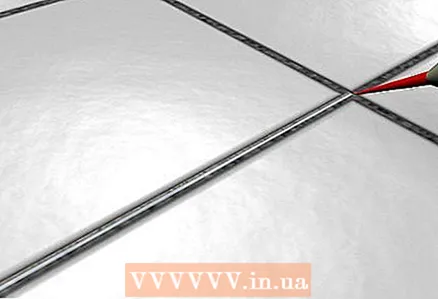
- These products will help fill and seal any scratches and cuts, preventing further deterioration of the underlying layers.
Method 2 of 3: Repairing a bulged floor
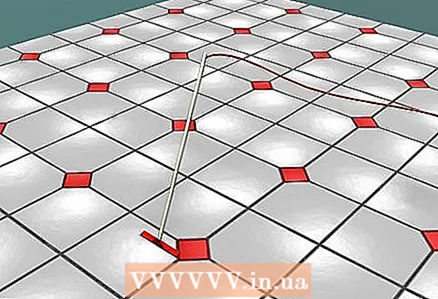
 1 Use a knife to cut the swollen area in the middle.
- If water bubbles appear on your hardwood floor, wait for the floor to dry before doing anything.
- If water bubbles appear on your hardwood floor, wait for the floor to dry before doing anything.
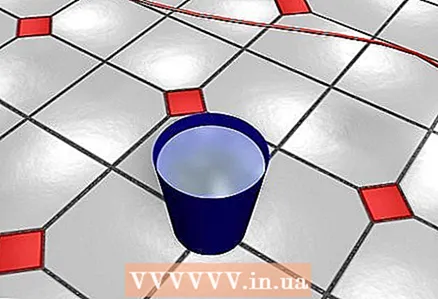
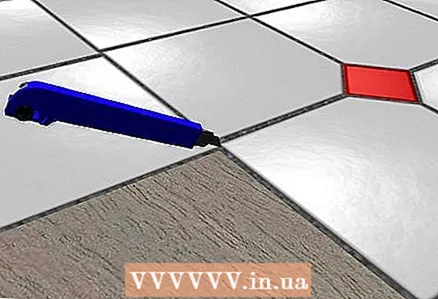
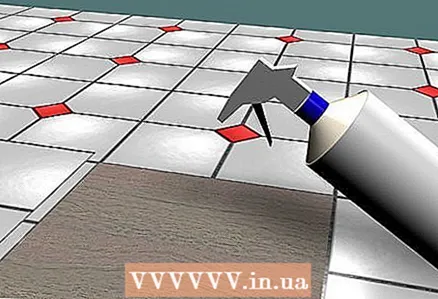 2 Use a bulb or syringe to inject the glue into the interior of each bubble.
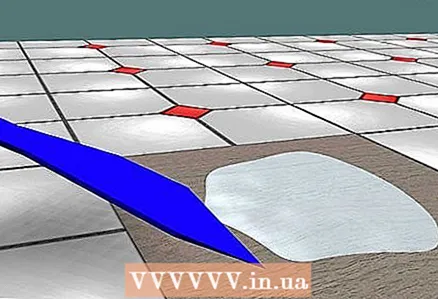 3 Use a plastic spatula to spread the glue evenly under each bubble.
 4 Remove excess glue from the outside with a clean piece of cloth.
 5 Use a rolling pin or other similar object to roll it over the parquet floor so that the adhesive holds the floor evenly.
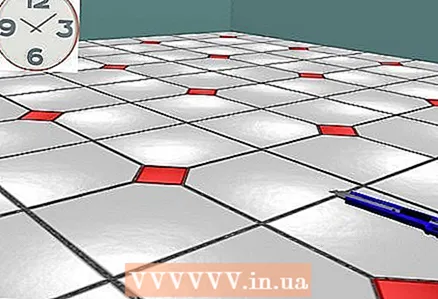
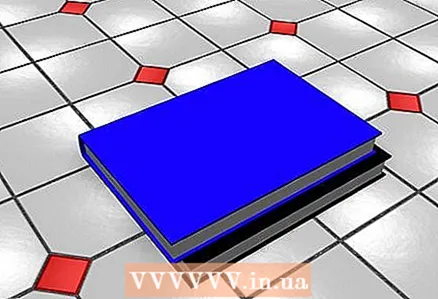 6 Place one or two objects, such as a stack of books, evenly over the place where the glue is, and let the parquet dry completely.
- Check the vinyl sheet's instructions for how long it will take to dry.
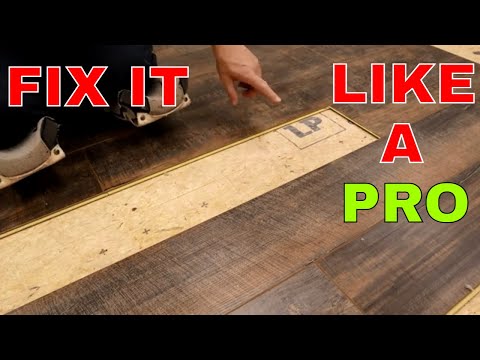
Method 3 of 3: Replacing a damaged floor
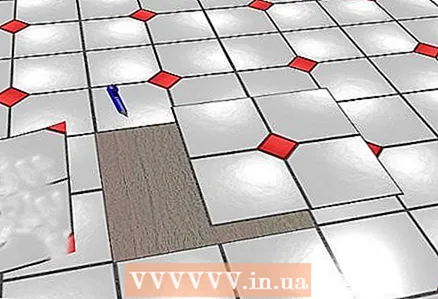
 1 Use a sharp knife to cut around a tile or section of vinyl flooring.
 2 Pry off the damaged section with a trowel or similar object so as not to damage the floor.
- If it is difficult to separate the vinyl flooring from the adhesive, use a hair dryer and point it at the damaged area to release the adhesive.
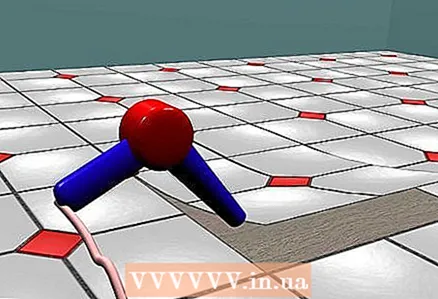
- If it is difficult to separate the vinyl flooring from the adhesive, use a hair dryer and point it at the damaged area to release the adhesive.
 3 Get extra vinyl to replace damaged areas.
- If your vinyl flooring is made up of sheets rather than individual tiles, cut a piece from your floor and use it as a template to cut the desired piece from the new sheet.
- If you do not have the appropriate vinyl covering, you can take it from an area where the inappropriate sheets will not be visible, such as under a refrigerator or stovetop, or under a cabinet.
- If your vinyl flooring is made up of sheets rather than individual tiles, cut a piece from your floor and use it as a template to cut the desired piece from the new sheet.
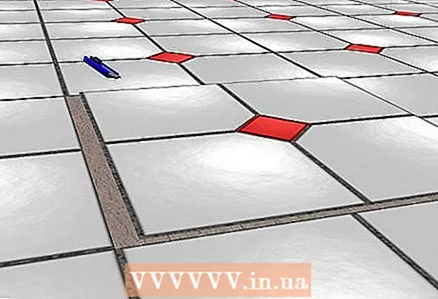
 4 Place a new floor tile or sheet in an empty space to make sure it fits, if necessary, adjust the shape with a knife.
 5 Use the amount of adhesive specified by the manufacturer when replacing the tile and hold it firmly in place.
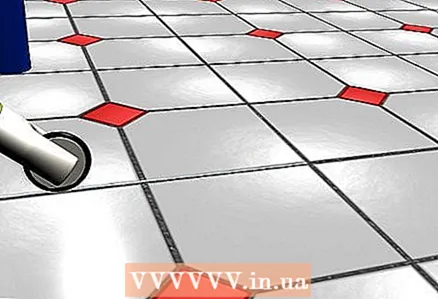 6 Use open joint sealant where there is no adhesive.
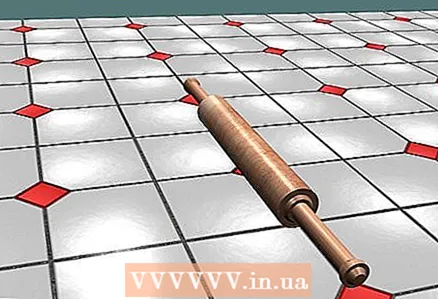 7 Run a rolling pin or hand roller over the entire surface of the vinyl to help the tile adhere.
 8 Do not walk on the new vinyl flooring until the adhesive is completely dry.
Tips
- If you will be cleaning sections of vinyl in the corners, use a method to remove bubbles, but reduce the steps to avoid cutting the vinyl.
- Vinyl floor repair products such as sealant or adhesive can be purchased from a repair shop or any other store that sells vinyl flooring.
What do you need
- Vacuum cleaner or broom
- Sharp knife
- Sealant
- Syringe
- Vinyl floor adhesive
- Plastic spatula
- Doormat
- Paint roller
- Vinyl tile or parquet sheet
")


