Author:
Florence Bailey
Date Of Creation:
21 March 2021
Update Date:
1 July 2024
Content
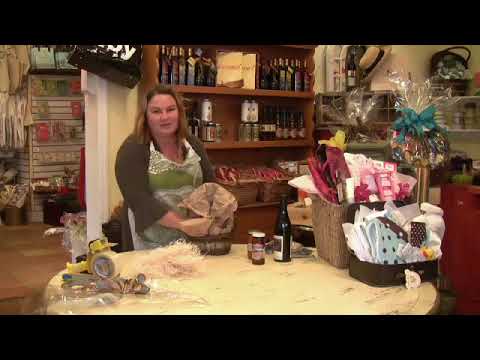
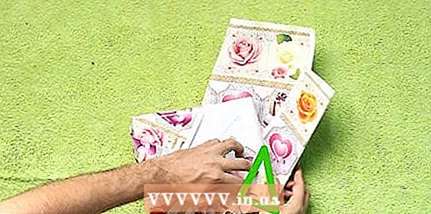
1 Remove all price tags. Nothing is more annoying than those moments when you try to do everything to give a good gift, and then you realize that you forgot to remove the price tag. If the price tag cannot be removed, paint over the price with a black pen. You can also use duct tape: if you stick one end of it onto a price tag and pull it, the tag will usually come off with it. You don't need a person to see what you bought him an electric shaver at a sale, right?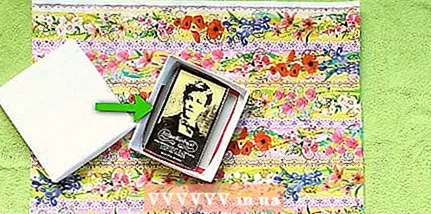 2 Place your gift in the box if it isn't already in it. This optional step will make it easier to decorate the gift. If your box is easy to open, be sure to secure it so it won't open during checkout. Take just enough tape to keep the box from opening, not enough to open it with a machete.
  3 Roll the piece of brown paper onto a hard, sturdy surface.
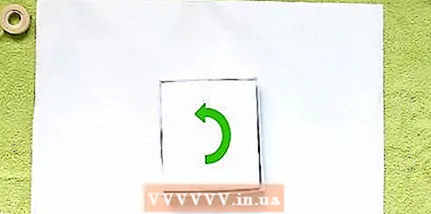 4 Place the gift on wrapping paper and measure out how much paper you need. Make sure you have enough paper to wrap the box once and that there is a margin on each side. It's a good idea to have a little more wrapping paper than you need to overlap the other end.
 - You can almost always cut off excess paper if needed. But if it is not enough, then nothing can be added.
5 Mark the cutting lines. If you find it difficult to make straight cuts, be especially careful. Help with something with a straight edge (like a ruler), or you can neatly fold the paper along the line you want to cut, unfold it, and cut along the fold line. Set the rest of the roll aside. 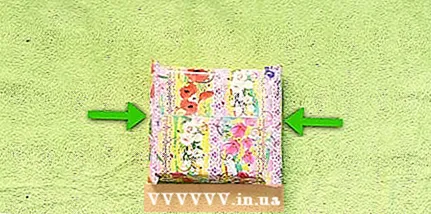 6 Place the gift or box upside down in the middle of your paper. Then the one who will receive the gift, opening it, will see the front, not the back side of the box.
 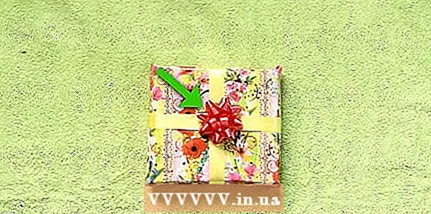 7 Cover the gift with paper. On the horizontal side of the paper, take one side and fold it under the gift. Then fold the other side as well. This is where you need an extra centimeter. Take the longer side and fold it at the bottom for a nice smooth fold instead of an ugly cut. Place it on the other end and pull. Then glue the ends together.
 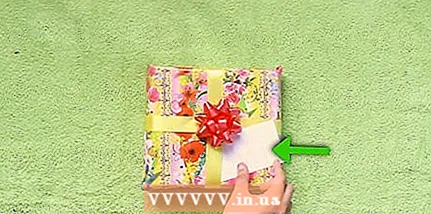 8 Fold one side of the box. Roll the corners on one side of the package to form a triangle. Fold over the straight end, and then drag it to the top of the package. Secure it with duct tape. Repeat this on the other side.
 - If you want, add a pleat to the triangle by folding the side over to it.
- To tie a ribbon, place it on the top of the gift in the center. Wrap it up from the bottom, fold the two ends with a cross towards each other and pull together. Rotate the gift 90 degrees, then lift the ribbon along the other two sides. Pull the two ends under the middle of the ribbon and tie a bow at the top. Take scissors. Pull one side of the ribbon and curl it with scissors. Cut the remaining ribbon and tie under the bow, cut in half and curl again. Do this until there is no loose ribbon left.
 10 Add a postcard. Take the card and write “to” and “from whom,” name, etc. If you have good handwriting, it adds a personal touch. If not, you can either print or write what you want neatly.
 - If you have poor handwriting or don't have postcards or stickers, you can cut off a piece of suitable wrapping paper, fold it into a “postcard” and glue it where you want it.
- You can also carefully cut out a piece of wrapping paper (snowflake, balloon, etc.) and make a card out of it. Stick it with duct tape 2-5 centimeters from the edge of the box.
Method 2 of 2: Method 2 of 2: Japanese diagonal style
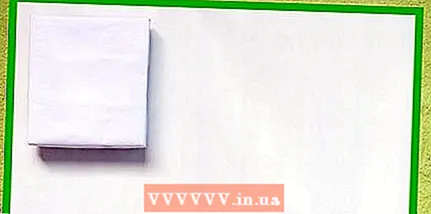
- 1 Cut a rectangle off the roll of brown paper. Your wrapping paper should be wider than long.
 2 Lay this piece of paper in front of you diagonally, pattern down. The paper should not lie like a rectangle, but like a diamond.
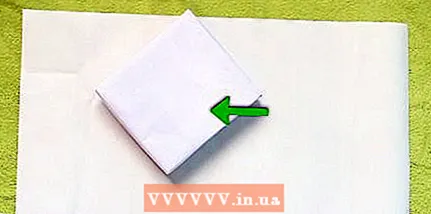
 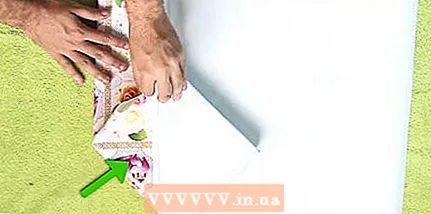 3 Place the gift box on the diagonal paper. Place the gift box upside down with the bottom facing up.
 - The box should be laid out so that only the small triangle in the lower right corner of the box is not covered with paper.
 4 Wrap the bottom half of the paper around the bottom of the box and fold it over the top. Some of the paper should go down to the back of the box.
 - If done correctly, a triangle will appear on the left side of the box (with the sharp end cut off).
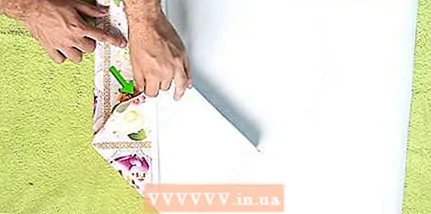
 5 Fold the paper over to the left side of the box. If done correctly, a small triangle will appear on the lower left side of the box. Fold the paper over the corner of the box.
 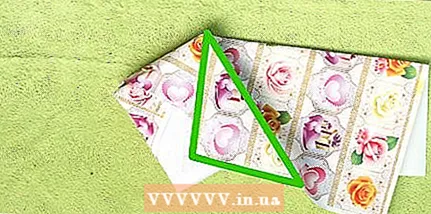 6 Take the paper to the left of the fold and close the fold with it. Make sure this paper completely covers the fold and is flush with the bottom edge of the box. Secure this piece of paper with duct tape.
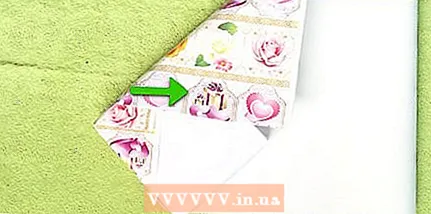
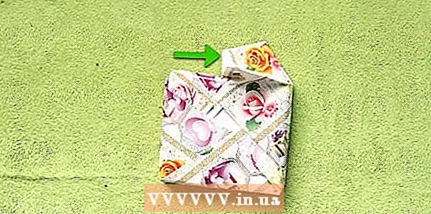
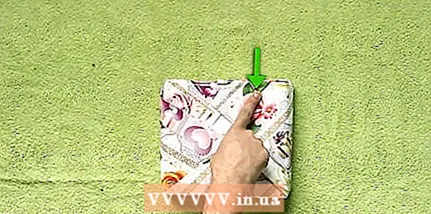
 - 7 Go to the top. Fold the paper flush with the top of the box so that the rest of the paper forms another triangle. Fold this rest of the paper. You should get a triangle.
 8 Take the paper over the folded triangle, lift it up, and flip the box over so the side with the duct tape is at the bottom. The box will be upside down compared to the starting position.
 - Again, make sure the paper completely covers the fold and is flush with the left edge of the box.
- 9 Leaving the paper upside down, fold it at the bottom right so that it is flush with the right side of the box. Another triangle will turn out.
 10 Fold the paper to the right of the fold on top of the box. Again, make sure this paper covers the fold and is flush with the bottom edge of the box. Secure this paper with duct tape.
 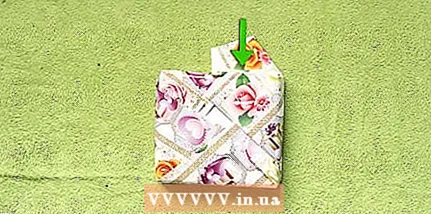 11 Fold the rest of the paper up so that it is flush with the right side of the box. This will create another triangular fold.
 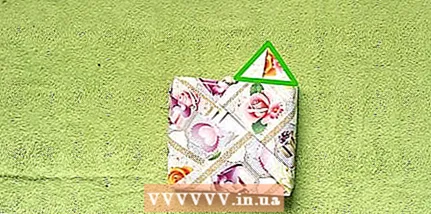 12 Fold the paper over the fold onto the box.
- 13 Fold the left and right sides of the last triangle into small triangles.
 14 Fold the top of the triangle inward. You should be left with the bottom half of the triangle, because the top is folded down.
 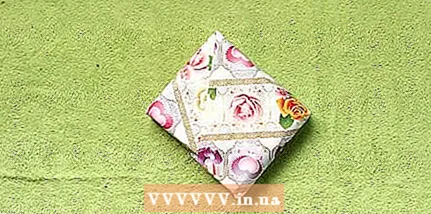 15 Press the paper against the box and cover with duct tape.
Tips
- Don't have brown paper? Color comics from the Sunday newspaper are surprisingly good for an informal and funny look. Sheet music also looks good (especially from suitable pieces).
- After your gift has been enthusiastically accepted, put away the gift wrapper, ribbons and boxes in an environmentally friendly way. Be sure to reuse the cardboard after removing as much of the adhesive tape as possible. Most of the gift wrappers and ribbons are not reusable. Ideally, choose ones that are recyclable or printed on plain (non-glossy) paper. Raffia (which is available in most craft stores) is a biodegradable ribbon replacement that's a little harder to work with, but also looks great.
- Attach ready-made bows to the gift with duct tape or paper clips, because Velcro on ready-made bows never sticks well.
- Tie, tape or staple the curly ribbon under the bow. You can leave a hanging ribbon and curl it with scissors along its entire length. Don't cut yourself!
- To get an almost seamless look, try the following:
- Use double-sided tape, not regular duct tape.
- Make sure that the seam of the largest fold of paper (when it wraps around the gift at the very beginning) is on the edge or side of the gift. This is best done with a box. First, glue the paper in half about 6mm from the edge of one side of the box. There should be enough paper to wrap the entire gift. If you haven't cut the paper off the roll yet, cut it now, leaving at least 6mm per fold. Then fold the excess paper down to create a clean finished edge. Use double-sided tape to not only glue the paper inside, but also to glue it to the package. The seam will be almost invisible.
- If you have a box, you can also lightly press down on all the edges of the package to give it a nice crisp, clean look. It looks very professional.
- For gifts that are mailed or pre-arranged, transparent mailing tape is best suited.
- For round shaped gifts, place the gift in the center of the paper, fold the paper over the top of it, folding over the raw edge, secure each end of the paper with long pieces of fireworks-style ribbon, and curl the ends of the ribbons.
Warnings
- DO NOT burn gift wrappers in the fireplace, stove, or campfire. The chemicals released when the wrapper is burned can be very unpleasant.
What do you need
- Present
- Wrapping
- Cigarette paper
- Scissors
- Adhesive tape (plain or double-sided)
- Curly ribbon
- Postcard (to write a name on it)
- Box (if you don't already have it)
- Ruler or straight edge (foldable)


