Author:
Virginia Floyd
Date Of Creation:
5 August 2021
Update Date:
1 July 2024

Content
- Steps
- Part 1 of 4: Preliminaries
- Part 2 of 4: Children Under Two
- Part 3 of 4: Children aged 2 to 4
- Part 4 of 4: Children over the age of four
- Tips
- Warnings
It is important for children to learn to swim. It is not only an opportunity to have fun and exercise, but it is also a vital skill. Thanks to the right approach, the child will quickly get used to the water and acquire practical skills.
Steps
Part 1 of 4: Preliminaries
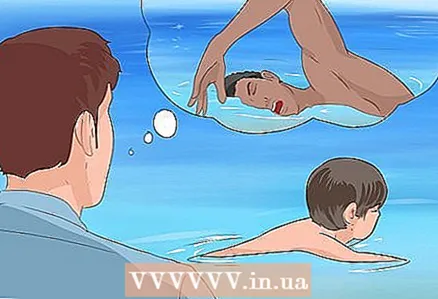
 1 Decide when to start learning. It is unlikely that your child will learn to swim well until he is a few years old, but you can introduce children to water from a few months. The age from 6 to 12 months is considered to be the right moment to introduce the child to water, as at this age children quickly absorb new skills. Be as careful as possible and introduce your baby to the water gradually, starting at 6 months.
  2 Assess your child's health. At all ages, you need to make sure your child is healthy enough to be in the pool. If you have any medical conditions, it is important to discuss this issue with your doctor.
  3 Find out how to conduct cardiopulmonary resuscitation of children. If you decide to teach your child to swim, then be sure to read the first aid rules. Your ability to perform cardiopulmonary resuscitation can save your child's life.
  4 Don't forget a special swim diaper. If the baby is still wearing diapers, you need to use a waterproof swim diaper that will not absorb water from the outside and will not allow anything to leak from the inside. This way you will not endanger the health of other swimmers.
 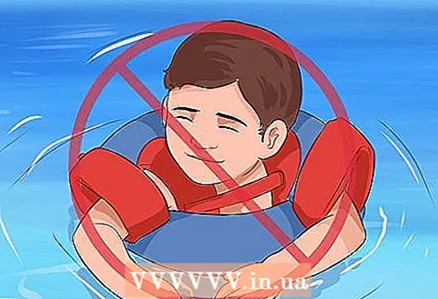 5 Do not use inflatable floats. Various inflatable devices such as oversleeves are quite popular, but pediatricians do not recommend using them. If the oversleeves begin to leak air in the pool, the child may drown. Also, such funds can slip off the child. Instead, you should use a special lifejacket, which is available from a variety of sporting goods and swim supply stores.
 - Choose vests that are approved by government regulatory agencies. For young children, it is important that the vest is fastened under the feet and does not slip over the head.
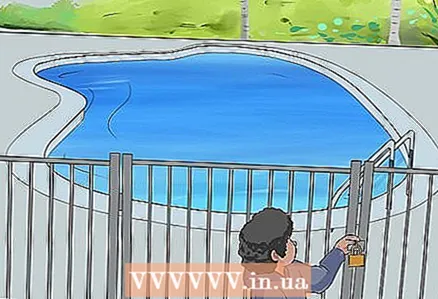 6 Close all gates, locks and stairs leading to the pool. If you have your own pool, it is important to make sure that your child cannot get to the water on their own. When learning to swim, a child may overestimate his strength and try to get into the pool without adult supervision. To avoid accidents, securely block the pool passage when you are not around. The same applies to ponds and any other bodies of water on your site.
Part 2 of 4: Children Under Two
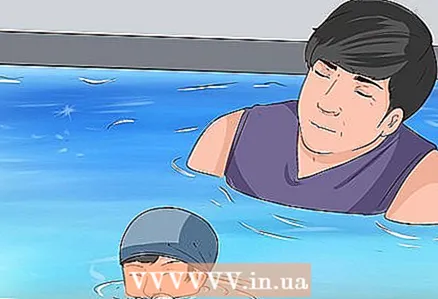
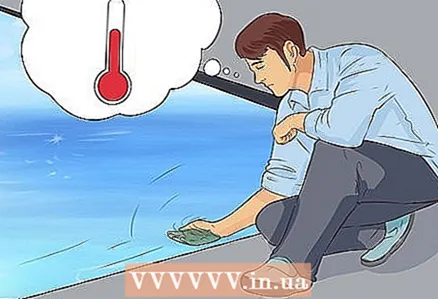 1 Check the water temperature. It is important for babies that the water is warm, ideally around 30–33 ° C. If the pool is not heated, then use a solar film that absorbs the sun's heat and heats the water.
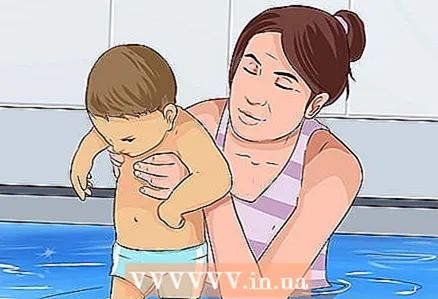
 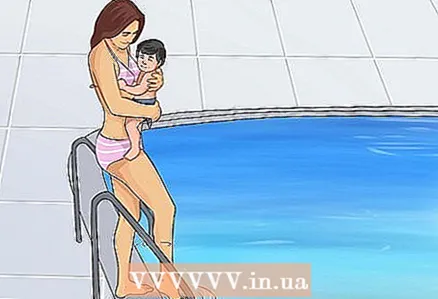 2 Hold the baby in your arms and slowly enter the water. The child should be introduced to water very gradually. Many children and adults drown as they panic in the water. Help your child overcome fear and step into the water gradually. This will make it easier for him to stay calm later when teaching swimming skills.
  3 Turn dating into a fun game. A pleasant first experience with water will teach children how to enjoy swimming. Use toys, teach your child to splash, sing songs and monitor your child's mood.
 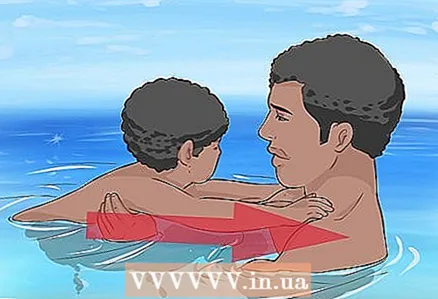 4 Introduce your child to movement in the water. Help him close his arms around your neck, facing you, and start walking with his back forward.
 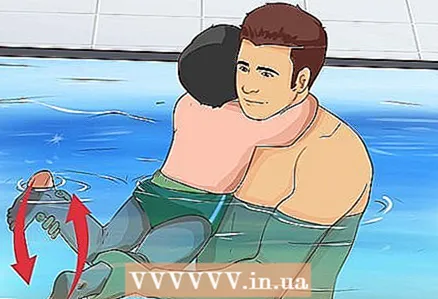 5 Use your hands to guide the child's legs to show the feet flip-flops in the water. Through practice, your child will begin to perform these movements on their own.
 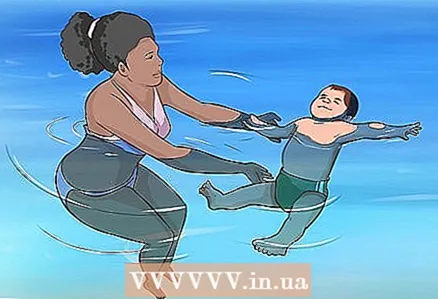 6 Teach your child to float. You should lie still on your back to feel the buoyancy of the water, but at this stage your child cannot do without your support. It is now imperative to help your child relax.
 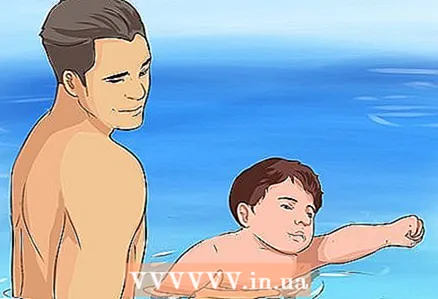 7 Play "superhero" to show your ability to float. Gently hold the baby around the tummy and keep his head above the water. At this point, you can pretend that the baby is a superhero who can fly (float on the surface of the water).
 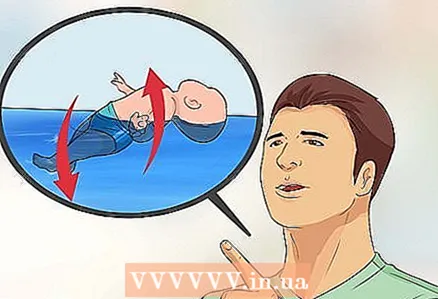 8 Describe and demonstrate the ability to float. The child will believe it when he sees it with his own eyes. Take some time to clarify that different parts of the body float differently on the water. Taking a deep breath into the lungs increases buoyancy, and the lower body usually sinks into the water.
  9 Show the principles of buoyancy using a ball and a balloon as an example. When the child has experienced the ability to float on the surface of the water, introduce him to the buoyancy of other objects. Tell your toddler to place floating toys and other objects under the water to observe and laugh together as they come to the surface.
 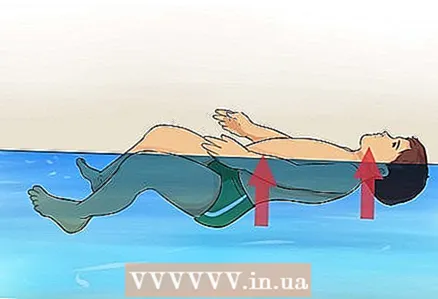 10 Practice backstroke on land. Children often experience discomfort if they feel a lack of support while in the water on their backs. A common reflex causes the baby to raise his head and bend at the waist, causing him to drown.
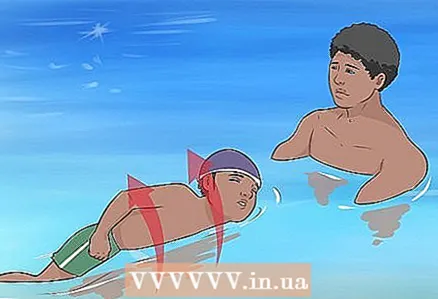
 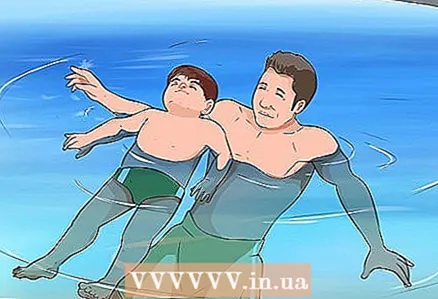 11 Do a test swim backstroke with two people. Place your child's head on your shoulder and gently support him to practice staying in the water together. Hold the baby firmly near you, sing a song together. So he will calm down and will not experience discomfort in the water.
 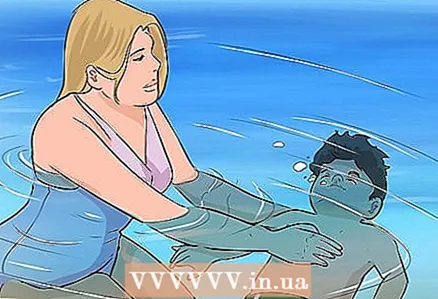 12 Use both hands to hold the baby under the armpits when in the water. In case of panic, he should be in front of you. Count down from three to one. Breathe out gently into the child's face for a count of one. This will help prevent panic, serve as a signal and tell the child that you will now turn his back to the water.
  13 After exhaling, gently turn the baby over onto the back. Support your baby's head with your non-dominant hand above the water.Use your dominant hand to stroke the child soothingly and support as needed. In the supine position, the child can wriggle. Support your baby until he calms down.
 - When the child stops wriggling, gradually loosen the support, but do not stop holding the head above the water. Let it float on its own.
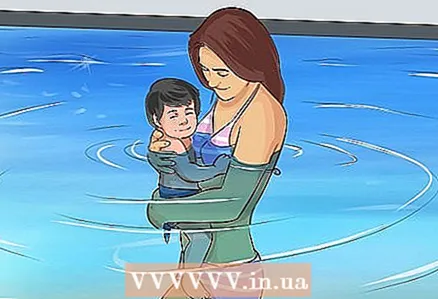
 14 Respond to panic correctly. If you behave emotionally, the child will feel that you are confirming the correctness of his reaction. Use positive affirmations to calm him down. Say, “It's okay. I’m with you, don’t worry. ” Your laughing and smiling will help reassure the child that the situation is safe.
 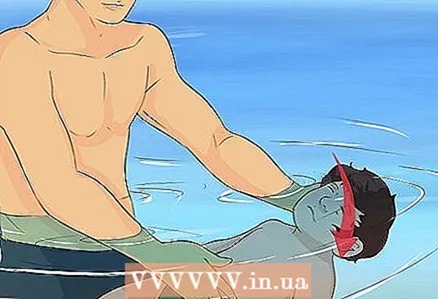 15 Dip your baby's head gently into the water. This will introduce the baby to the sensations underwater and ease the fear.
 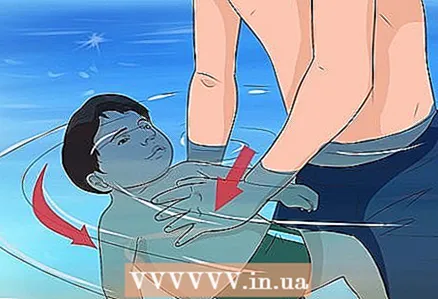 16 Support the back with your dominant hand and place your other hand on the baby's chest. Next, count to three and gently submerge your head under the water for literally one second.
 - Your movements should be smooth so as not to injure the baby's neck.
- Wait until your child is completely calm before diving again.
 17 Keep calm. If you are worried and scared, the child will become afraid of water. The important thing now is to express confidence and show that there is nothing to be afraid of.
  18 Monitor your baby constantly. At this age, he will not be able to swim on his own. Always be in the pool next to it.
Part 3 of 4: Children aged 2 to 4
 1 Introduce water to your child if this is their first experience. Use the same approach as described for the smallest. Help your baby overcome initial fear and get used to the water. After the child has relaxed, move on to more difficult lessons.
 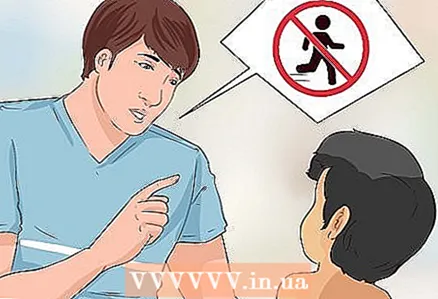 2 Explain the rules of conduct in the pool. At this age, the child should already understand what can and cannot be done in the water. Provide the universal rules of conduct by the pool:
 - not to run;
- do not indulge;
- do not dive;
- do not swim alone;
- keep away from drains and filters.
 3 Make it clear that a child should not enter the pool without your permission. More often than not, children under the age of five drown due to insufficient adult supervision.
 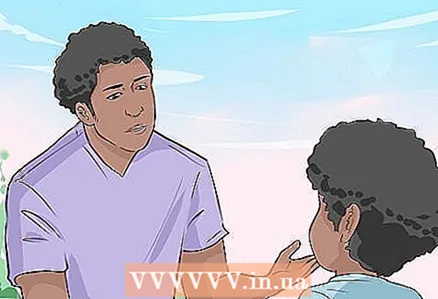 4 Before training, explain what you will be doing in the pool. At this age, the child can understand the description of further actions. With a short explanation, he will be ready for new experiences and learn the lesson better.
 - Show swimming movements in advance on land. Explain new sensations, such as feeling in the chest when pushing water, pressure on the ears, or muffled sounds underwater.
 5 Blow bubbles in the water. Tell your child to submerge in the water so that his lips are below the water level and he can blow bubbles. Thanks to this, he will learn to control his breathing and not swallow water when diving.
 - If your child is hesitant, show yourself by example. Come out of the water with a smile on your face so your child doesn't think about fear.
 6 Play bubbles. Tell your child to talk to fish, simulate a tractor, or inflate as many bubbles in the water as possible. The skills important for swimming should be learned in a cheerful mood.
 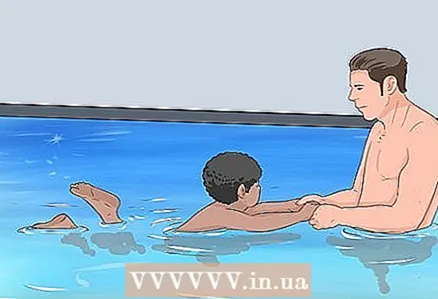 7 Teach your child to move their legs. Face the child. Hold him by his outstretched arms and begin to step back so that the child performs smooth movements with his legs in the water. Say something like “time, time, time, time, time” and the child will remember the action better thanks to verbal prompts.
 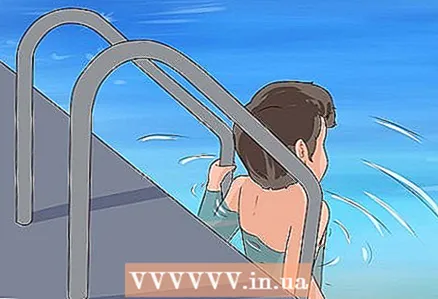 8 Show swimming movements with your hands. Use a simplified version of the hand crawl (freestyle). Show arm strokes and simultaneous leg movements. First, the child should sit on the steps or stairs to the pool so that the water barely reaches his chest.
 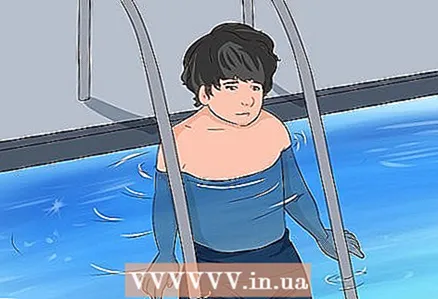 9 First, tell your child to put their hands on their hips underwater. After that, you need to remove one hand from the water and raise it above your head.
 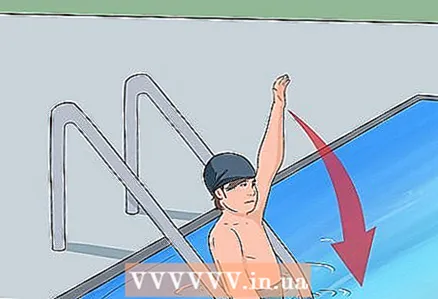 10 Say hold your hand above your head. The child should again lower his hand into the water with a slap down and at the same time not open his fingers above the water and in the water.
 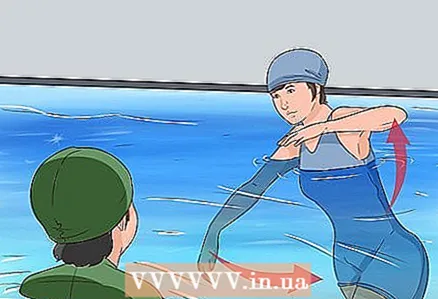 11 Say to bring your hand to your thigh again underwater. Repeat for the other hand. Say to use your hands in the same way as you would for real swimming.
 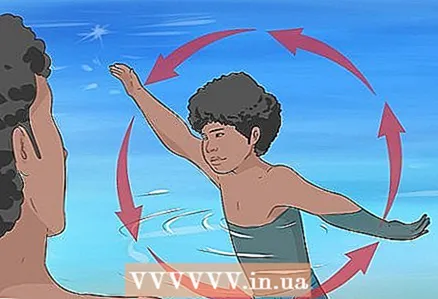 12 Practice swimming this way with Catch the Fish. Suggest that you imagine that a twisting motion of your hand helps you catch the fish and place it in an imaginary net at the thigh. Emphasize how important it is not to open your fingers so that the fish does not slip out of your hands.
  13 Guide your child towards steps or stairs. Step back a couple of meters into the water. Support the baby with one hand under the chest and the other around the waist. Count to three and slide it across the water towards steps or stairs.
 - During this time, the child should blow bubbles, work with his legs and move his arms. So he will begin to use all the movements necessary for independent swimming.
 14 Suggest using a pool wall. If the child holds on to the wall, he will be able to go aground and learn to maneuver on his own in the water. He will find a safe place where he can stay afloat if he suddenly gets scared, gets tired or accidentally falls into the water.
 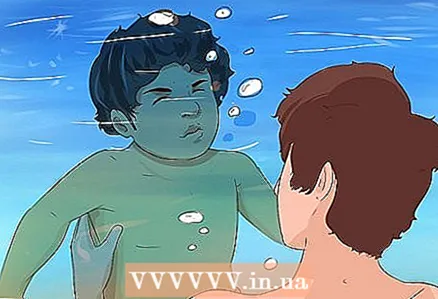 15 Submerge under water. Instead of a short dive, you can try to stay underwater for a few seconds. So he will learn to hold his breath. Encourage your baby to close his eyes and mouth and hold his breath.
 - Make sure you communicate your intentions ahead of time so you don't scare your child.
- Never submerge your child unexpectedly under water, otherwise he will get scared and start to fear water.
 16 Count to three and gently submerge your child under the water. After two to three seconds, remove it to the surface. As you get used to, the length of time underwater can be increased.
 - If the child is not sure, then count to three and show that it is not long.
- The child will be calmer if you dive first. Remember to laugh and smile so that the child does not feel intimidated.
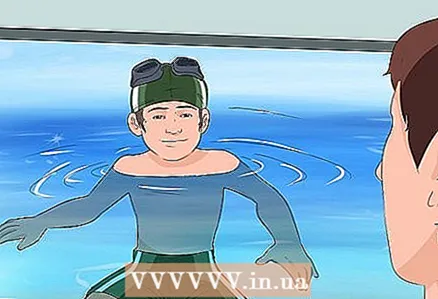
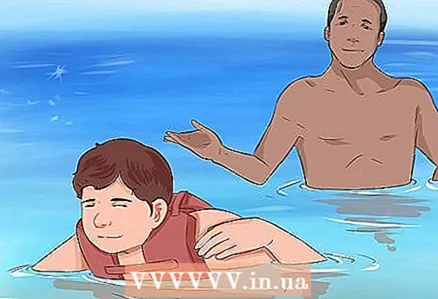 17 Allow your child to swim in the life jacket on their own. At the moment, the child has all the skills that are necessary to start independent swimming. He just needs to practice doing all the actions at the same time. A lifejacket will provide him with the necessary degree of freedom and will help him learn to swim unaided.
 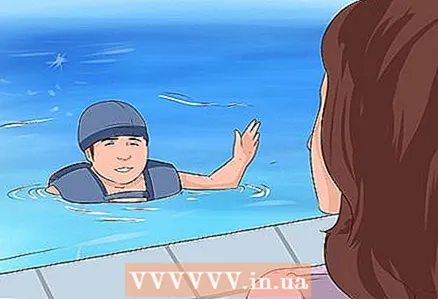 18 Always supervise your child when in the pool. Never leave your child unattended, even if he has learned to swim on his own.
Part 4 of 4: Children over the age of four
 1 Make sure your child has the necessary skills. If he feels comfortable in the water and knows how to swim or exceeds the level described for children 2-4 years old, then you can move on to more complex swimming styles.
  2 Teach your child swim doggy style. This is a fun and simple swimming style that children often use when they are just starting to learn. The depth should be approximately to the chest.
 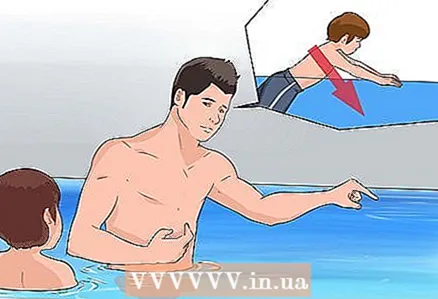 3 Tell the child to go into the water, lie on his stomach and fold his hands in handfuls. Performing scooping movements with unopened toes pointing down, the child must "dig" water and at the same time move his legs smoothly. So dogs and horses swim.
 - To make it fun for your child to learn, watch videos with swimming dogs on the Internet.
 4 Tell your child to kick the surface of the water. He will probably try to straighten his legs completely, but short, quick movements are more effective. Encourage your child to straighten and stretch their toes as they hit the water.
  5 Prompt to keep your head above the water and raise your chin while moving your arms and legs. At first, the child may need support to feel the coordination of movements, but soon he will feel confident and you will only have to carefully observe him from the side.
  6 Teach your child to breathe out through the nose underwater. To row properly with both hands, the child will not be able to pinch his nose. Start by playing and challenge yourself to see who will make the most bubbles by exhaling through your nose!
 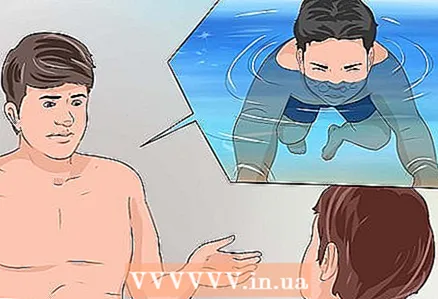 7 Suggest practicing regulating exhalation through the nose underwater. At first, the child may exhale all the air at one time for fear of drawing water. Stay close in case he accidentally inhales water and needs help.
 - Help if he feels uncomfortable and inhales water through his nose. Say encouraging words like, "It's okay, sometimes this happens to everyone!"
 8 Practice walking underwater and exhaling through your nose. At this stage, the child may not have the best coordination, but he should feel that he can move under water without pinching his nose with his hand. Only in this way will he learn to perform hand waves for different swimming styles.
  9 Teach your child to inhale alternately between strokes while crawling. You need to be patient for this exercise as it takes time to master the difficult technique.
  10 Tell your child to sit on a step or stand at a shallow depth. He should be in the water up to his waist or chest. Be aware that your child's eyes may be sensitive to chlorine.
 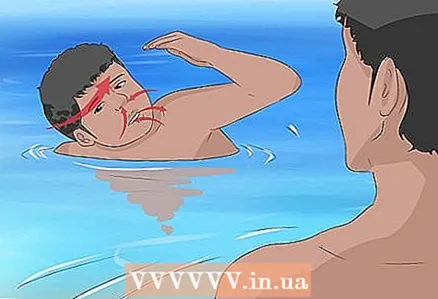 11 Combine arm swimming movements for small children with short and fast underwater leg strokes. Train at a shallow depth so that the child synchronizes the movements of all limbs, but does not submerge his head in the water. Tell him to turn his head regularly to practice the diving movements for inhalation. You need to alternately turn your head in different directions for every third stroke.
 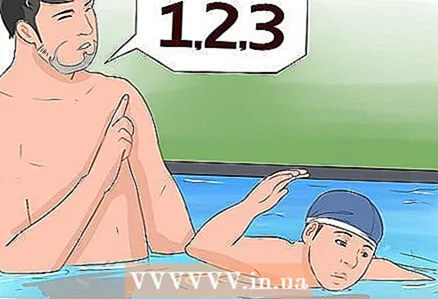 12 Prompt with breathing and help your child find a swimming rhythm. Count your arm swings and tell when to turn your head and take a deep breath on the third swing. Swapping sides will help ensure a symmetrical body shape.
 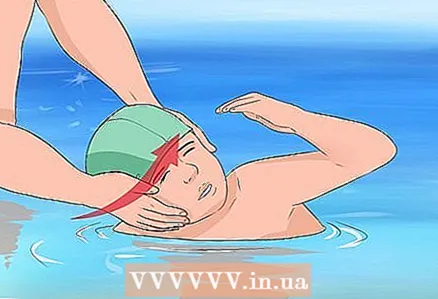 13 Tell the child to lie on their stomach in the water and remove their feet from the bottom of the pool, while supporting him yourself with your hands. Help him to dip his face in the water and perform two strokes with his hands, and for every third stroke, turn his head out of the water to inhale. For each breath, the head should be turned to the other side.
 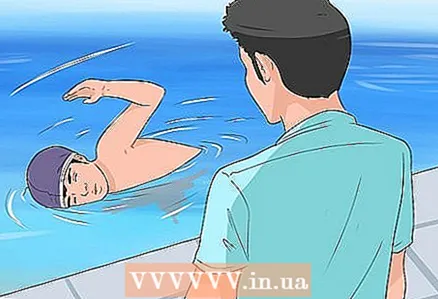 14 Monitor your child's independent attempts. When he gets used to it, it will be possible to move on to swimming with a life jacket, and then without a jacket, but under your closest control.
 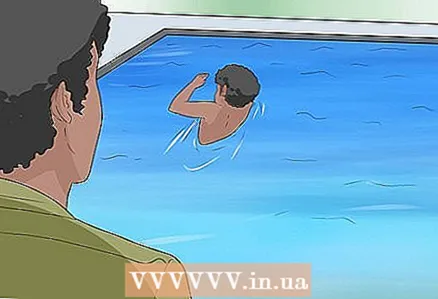 15 Invite your child to swim to the other side of the pool. When he has gained the necessary experience, try swimming without a life jacket. If the child is not ready, then first let him swim with a vest.
 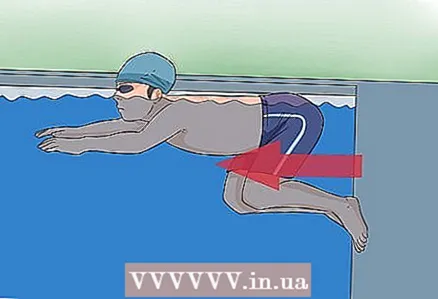 16 Offer to stand or float at one end of the pool to kick off the wall with your feet. When the coasting stops, it's time to start kicking and swinging your arms to swim to the opposite edge.
 - Keep a close eye on your child, especially when swimming without a vest.
 17 Teach your child to roll over from the back. This will help him in a situation if he suddenly falls into the pool on his back.
 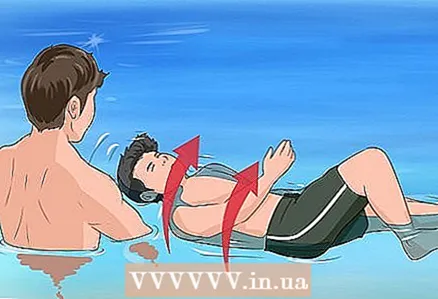 18 Offer him to lie on his back and stay on the surface. Tell to lower one shoulder to the water and roll with the rest of your body following the movement of your shoulder.
 - When the child rolls over onto his stomach again, ask him to swim to the side of the pool.
 19 Teach your child to float upright. The ability to swim in place comes in handy in a situation where you need to stay afloat for a long time. In an upright position, the child will be able to play or interact with friends.
 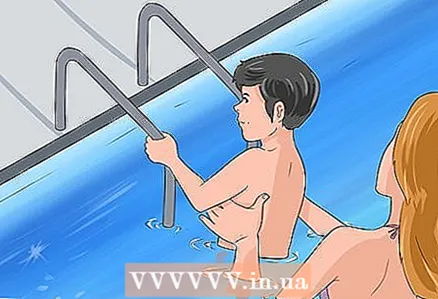 20 Teach your child to return to the stairs when they fall. Invite him to jump from the stairs to the center of the pool. Once in the water, he must immediately turn around and swim back. This basic technique could one day save a child's life.
  21 Make sure your child always jumps to the center of the pool. Explain that it is safe and permissible to jump only to the center of the pool, not to the walls where you can get injured.
 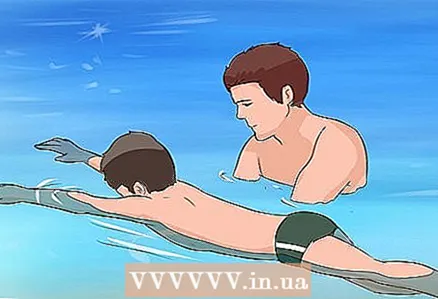 22 Teach your child more challenging styles. As he becomes more experienced, start learning real-life swimming styles with him. The most common styles are:
 - crawl;
- breaststroke;
- on the back;
- on the side.
Tips
- At any time, the child can be enrolled in swimming training to complement homework.
- The article offers only options for games. Don't be afraid to create your own games to teach your child how to swim!
Warnings
- Never let your child swim unattended.


