Author:
Joan Hall
Date Of Creation:
2 July 2021
Update Date:
1 July 2024

Content
- Steps
- Method 1 of 3: Using your fingertips
- Method 2 of 3: Conquering the Wall with a Hook
- Method 3 of 3: Installing Climbing Mounts
- Tips
- Warnings
- What do you need
Climbing a brick wall is not easy and requires tremendous strength, especially in the muscles of the upper body. You can climb up the wall with your bare hands, but the process will be easier if you equip yourself with a hook or gloves. Read this article to familiarize yourself with each method.
Steps
Method 1 of 3: Using your fingertips
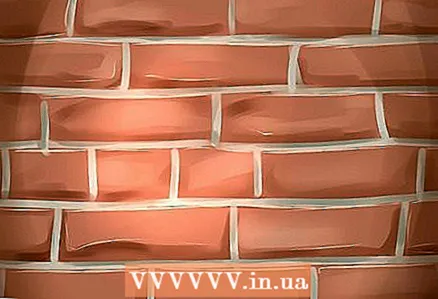 1 Examine the wall. If the brick wall you want to climb is of an old building, then it is possible that the cement between the bricks has dried out a little and crumbled from time to time, which will greatly simplify the climb, since it will be easier for you to cling.
 - You will need a lot of finger strength to master this technique. If you are not sure if you can keep your body weight on your fingertips, try a different technique.
- This technique is the simplest, but at the same time, it is very difficult to master it masterfully.
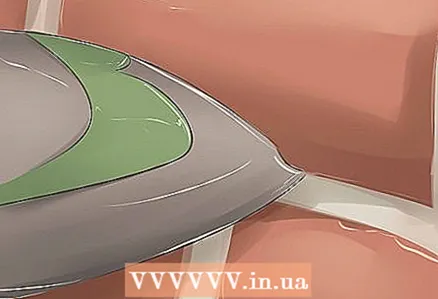
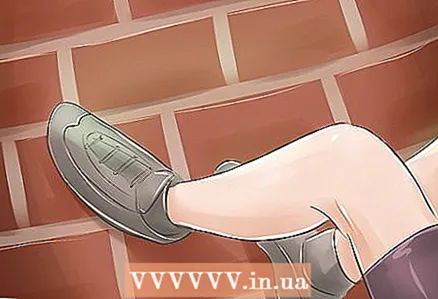
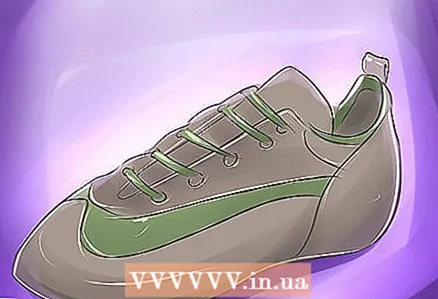 2 Wear the right shoes. The best shoes have a non-slip rubber sole and edging, and they also hold the foot well, i.e. is tough.
 - The outsole with prominent rubber edging is important because it will help you hold onto the small protrusions in the wall.
- Stiff footwear provides better lateral support for the foot. This is important because soft shoes will bend under the pressure of your weight, while hard shoes will hold their shape better and provide better support.
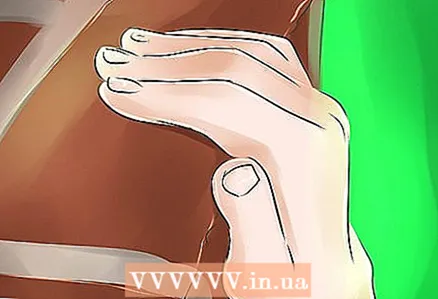
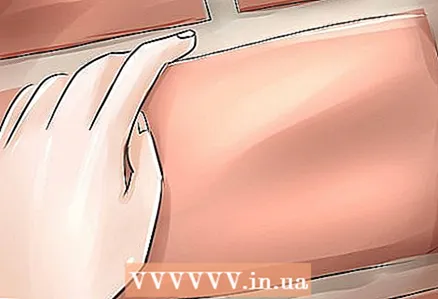 3 Use your fingers to hook into the nearest gap in the cement. Reach for the highest conveniently accessible gap in the cement and grab your fingers securely. Pull up on your main arm, bending it at the elbow.
 - Gently rock the brick you are about to grab onto before leaning on it. If the brick is loose, try reaching for another.
- When you pull up, keep your body parallel to the wall.
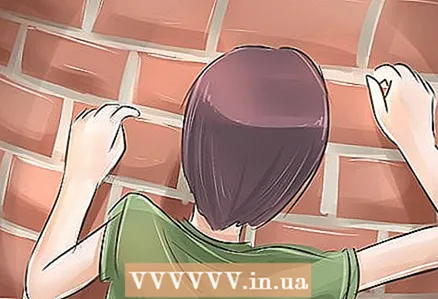 4 Continue climbing the wall using this technique. With your other hand, reach for the next crack in the wall, which you can grab onto securely. Pull up as you did earlier.
 - Continue climbing the wall, alternately pulling up on your left and right arms.
 5 Place your foot in the gap between the bricks. For the much-needed support, bend your knees slightly and bump them over the bricks as you pull up. Place the toe of your shoe in the gaps between the bricks, even if there are no potholes in the cement.
 - Step with the foot on the same side of the body as the arm above.
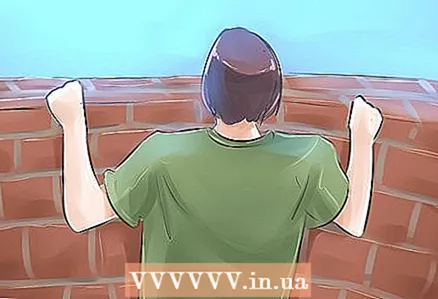 6 Pull yourself up to reach any ledge. When both of your hands are holding onto a ledge in the wall, pull your legs up to it and step one of them onto this ledge.
 - Make sure your fingers have a good grip before pushing off.
- Also, you can swing slightly and throw your foot onto the ledge, catching on it with your feet.
Method 2 of 3: Conquering the Wall with a Hook
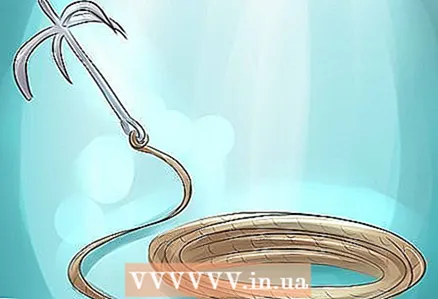 1 Untangle the rope if necessary. Check the hook and rope. If the rope is tangled, untangle it and fold it gently into a “coil” before use.
 - Simply wrap the rope around your hand, between the outside of your elbow and the place between your index and thumb.
- Hold the rope firmly as you unwind it. It should unwind easily and without interference.
- Pay attention to the length of the rope. It should be the same as the height of the wall, or even slightly more.
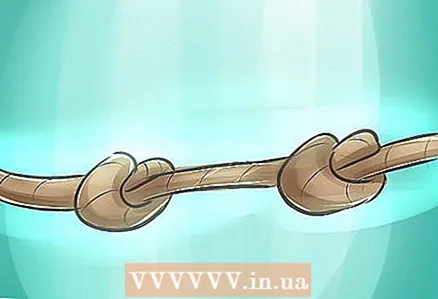 2 Tie knots along the length of the rope. This step is not necessary, but it will simplify the process of conquering the wall.Tie secure knots every 30 centimeters or so.
 - These knots will give your hands support. If you slide off the rope, they will prevent you from sliding down.
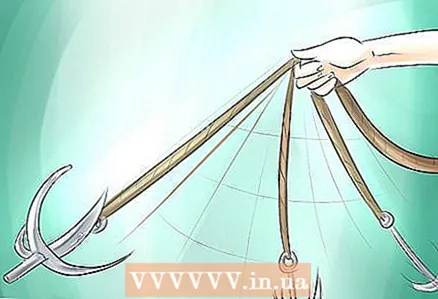 3 Create momentum by rotating. Stand in front of a wall with a hook and a rope tied to it.
 - Hold the rope with your hand about 30 cm from the hook.
- Start spinning the rope. Make sure that the revolutions are at the same speed and angle of rotation and that you feel enough kinetic energy before throwing.
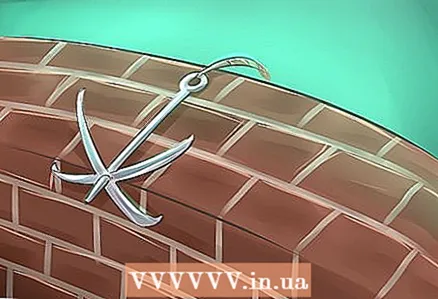 4 Release the hook while aiming at the top edge of the wall. After letting go, relax the hand holding the rope, allowing the hook to fly upward. Your goal is to throw the hook onto the wall so that it hooks onto it from the back.
 - Release the hook at the beginning of its upward movement.
- When the hook lands on that side of the wall, pull the rope towards you to catch the hook.
- It may take several tries before the hook snaps into the wall.
 5 Check the strength and reliability of the rope. Even if the hook appears to have caught on the wall, make sure by pulling on the rope. You don't want to fall from the height of the middle of the wall, do you?
 - Hang on the lower end of the rope for 20 or 30 seconds without leaning on anything other than the rope.
- While still holding on to the bottom of the rope, push off the wall. The hook must remain in place and show no signs of instability.
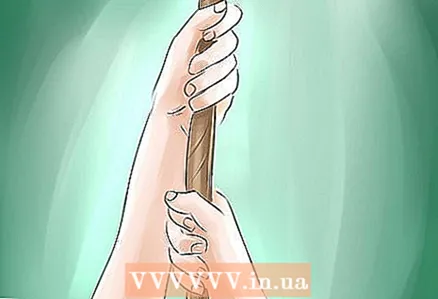
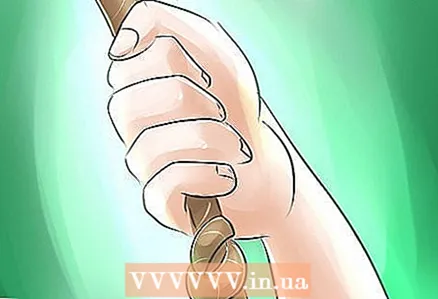 6 Climb up the rope. Use the knots you tied earlier.
 - If you haven't tied any knots on the rope, just grab it in a place that is convenient for you, hold it tight and pull yourself up, alternating your arms.
 7 Place your feet against the wall if possible. Pulling your hands along the rope, support your body weight with your feet against the wall. Bend over, your back should be neither horizontal nor vertical.
 - Thus, you will "walk" along the wall with your feet, pulling up on the rope with your hands.
- If you can't put your foot against the wall, use a knot on the rope to support it.
 8 Grab the ledge when you reach it and pull yourself up. Swing your leg over the wall and climb over.
 - Make sure your fingers have a good grip before pushing off.
- Also, you can swing slightly and throw your foot onto the ledge, catching on it with your feet.
Method 3 of 3: Installing Climbing Mounts
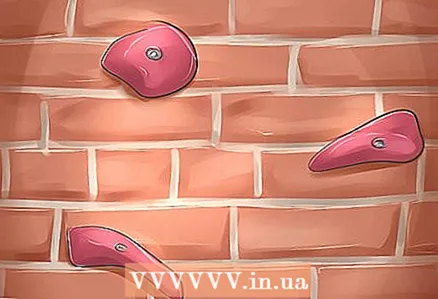
 1 Determine the best location for the fasteners. They should be about 30 cm apart vertically and 30 to 60 cm horizontally.
 - If you are installing fasteners to a brick wall, you may need a ladder. Of course, once you've installed the fasteners, the ladder is no longer needed.
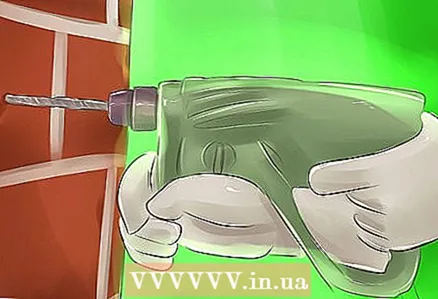 2 Drill a straight hole in the brick. Use a drill to create a hole 12 mm in diameter and 40 mm deep. Drill down the center of the brick.
 - Do not drill cement between the bricks, it can break and the fasteners will fall out over time, not to mention the danger involved.
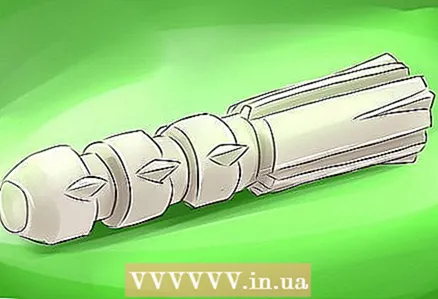 3 Drive in the dowel. Drive the dowels into the drilled holes. Make sure they are fully hammered.
 - The dowel should not be loose in the hole.
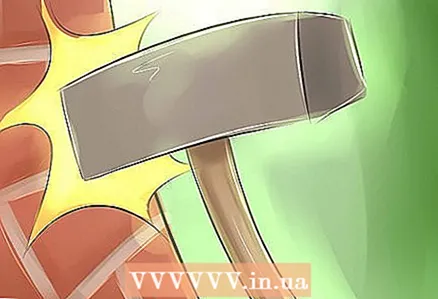 4 Secure the fasteners. Hit the dowel several times to force it to expand and fill the entire hole.
 - Make sure the mounts are secure, don't rely on luck.
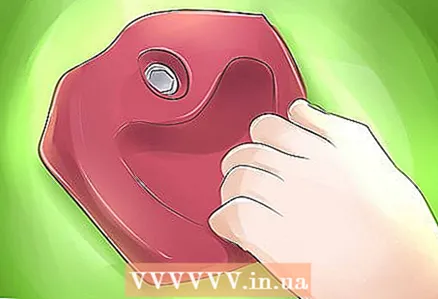 5 Attach the hardware to the wall plug. Screw the bottom of the climbing mount into the dowel.
 - At the end of the procedure, check that the fasteners are firmly seated so that they do not fall out when you climb the wall.
 6 Repeat with the rest of the fasteners. Drill holes, drive in dowels, tighten fasteners.
 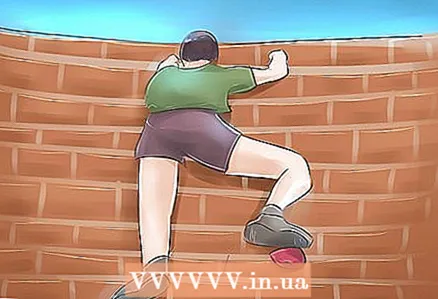 7 Climb the wall using your hands and feet on the fasteners you have installed.
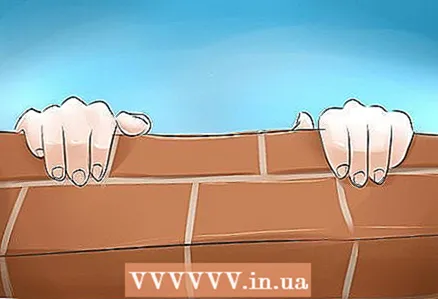 8 Grab the ledge when you reach it and pull yourself up. Swing your leg over the wall and climb over.
 - Make sure your fingers have a good grip before pushing off.
- Also, you can swing slightly and throw your foot onto the ledge, catching on it with your feet.
Tips
- Some students have had success creating and using vacuum wall climbing devices. The diagrams and calculations are not available on the Internet, but, however, you can find a video of the device in action.
- Not really a climbing technique, but you can nevertheless try a special running technique like parkour elements to maximize your pushing power, and thus reach unexpected heights and cover long distances.
Warnings
- Use all the listed methods only at your own peril and risk. Results may vary depending on the height and condition of the wall, as well as your strength and weight. Consult a professional for a safer pastime.
- If you are tying knots on a rope, keep in mind that each knot halves the tensile strength of the rope.
What do you need
- Rope hook (optional)
- Dowels (optional)
- Climbing fasteners (optional)
- Ladder (optional)
- Hammer (optional)
- Drill (optional)


