Author:
Bobbie Johnson
Date Of Creation:
7 April 2021
Update Date:
1 July 2024

Content
- Steps
- Method 1 of 5: Using Paint in Windows
- Method 2 of 5: Using an online converter on a computer, smartphone and tablet
- Method 3 of 5: Using Preview on Mac OS X
- Method 4 of 5: Using the Gimp on Windows, Mac OS X, and Linux
- Method 5 of 5: How to change the file extension
- Tips
Many websites and some applications can only upload JPG (or JPEG) photos. It is almost impossible to do this with photos in GIF, TIFF, PNG and others. If you convert a picture to JPEG, its quality will deteriorate, but you will end up with a very small file. You don't need to be a computer genius to convert a picture to JPEG - just memorize a few tricks.
Steps
Method 1 of 5: Using Paint in Windows
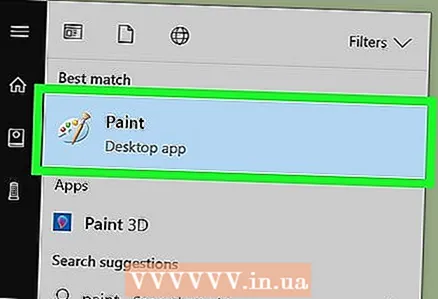 1 Start Paint. This program is built into almost all versions of Windows. Click on ⊞ Win+Sto open the search box and type paint. Click on "Paint" in the search results.
 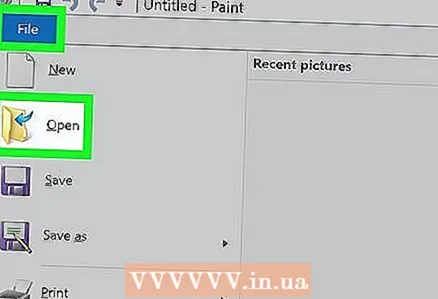 2 Open the image in Paint. Keep in mind that the image must be stored on a computer. Click File> Open. Find the image and click OK.
 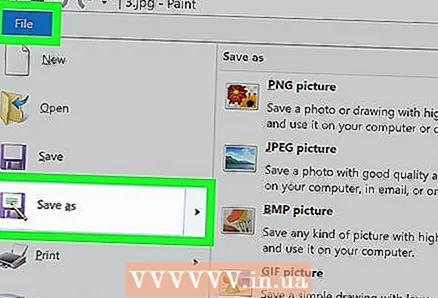 3 Click "File" and then click the arrow next to "Save As." A list of image formats will open, including JPEG.
  4 Click JPEG. A window will open in which you select a folder to save, rename the file (if you like) and make sure that the option “JPEG” is displayed in the File Type menu.
 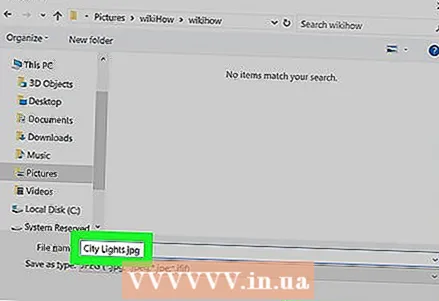 5 Click "Save". The picture will be converted.
Method 2 of 5: Using an online converter on a computer, smartphone and tablet
 1 Choose an online converter. This method can be applied on any device that is connected to the Internet, including smartphones and tablets. In the search engine, enter "XXX to jpg online converter", where replace XXX with the original file format. On the websites of some converters (for example, Online-Convert) there is a list of all formats that the converter supports.
 - Make sure that the selected converter can convert the format of your picture. Some file formats, such as RAW files, are difficult to convert online due to their size.
- If you are using a mobile device, connect to a wireless network rather than a mobile network to avoid the cost of transferring large files.
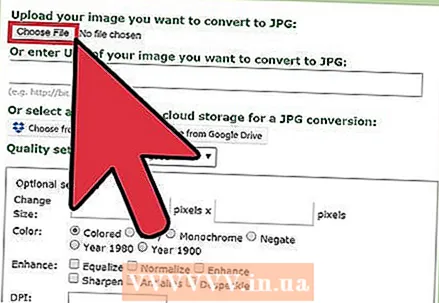 2 Upload your image. In the converter, find the button "Browse", "Select file" or similar, and then select the desired file. Please note that many converters limit the maximum image size.
 - Read the converter's terms of use before downloading the file.
- Some converters allow you to enter the address of the image - this is useful if the image is on the Internet.
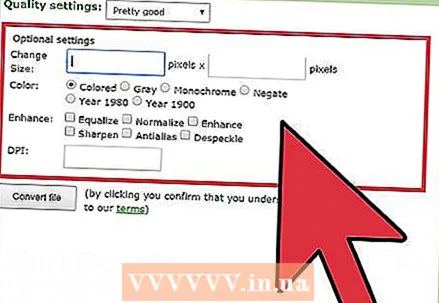 3 Make sure the converter can convert the picture to JPEG format. Most converters have a drop-down menu where you can select “JPEG” or “JPG” (these are similar options). Some converters will also allow you to change the size and quality of the picture.
 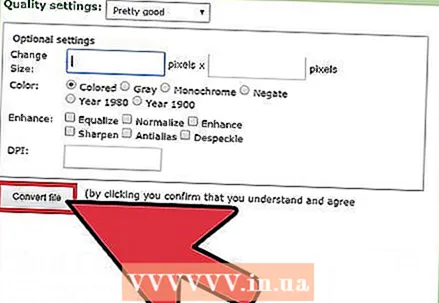 4 Convert the image. Find the button "Convert", "Convert", "Save" or similar to start the conversion. This will take a few minutes. The converted picture will be automatically uploaded to the download folder or you will be prompted to select a different folder. When the process is complete, the image will be converted to JPEG format.
Method 3 of 5: Using Preview on Mac OS X
 1 Open the image in Preview. This program comes preinstalled on Mac computers and supports almost any graphic format. Hold Ctrl and click on the image, then choose Open With> View from the menu.
 - If the picture does not open or does not open as expected, use the online converter (read the third chapter) or the Gimp editor (read the fourth chapter).
- Use this method only if the picture is stored on your computer. If the image is on the Internet, download it to your computer.
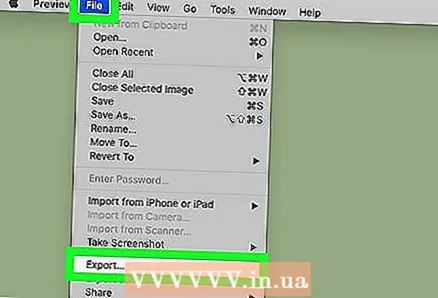 2 Click File> Export. A window with several menus will open.
 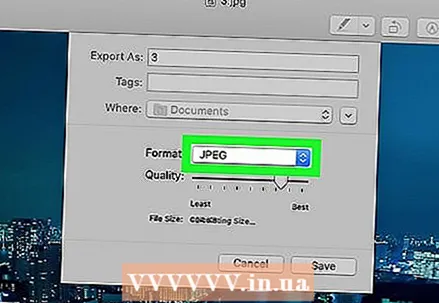 3 Change the format to JPEG. Also adjust the quality and resolution (if you like). The higher the quality or resolution, the larger the file size.
 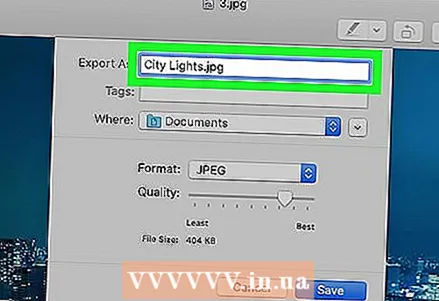 4 Rename the file and save it. Make sure the file extension is ".webp" (case does not matter), and then select a folder to save. Click "Save" to complete the conversion.
Method 4 of 5: Using the Gimp on Windows, Mac OS X, and Linux
 1 Install Gimp. If you cannot convert the picture to the desired format using the software you have, use the free graphics editor Gimp. If you don't have Gimp on your computer, download and install it.
 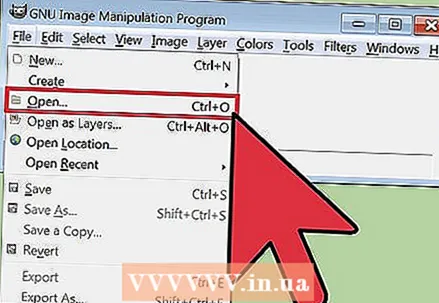 2 Open the image you want to convert. Click File> Open, select the image, and click Open again.
  3 Click File> Export As to choose the JPEG format. A window with a list of formats will open; click "JPEG".
  4 Adjust the parameters. A window with the parameters of the JPEG file will open. Before you start adjusting the image quality, check the box next to "Preview in the image window". Move the slider so that the picture quality suits you.
 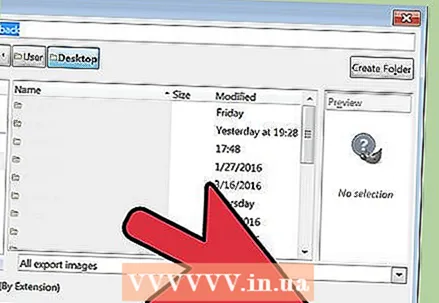 5 Click on "Export". A window will open in which rename the file (if you want) and specify the folder to save. The file will have a .webp extension (do not change it; the letter case does not matter). Click "Save" to complete the conversion.
Method 5 of 5: How to change the file extension
 1 Find out when this method can be used. If you have a JPEG file with the wrong extension, for example, due to a typo, the extension has become .jgp (instead of .webp), use this method, which kind of "converts" the image to JPEG format.
 - If you change the extension of a file that is not a JPEG file, it will not be available. In this case, use the other methods described in this article.
- The case of letters in file extensions does not matter, that is, .webp and .webp are one and the same.
- Before changing the file extension, write down the original extension so that you can revert it if necessary.
 2 Find the file. Open the folder with the desired picture in an Explorer or Finder window.
 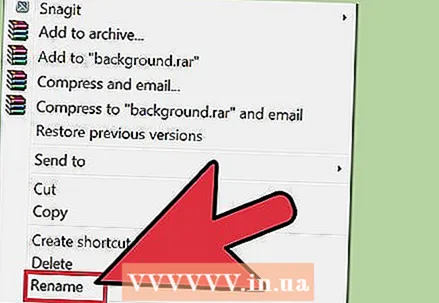 3 Display file extensions. On Windows, skip this step. On Mac OS X, click the image and click File> Properties. Click the arrow next to "Name and Extension" and uncheck the box next to "Hide Extension". Click "Save".
  4 Remove the current file extension. In the file name, delete everything after the period (.).
 - On Mac OS X, click on the image and click ⏎ Return... Put a space after the file extension and press Delete so many times until you delete everything after the period (.).
- In Windows, right-click on the image and choose Rename from the menu. Put a space after the file extension and press ← Backspace so many times until you delete everything after the period (.).
 5 Enter JPG after dot (case does not matter). The file name should look something like image.webp. Click on ↵ Enter or ⏎ Return.
 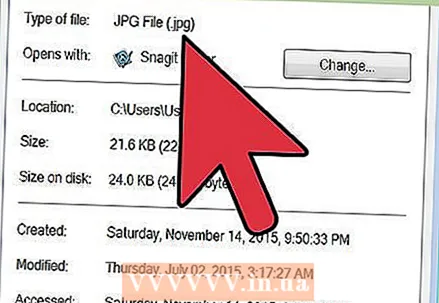 6 Confirm your actions. A warning will appear on the screen stating that after changing the extension, the file may not be available. Click "Use.webp" or "Yes" if you want to make changes. The file extension will change to .webp.
Tips
- JPEG files have the extension .jpeg or .webp (case does not matter).
- Always back up your picture before converting it.
- If your device is connected to a mobile network, downloading and uploading pictures can incur significant costs.
")


