Author:
Peter Berry
Date Of Creation:
15 February 2021
Update Date:
28 June 2024
Content
Gardening is a great way to save money and provide clean food for your kitchen. If you are a tomato lover and want to enrich your cooking with garden tomatoes, then try planting tomatoes with seeds. The planting process is quite simple but gives you a feeling of contentment and a fresh and delicious tomato garden.
Steps
Method 1 of 4: Choose Best Tomato
Find out your region. Tomatoes, like any plant, have an ideal environment for their best growth and best fruit. Some varieties of tomatoes are native to certain regions and do not thrive anywhere else. Research the tomato varieties that are best for your environment and region by contacting your local agricultural development office. There may be hybrids that do well in the soil and climate where you plan to grow, even if you've never heard or thought of it.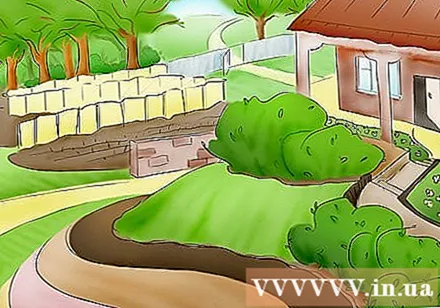

Choose a tomato variety. There are many different varieties of tomatoes, each with a unique color, size and flavor. Tomatoes come in a variety of varieties, from grapes small to those that are larger than oranges, and come in a variety of colors, except blue. How to prepare tomatoes, the taste of the tomato you like and the type of growth of the plant are factors you must take into account when choosing a tomato variety to grow.- Tomato plants have two different types of growth: finite and infinite. Finite-growing trees grow straight and bear fruit quickly, but only live for a short time. The tree grows indefinitely, spreads like a creeper and bears fruit throughout the season.
- Red tomatoes or beefsteak tomatoes are traditionally eaten whole or thinly sliced on a sandwich. Plump tomatoes, also known as Roma tomatoes, are used for cooking, canning and making sauces. Curry tomatoes or grape tomatoes are rich in seeds and water, served whole or cut in half in salads or pasta dishes.
- Color can indicate the taste of tomatoes. If you like the traditional flavor, choose a large, red tomato. Purple or brown tomatoes have a rich flavor, while yellow or orange tomatoes have a sweeter taste. Green tomatoes are suitable for cooking savory dishes.

Choose a favorite nut. Tomatoes can be grown with dry packaged seeds, fresh seeds from cut tomatoes, or seedlings sold in plant nurseries. Fresh and dried seeds take a lot of work to plant, but also feel more enjoyable. Using seedlings is the easiest way to grow tomatoes.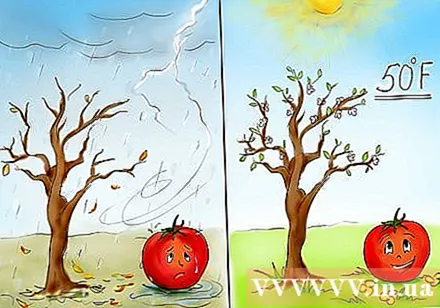
Know when to plant. Tomato growing must be done at certain times of year for best results. Tomato is a light-loving plant, so it will thrive in late spring and summer. You should plant at least two weeks after the last frost, or when the night temperature does not drop below 10 degrees C and daytime temperatures should remain below 32 degrees Celsius.- If you are going to sow seeds indoors, schedule them 6-8 weeks before your intended date to plant them outside.
- If you want, you can purchase a soil temperature thermometer to test the soil in your garden to determine the ideal planting time. The ideal soil temperature for tomato growing is 10 degrees Celsius, but this may not happen when the weather is better; so you should check the garden just to be sure.
- The farmer's calendar is an essential tool that helps you find the best planting times. You can view the farmer's calendar online or buy one with your region listed.
Method 2 of 4: Dried Fresh Tomato Seeds
Choose tomatoes. Tomato seeds will bear fruit almost like the parent plant. If there is a delicious, succulent berry that you want to save, cut it out and save the seeds.
- Make sure the tomato you choose is healthy; The same goes for a poorly delicious tomato.
- Wait until it's ripe before cutting to save it.
Cut the tomatoes in half. Use a sharp knife to cut through the tomato. Use a cutting board or a bowl underneath to easily collect the seeds and the flesh inside the fruit and preserve it.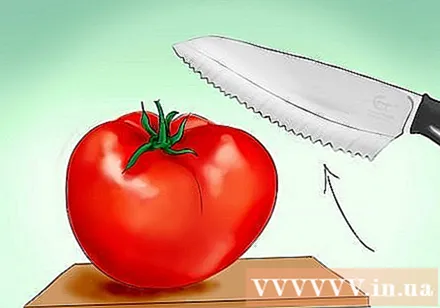
Scoop out the inside of the tomato. Spoon all the tiny seeds, water, and tender flesh inside the tomato. Put it all in a small bowl or cup.
Add more water. Tomato seeds need to go through a fermentation process before drying, and let the mixture dry in the sun. Add a few tablespoons of water to the seeds and tomato meat and cover with plastic wrap. Poke a few holes in the wrap to allow air to circulate.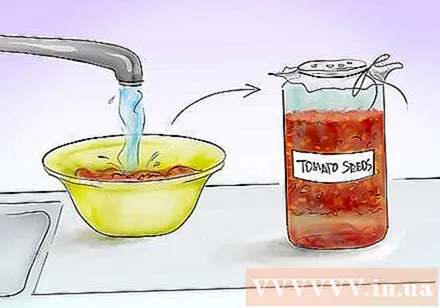
Leave the seeds in the sun. Now the seeds take time to ferment. Place the covered dish in a warm place, ideally on a window sill, where there is plenty of sunlight. Leave on for 2 to 3 days.
Wash the seeds. After several days, you will notice that the water and tomato meat form a scum above the water, while the seeds sink to the bottom of the dish. Then you scoop out the floating scum from above, then pour the seeds and water through the sieve to sieve the seeds. Wash the seeds with warm water to clean them.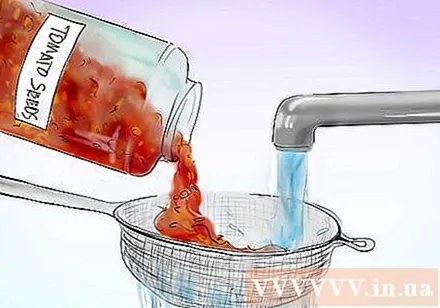
Dry the seeds. After washing, stir the seeds over the sieve to shake off as much water as possible. Then put the seeds in the tray and cover with coffee filter paper or wax paper. Place in a low-traffic place to avoid tripping over the tray, or the seeds are exposed to direct sunlight. Keep the temperature between 20-30 degrees Celsius. Stir the seeds once a day to prevent them from sticking or sticking to the paper.
Particle check. When it is completely dry to the touch and does not stick together, the seeds can be used. Be careful not to remove the seeds too soon, as if the seeds become damp, mold and bacteria can develop and damage the seeds.
Seed sterilization. Pasteurizing seeds will help kill bacteria and diseases that can multiply, making plants healthier and giving more fruit when grown outdoors. Soak the seeds in a mixture of 1 tablespoon of apple cider vinegar and 1 liter of water for about 15 minutes.
- You can buy pre-packaged seeds to make sure the plant is free from infection and bacteria.
Dry the seeds again. Follow the same process as before, spreading the seeds over the tray for days to make sure the seeds are completely dry. Separate the seeds if they are stuck together and do not allow them to stick to the tray by stirring them with your hands.
Store seeds. Once dried, store the seeds in a paper envelope until used. Avoid storing seeds in plastic bags or plastic containers, as this will prevent air from circulating, increasing the chances of mold and bacteria growing on the seeds. advertisement
Method 3 of 4: Home Nursing
Prepare the tray. Buy nursery trays from the nurseries and add sterile garden soil. Use a soil that is marketed specifically for nursery for best results.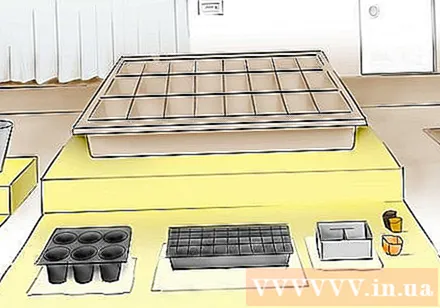
Drills. Create rows of soil to drop seeds in. The seeds should be about 5cm apart. Fill the seeds with a thin pinch of soil and gently water them with water on top.
- If you plant different varieties, plant one of each row and mark each row. Otherwise, it will be difficult to tell when the plant starts to sprout.
Warm the seeds. To germinate, the seeds need light and heat. Place them south, opposite a window, or use the heat of a fluorescent light by placing the light above the seed tray, about 10 cm away. Seeds need at least 6-8 hours of light and heat per day before germinating.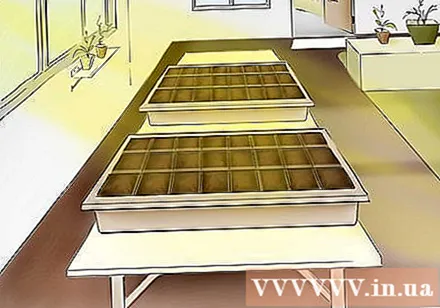
Take care of the seeds. Water the incubator tray every day, ensuring adequate light and temperature. Place a temperature not below 21 degrees Celsius. When the seeds germinate and leave real leaves, you can plant them outside. Tomato seeds will sprout after about a week, but about a month after germinating, real leaves appear.
Remove the seedling. Plant each seedling in a separate pot to give them enough space to grow. Use a fork to scoop up the soil from the seedlings and gently remove them with your fingertips from the nursery tray.
Planting seedlings. Place each seedling in a separate pot of about 1 liter of soil. These plants still need 8 hours of sunlight, temperature and water a day.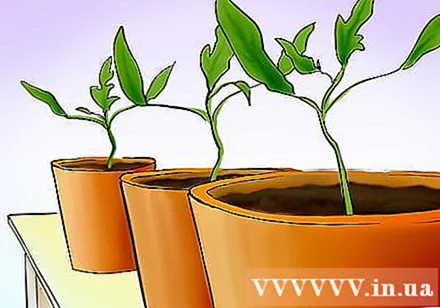
Exercise for strong plants. After about two months, your tomato seedlings will begin to grow and look like small mature plants. Before being brought to the garden, they must be "trained" to be sturdy and get used to the outdoor climate. Start by placing the pots outside for 2-3 hours and then bring them in. Continue this process by setting out for a little longer each day for about a week. When the week is over, you can leave the pot open all day and night outdoors.
Prepare the plants before planting. When your plant is strong and ready to go outdoors, prepare it for the garden. Trees over 15 cm high should be pruned. Use shears to cut the lowest branches around the tree. If the plant is less than 15 cm, you can plant it immediately without preparing. advertisement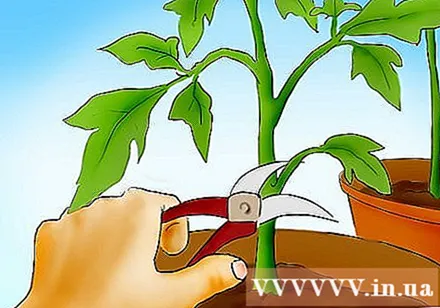
Method 4 of 4: Planting a Tomato Garden
Choose a plot of land. Finding the best spot in your yard to grow tomatoes is an important step in the growing process. Tomato is a sun-loving plant, you need to sunbathe directly from the sun for 6-8 hours a day. If possible, find a place with good drainage, as standing water will make the tomato growing medium less and the plants will loten.
Prepare the land. Conditions for the best tomato growth. Test the soil pH to see if adding anything to the soil. Tomatoes are suitable for a pH of 6 - 6.8. Apply more compost to nourish the soil and loosen large soil. Need to loosen and mix the soil to a depth of about 15 - 20 cm.
- If you plan to grow tomatoes in the past, fertilize and adjust the soil pH a few months before planting. Thus, the soil will have time to soak up all the nutrients.
Dig holes for planting trees. Plant a distance from each other depending on the method of care you want to apply. If you want to make a truss or cage for the tree, dig holes 60 - 90 cm apart. If you want the tree to grow naturally, the distance between the plants should be a little bit longer, about 1.2 m. Dig holes about 20 cm deep so that the roots and lower trunks of the plant can be buried.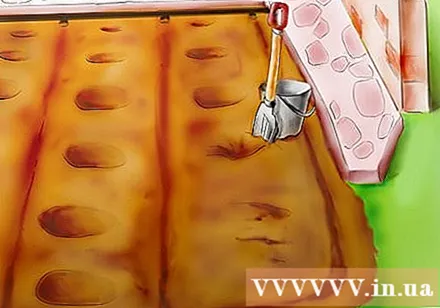
Add nutrients. Sprinkle a tablespoon of epsom salt in each hole to increase magnesium levels to help plants grow well. You can also now sprinkle some compost under each hole.
Growing tomatoes. You move each tomato plant from the pot into the prepared hole. Loosen the soil and root ball in the pot and gently remove the plant by turning it over quickly with your other hand. Plant each tree in the ground, compact it to remove all air bubbles. Fill the soil under the lowest leaf layer.
Make a cage for the tree. If you want to surround the tomatoes with a cage, now is the time to set the cage. Make a cage with concrete poured steel, or sparse wire mesh. Do not tie the plant to the cage or to the stakes around the plant until after the plant has flowered.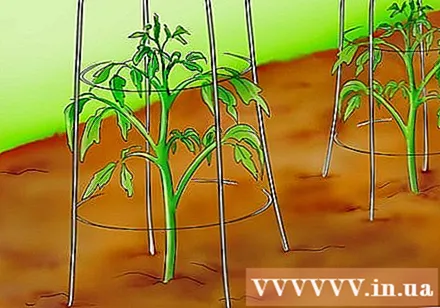
Water the tree. Keep your plants healthy by watering them daily. However, don't "drown" your tree. Tomato plant that absorbs more than 1 or 2 tablespoons of water per day will give fruit a light taste. If you don't have time to water every day, consider a sprinkler or drip irrigation system in your garden.
Take care of plant. Once the tree has grown, keep it healthy by pruning regularly and harvesting the fruit. Use shears to cut all the shoots (small branches that grow from where the main branch intersects) and the branches hidden below, the branches in or near the shade of the tree.
Harvest the fruit. When the tomatoes start to bear fruit, you should be able to harvest them! Pick the tomatoes when the fruit is ripe, usually calculated using days. You can pick them early and let them ripen indoors if the weather turns bad, or when there are too many pods. You can eat tomatoes, raw, canned, or frozen whole for future use. advertisement
Advice
- Tomatoes are easy to live with but very fragile, so when moving the plant, be careful not to break or warp the stem or lose the leaves. This can cause the plant to die.
- Plan to have 20% more seeds than the tree you plan to plant to give fruit. This will increase the likelihood of having healthy plants and delicious tomatoes.


