Author:
Lewis Jackson
Date Of Creation:
8 May 2021
Update Date:
1 July 2024
Content
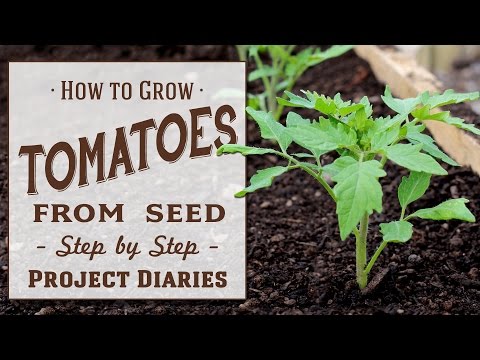
Do you like growing tomato plants? As long as the tomatoes are ripe and available in the kitchen, you can grow many unique tomato plants in your garden. By following these simple instructions, you will learn how to grow a tomato plant from seeds, whether choosing to purchase packaged seeds or fermenting seeds from a tomato.
Steps
Method 1 of 4: Prepare the seeds
Buy seeds or use seeds from a tomato. You can buy seeds online at seed exchange sites, at a nursery or from gardeners. You can also buy seeds from the garden gardening section of the supermarket. If you want to get seeds from a plant, you need at least one tomato from that plant. Be sure to get fruit from a tomato plant that has been grown with purebred seed or naturally pollinated seed. If you choose tomatoes from a hybrid or a plant grown from chemically treated seeds, the results may not be as satisfactory. Tomatoes can be classified according to:
- Purebred or hybrid tomatoes: Purebred tomatoes are genetically engineered over generations without cross-pollination. In essence, they are purebred tomatoes. Tomato hybrid is a hybrid between two varieties.
- Growth finite or infinite: This is a classification method based on the length of time the tree is fruiting. Plants grow indefinitely to bear fruit for a few weeks, while indefinitely growing plants bear fruit throughout the season until climatic conditions become too cold. Infinite trees also grow larger and require more care by pruning and staking.
- Shape: Tomatoes are also classified into four categories according to their shape: globe, beefsteak, paste, and cherry. Globe tomatoes are the most common shape, the largest beefsteak, paste tomato is often used in sauces, cherry tomatoes are small, medium-sized and often used in salads.

Cut the tomato in half and scoop the pulp out into a plastic container. You need a container with a half-lid to hold the meat and tomato seeds for a few days. There will be a moldy layer growing on the tomato seeds. This process eliminates many diseases of the seed, which can affect tomato plants in the next generation.
Place the label on the container. If you are fermenting different types of tomatoes, be sure to place labels with tomato varieties on containers to avoid mixing varieties. Close the lid of the box, remember not to cover it tightly so that oxygen can get inside.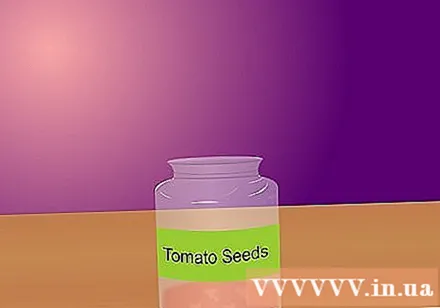

Place the box in a warm place away from direct sunlight. The fermentation of seeds can be quite spiky and has an unpleasant odor, so keep it in hidden places like under the sink or in the garage (as long as it's warm).
Stir the tomato seeds daily until a white mold appears on the surface. It usually takes about 2-3 days for the mold to form. Be sure to harvest the seeds as soon as the mold forms to avoid sprouting in the box.

Harvest the seeds. Put on gloves, remove the mold. The tomato seeds will sink at the bottom of the box.
Pour water into the box to dilute the mixture. Allow the seeds to settle to the bottom and drain the liquid through a sieve. Be careful not to lose the seeds. Wash the seeds thoroughly with water after you have collected them in the sieve.
Spread the tomato seeds on a non-sticky surface and allow to dry for several days. Glass or ceramic flat plates, baking sheets, plywood pieces or window screens are all available. If you spread the seeds on a paper or cloth, it will be difficult to remove them when they dry. Once the seeds are dry, you can keep them in a sealed plastic bag until you are ready to plant. Remember to label each seed.
Store the seeds in a cool, dark place. You can also store the seeds in a sealed container and refrigerate to simulate winter, but remember not to put the seeds in the freezer to avoid damaging the seeds. advertisement
Method 2 of 4: Sowing seeds
Sow the seeds and leave the seedlings indoors about 6-8 weeks before the last frost. To prepare the tomato plant for outdoors, you will need to plant the seedlings indoors while it is still cold outside. Cold temperatures in early spring can stunt and even kill young plants. You should start growing seedlings indoors to increase your chances of success.
Buy plastic peat pots or similar small pots to plant seedlings. You can find these pots at nurseries or gardening stores.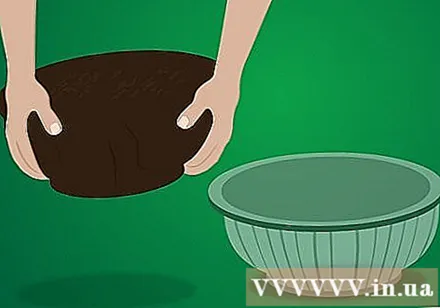
Pour the wet soil mixture into the pot. A soil mixture may consist of 1/3 peat moss, 1/3 coarse vermiculite and 1/3 compost. Be sure to water the damp soil before sowing.
Sow 2-3 seeds in each pot, about 0.5 cm deep. Cover the ground and pat it gently.
Place the potted plant in a room that is about 21 to 27 degrees Celsius until the seeds germinate. Move the pot to full sunlight or use a planting light once the seeds have germinated.
Spray the seeds with water every day for the first 7-10 days. When you see a sprout of sprout, you should reduce the number of watering. Plants usually die from over watering (which rots the roots) rather than watering too little, so watering in moderation after the plant has sprouted.
- You can also soak the seeding pot in water so that the roots absorb water from the bottom. Water spraying may not be enough to allow water to penetrate the roots.
Check the pot every day. Once the plants have emerged from the ground, they will grow quite quickly. advertisement
Method 3 of 4: Planting seedlings
Pay attention when plants are at least 15 cm tall. When there's no longer the risk of frost and the plant has reached the desired heights, it's time to kick the plant out to plant.
Forge sturdy plants. About a week before you move your plants out for planting, you will need to gradually adjust them to the outdoor temperature. Gradually expose the plants to the sun, initially placing them in a partially shaded place, then gradually increasing the amount of time outdoors. Start with an hour or less, then work your way up.
Prepare your garden space. You need a soil that is well drained and rich in organic matter.
- Consider adding peat moss to the soil to increase drainage. You can also mix humus into the soil.
- To use peat moss, you need to take out about half of the soil and mix with the same amount of peat moss as the soil. Mix the peat moss and soil mixture back into the planting area.
Check the pH of the soil. Tomatoes grow best in soils with a pH between 6 and 7.
- Your local extension office can provide soil testing facilities with instructions. After adjusting the pH, you need to test it again.
- If the pH is lower than 6, you need to add dolomite lime to the soil to increase the pH.
- If the pH is higher than 7, you can lower the pH in the soil by adding granular sulfur to the soil.
Dig a hole about 60 cm deep. The hole should be deep enough for you to plant a tomato seedling so that only of the plant is sticking out of the ground. Place a handful of organic matter such as compost at the bottom of the hole. This will help the plant to grow and prevent shock from being planted.
Carefully lift the plant from the pot and place it in the hole. Try not to break the roots during the planting process. Place the plant in the hole so that when the soil is filled, the first leaves of the plant touch the soil surface. Pat the ground after planting.
- Be sure to prune leaves that are level or below the surface of the soil. Tomatoes can become sick if the leaves come into contact with the soil.
Fertilize the plants. You can fertilize your plants with fishmeal, chicken manure, or pre-mixed organic fertilizers with a low nitrogen content or a fertilizer with a high phosphorus content. Then water carefully. You need to fertilize once a month.
Stick a stake or trellis next to the tomato plant. This will help support the plants as they grow and also make it easier to pick fruit from the branches. Be careful not to break the roots. advertisement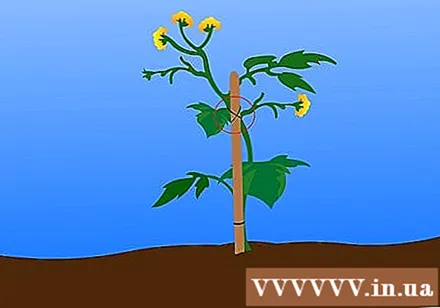
Method 4 of 4: Take care of plants
Regularly water and fertilize the plants. Water the stump to prevent mold from growing on the leaves. Water the plant with liquid seaweed fertilizer and spread a layer of compost directly on the soil around the plant. Do this every week to increase fruit yield.
Cut off the shoots. If you want to stimulate the plant to grow well and give more fruit, use your hand to remove the shoots as they appear. Shoots grow from the branches between the branches and the main stem. Leave a few buds near the top of the plant to avoid sunburn.
Harvest the fruit at its best. About 60 days after planting, tomatoes begin to bear fruit. Check the fruits daily as they start to ripen to ensure their best taste. Gently twist the stem and avoid pulling on the branches. advertisement
Advice
- Some seeds take a long time to dry completely. You need to let the seeds dry for two weeks (or longer for larger seeds) if necessary.
- Ceiling fans are great for circulating air when seedlings are planted indoors.
- Beefsteak is especially popular in sandwiches. Italian tomato or tomato paste is used for cooking, canning and juicing. Cherry tomatoes are often used in salads.
- Be patient when planting trees because every tree takes time to grow.
- Growing tomatoes in a larger space; tomatoes will produce more fruit.
- If you live in a rainy area, you will get the best results from shielding your plants. Tomato plants do not like moisture and are susceptible to disease if the leaves are often wet.
- When watering tomatoes, remember not to get the leaves wet, just water the soil and not the plants.
Warning
- Never expose seeds directly to the sun if the temperature exceeds 29 degrees Celsius (even in the sun at 29 degrees Celsius dark colored seeds can still be damaged as they usually absorb more heat than the seeds. light color).
- Pests can harm tomatoes, including nocturnal worms, white flies and nematodes.
- Diseases such as fusarium fungal disease and verticillium wilt are common, but you can prevent them by growing resistant cultivars, rotating crops, and keeping your soil clean.


