Author:
Laura McKinney
Date Of Creation:
2 August 2021
Update Date:
17 June 2024

Content
Pull the big head up through the top of the neck and pull down. Fold the head of the big head down and pull up through the top of the neck


- Gently squeeze the side of the knot while tightening the knot to create an indentation just below the knot.
- The four-in-hand knots weren't very symmetrical in the neck. Don't worry because it's very normal.
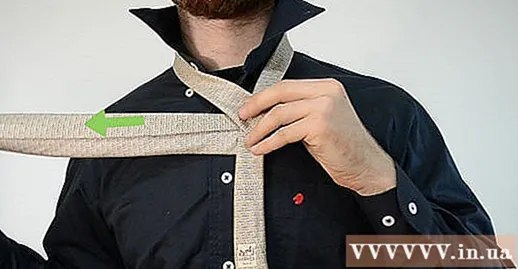
Method 2 of 4: Pratt Style (Basic Formal Style)

Cross the big head under the small head. Bring the big head to the left, below the small head.- Do not move the small head, just hold it still while handling the big head.
Pull the big end toward the loop around the neck. Place the big head on the necklace, still on the left side.
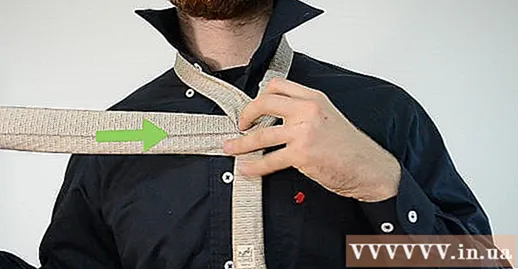
Move your big head through the ring. Slide the big head down through the necklace. Drag it back to its original position on the left side.

Fold the big head on top of the small head, from left to right. This has flipped the wide version of the tie back and the seam is no longer on. The big head will lie diagonally on your right side.
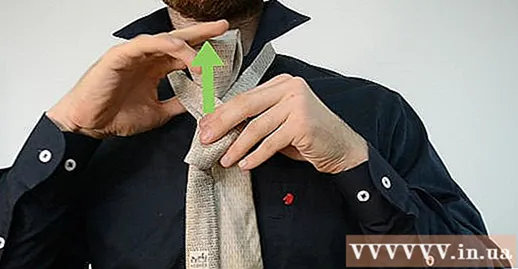
Pull the big head up through the necklace. Move it towards the necklace again, but this time from below. Pull it up.
Tuck the wide end down through the newly created front ring. The previous operation has created a horizontal ring in front of the tie. Move your big head down through this ring and pull straight down to tighten it. The wide tie will now overlap the narrow part.
Pull the knot to adjust. Pull the big head down to tighten the knot. Push the knot up close to the collar.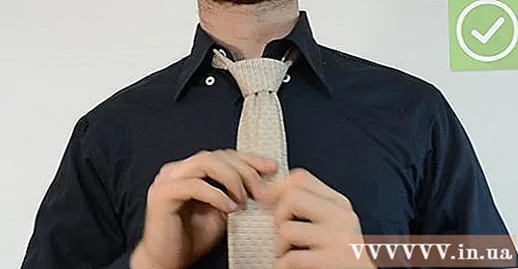
- To create an indentation just below the knot, squeeze the sides of the knot while tightening.
Method 3 of 4: Half Windsor Style (Formal)
Big head crossed over small head. Move the wide piece of string to the left, crossing up over the narrow section.
Fold the big head under the small head. Loop the big head over the bottom of the narrow string and pull it to the right.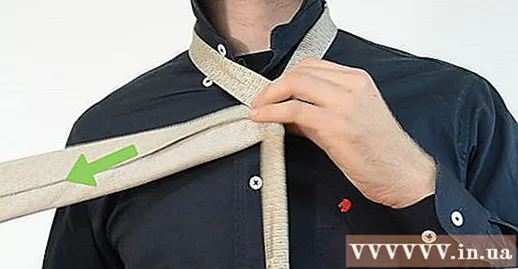
- This will cause the left side of the wide section to flip up.
Move the big head towards the necklace. Raise the wide section of the string onto the front of the collar. Turn right out.
Pull the big head through the ring to the left. Insert the big end over the necklace and pull it to the left so that it crosses under the narrow wire.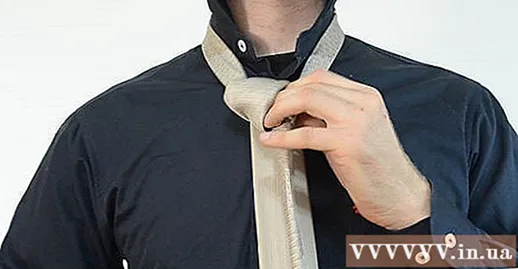
Fold the wide section of wire over the front of the narrow band. The big head is now on the right side in front of the small head.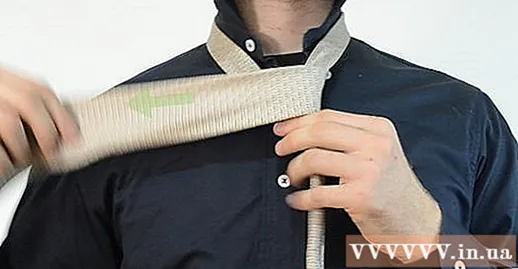
Pull the big end upwards through the loop. Fold it up again.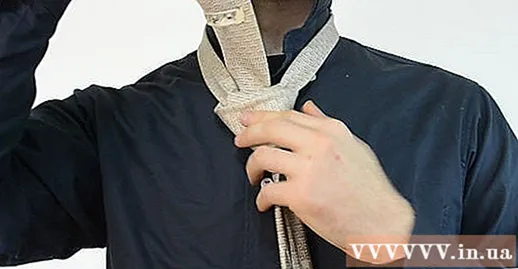
Slide the big head down through the front button. Loosen the front button with your finger and insert the big end. Pull it down over the small head.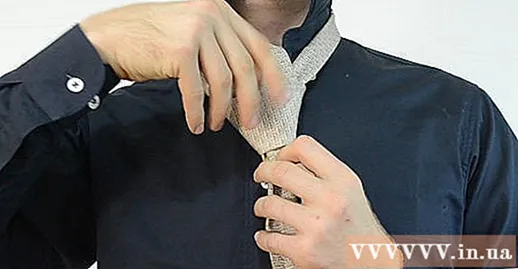
Pull the big head to tighten it. Gently squeeze the front button while pulling to create a dent in the tie. advertisement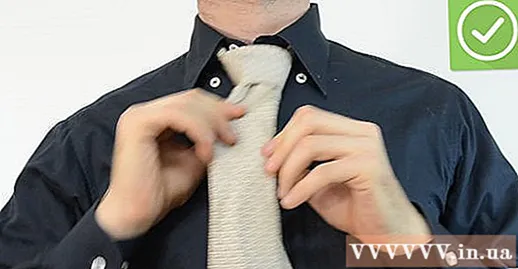
Method 4 of 4: Traditional Windsor style (Particularly formal)
Cross the big head over the small head. Each hand holds one side then cross them together. The big head is now on the left side.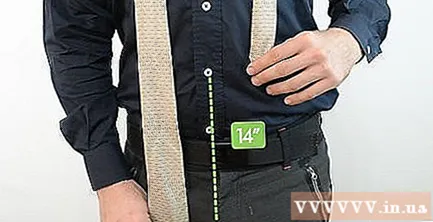
Move the big head towards the necklace. The right hand holds the intersection of the tie ends near the neck. The left hand pulls the big head through the necklace from below.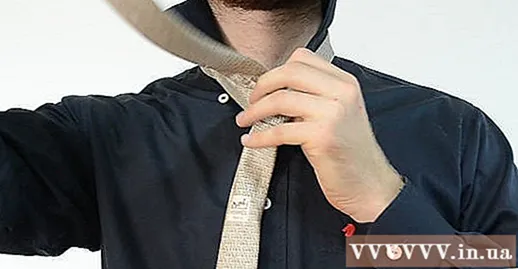
Pull the big head down. Place it on your chest, the left side of the narrow wire.
Fold it behind the narrow wire section. The right hand grabs the wide string and pulls it towards your right, below the narrow string. The left hand holds the knot near the collar.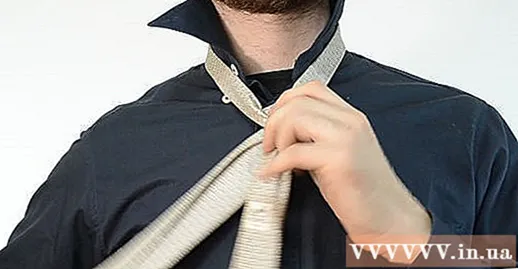
Raise the big head towards the collar from the front. Keep it on the right side.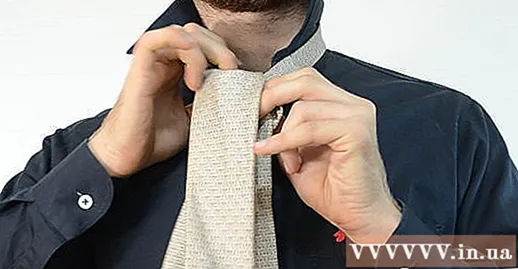
Pull the big head through the necklace. Insert the big head into the ring and pull it to the right side. At this time, the left side of the wide string will face out.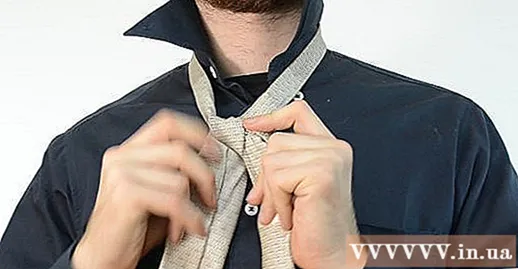
Fold the big head over the small head. Fold from right to left so that the right side is facing out.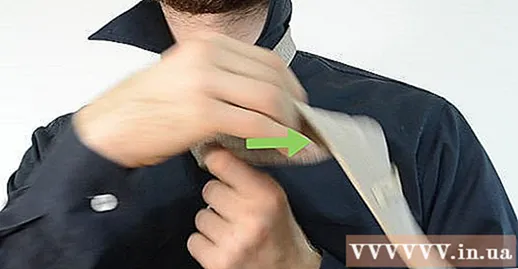
Pull the big head through the necklace from below. One last pass it through the necklace.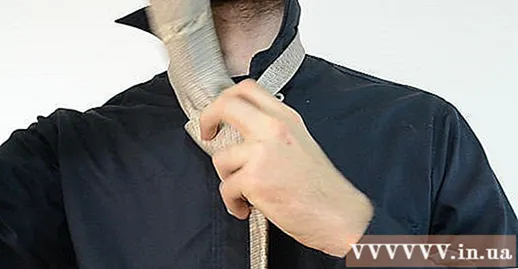
Tuck the big head into the front knot. Pass the big head through the horizontal button in front of the tie. Pull it down.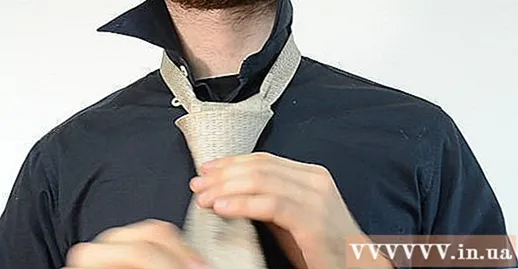
Tighten the button. Hold below the front knot and gently squeeze the side. Gently pull on the wide string so that the knot is tightened towards the neck. advertisement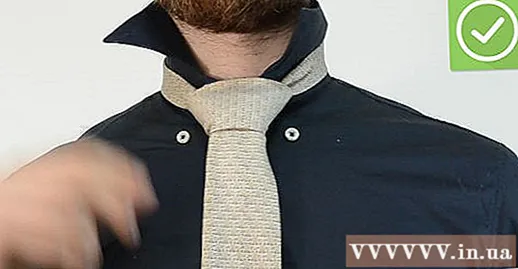
Advice
- To indent the knot, hold the sides of the upper tie, gently pull it down until tight. Under the knot will convex names. Use your thumb and index finger to squeeze the lower part of the knot into a V-shape and the protrusion will sink into a depression.
- If there is a ring underneath the wide tie, put the narrow wire in it to prevent the small end from "poking out" from behind.
- Tutorial for right-handed people. If you are left-handed, you need to swap "left" and "right" in steps to make it easier.
- The most ideal position of the big end of the tie is right above the top of your belt. It's okay if the strap goes down to the bottom of the harness ("Italian style"). If it's still too long, try a tie that uses a lot of fabric (like Windsor), or use a shorter tie. Likewise, if the tie is just below the waist length, you should buy another tie that is longer or try the Pratt button, which doesn't use much fabric in the knot.
- You should have a notebook with a note of your favorite tie patterns to keep track of for longer.


