Author:
Monica Porter
Date Of Creation:
19 March 2021
Update Date:
1 July 2024

Content
Although adding pictures to text is often thought of more than in electronic publishing programs like Microsoft Publisher, you can still manually insert pictures into Microsoft Word documents. Inserting pictures into Word documents makes text more interesting and highlights the points outlined in the post, whether it's a press release about a new product or a holiday picture in the Christmas carols. Adding images to a Word document is very simple, the process is only different in the command position for the version of Word you are using. Here's a tutorial on how to include images in Microsoft Word documents in Word 2003, 2007 and 2010.
Steps
Open the Word document where you want to insert the picture.
Click where you want to insert the picture. A Word insertion pointer with a flashing vertical bar icon will appear at this location. Once inserted, the lower left corner of the image will be here.- If you do not select a position, the image will be inserted where the mouse pointer is displayed.
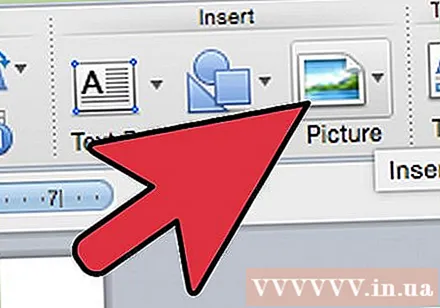
Access the "Insert Picture" dialog box. The "Insert Picture" dialog box is where you will select the image to insert into your Word document. This is different from older versions of Word that use the toolbar and menu interfaces (eg Word 2003) versus the new ribbon view (such as Word 2007, Word 2010).- In Word 2003, you need to select "Picture" from the "Insert" menu and then click "From File" in the "Picture" submenu.
- In Word 2007 and 2010, select "Picture" from the "Illustrations" group located in the "Insert" menu ribbon.
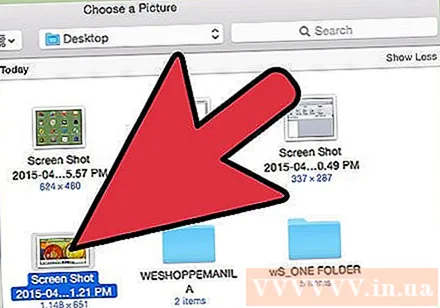
Browse for the picture you want to insert.
Click the file and choose "Insert.’
Adjust the photo if necessary. New versions of Word offer more photo editing options than the old versions, including the same options as in Microsoft Publisher. The two things you'll probably want to do with images inserted in a Word document are crop and resize the picture.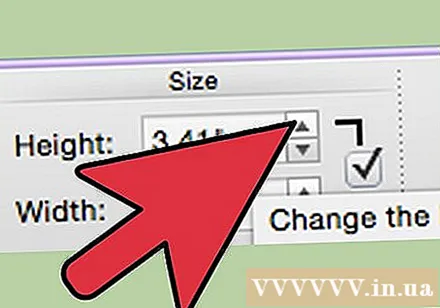
- To resize an image, you need to click on the image to display the scaling dots. Then move the mouse pointer to one of these points, when the pointer turns into a double-headed arrow, drag the handle toward the center of the image to zoom out or out of the center to zoom in.
- To crop the image, click on the image to display the handle dots, then select the crop feature from the "Picture" toolbar in Word 2003 or in the "Size" group located in the "Picture Tools Format" ribbon ( Image tool format) in Word 2007 and 2010. The crop handle will change shape and the mouse pointer changes to a crop tool. Proceed to place the cutter on one of the handles and drag inward until the area you want to cut disappears.
Advice
- When adding a picture to a Word document, the picture size increases. You can reduce the size of some or all of the images that you have added by using the compression options in the "Compress Pictures" dialog to keep the overall file as compact as possible.
- Other photo editing features available on newer versions of Microsoft Word include the ability to add contours, crop styles, shadows, beveled edges, shine, and shadows.
Warning
- When you crop a picture, the actual cropped part of the picture is hidden, not deleted unless you check the "Delete Cropped Areas of Pictures" box in the "Compression Settings" dialog box. compression). Any pictures that are compressed with cutouts deleted cannot be restored to their original shape.


