Author:
Louise Ward
Date Of Creation:
9 February 2021
Update Date:
1 July 2024

Content
To set up a reliable network at home, the first thing you have to do is install a router. But how to choose the right router? And once you have it, how are you set up? Follow this instruction to properly configure your secure wireless (Wi-Fi) network.
Steps
Part 1 of 3: Router setup
Buy a wireless router. There are many factors that determine what is the best router for you. These include distance, interference, transfer rate, and security.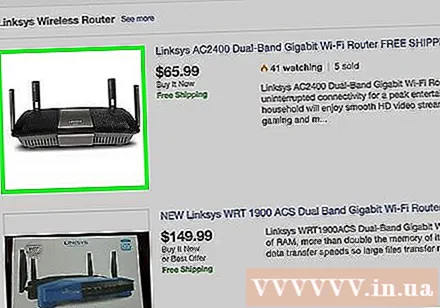
- One of the most important factors to consider when buying a router is the distance between it and your wireless devices. Usually, the more expensive a router has, the more antennas a router has and, therefore, provides a more stable connection over longer distances.
- Another factor that needs to be considered is signal noise. If you have multiple devices that operate on the 2.4 GHz band, such as microwaves and cordless phones, they can interfere with the Wi-Fi signal. Newer routers can operate in the 5 GHz band. This is a less commonly used band and therefore less noise. The downside is that a 5 GHz signal does not transmit as far as 2.4 GHz.
- Transfer speed is also a feature to consider. Newer routers are claimed to be able to transfer data at speeds up to 450 Mbp. While it may be useful to transfer data between two computers on the same network, this will not increase your overall internet speed as this is specified by your network service provider. There are three main router speed options: 802.11g (54 Mbps) 802.11n (300 Mbps), and 802.11ac (450 Mbps). In it, be aware that unless placed in an empty room and free from interference, achieving these speeds is almost impossible in any environment.
- Finally, make sure it's the router with the most modern wireless security - WPA2. It's pretty much the standard for every new router. However, if you plan to buy a used, used router, this is still a factor to consider. The old encryption algorithms are not as secure and the WEP key can be cracked in a matter of minutes.
Connect the router to the modem (modem). Once you have purchased your router, you need to connect it to the modem. On the router, the WAN / WLAN / Internet ports are located on the back panel. Use a standard Ethernet cable to connect this port to the modem.- Make sure that the router is plugged in and turned on.
Connect the computer via Ethernet cable. This step is not always necessary but can be very useful if you want to set up your wireless router before connecting any wireless devices to it. Connecting a computer via a physical cable will allow you to correct the wireless settings without losing your connection to the router.- For optimum efficiency in setting up your router, keep it next to your computer while you make adjustments. Once configured, you can move the router to the location for it.
Part 2 of 3: Configuring the router
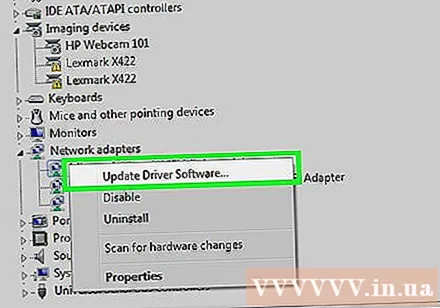
Install the included router software. Not all routers come with software to install. But if it does, install that software on the computer that is connected to the router via an Ethernet cable. Using the bundled software makes setting up your router a lot more convenient than having to go through the configuration menu.- Use a naming software for your wireless network and select the type of security you want to use. Select WPA2 for the most secure network. Next, choose a password and continue.
- Most router software will automatically detect your internet settings. This is the information your router needs to interpret the internet connection and pass it on to all of your wirelessly connected devices.
Open the router configuration page. If your router didn't come with any software installation, you'll have to connect to your router's configuration page through a web browser. Open the browser you want to use and enter the web address for the router. This is usually 192.168.1.1 or 192.168.0.1. Refer to the instruction manuals supplied with the device for the exact address.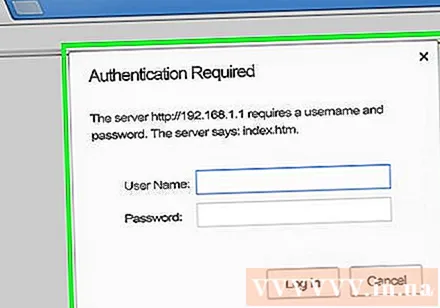
- You will be asked for your username and password to continue accessing the router's configuration page. They are also included in the manuals supplied with your router. The default username is usually: admin and the default password is usually: password or admin. You can find specific login information for your router model at PortFoward.com.
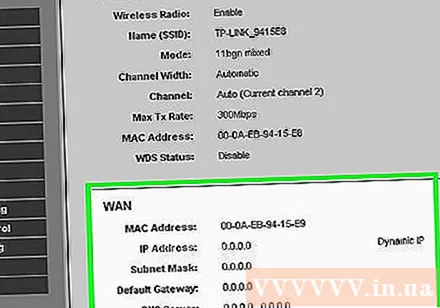
Enter your internet connection information. These include the IP address and DNS information from your internet service provider. Most routers fill in this information on their own. If they are not filled in automatically, contact your internet service provider for the information you need to enter.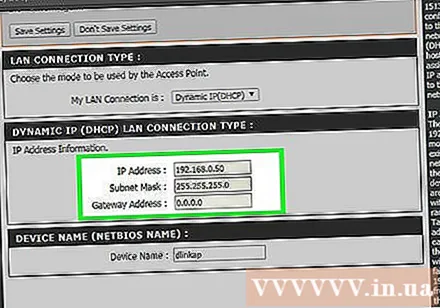
Set wireless settings. Most routers have a Wireless Settings section toward the top of the router's menu. From this section you can enable or disable the wireless signal, rename the network, and set encryption.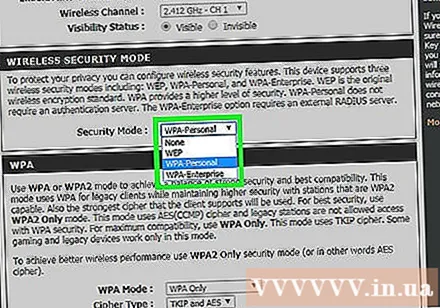
- To name the network, select the SSID field. This is the name that will be displayed on all devices that detect your network. If you live in a crowded area, do not include any identifiable information in your SSID, as anyone using the wireless device will see it.
- Make sure you set the encryption to the latest version allowed by your router. In most cases, that would be WPA2. WPA2 works with just one password. You can enter anything you want. Passwords are highly secure and are composed of upper and lower case letters, numbers and symbols.
Apply your settings. When the settings adjustment is complete, be sure to click the Apply or Save Changes button in the configuration page of your router. It will take a while for the router to process, and your new settings will take effect.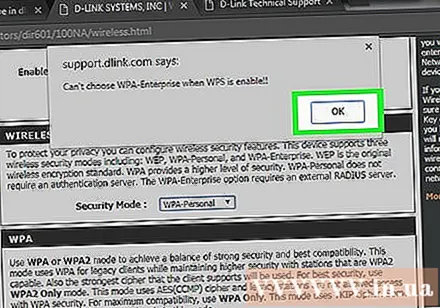
Choose where to locate the router. To get the best possible signal, try to place the router in a central location. Remember that any obstructions, such as walls or doors, will reduce the signal. If your home has multiple floors, you should consider using multiple routers to ensure the coverage you want.
- Don't forget that the router must be physically connected to the modem.This can limit your choice of router locations.
Part 3 of 3: Connecting to the router
Connect the device to the network. Once the router has emitted a wireless signal, you can check the connection using a Wi-Fi device, such as another computer, smartphone, tablet, etc. to scan for wireless networks.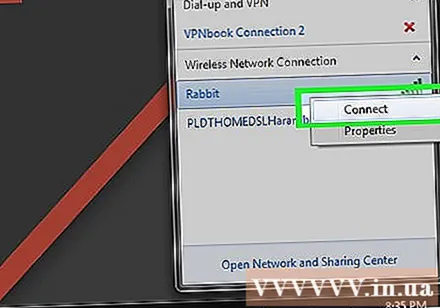
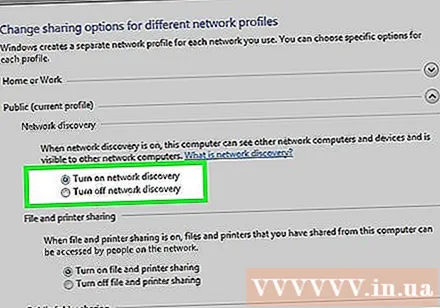
- Scan for new networks. On Windows, click the network icon in the System Tray located in the lower right corner of the screen. Select Connect to a Network and find your SSID. On a Mac, click the AirPort icon, which looks like a three-line curve in the menu bar. Choose your SSID from the list of available networks.
Enter password. If you have WPA2 encryption enabled, you will need to enter a password to access the network. If you are using a personal computer, you can turn off the character hiding feature on some systems to make the entered password easier to see.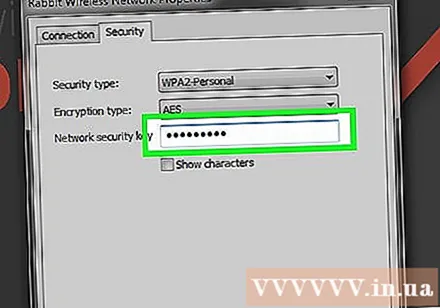
Test your connection. Once on the network, wait a while to get assigned an IP address. Open a browser and try to visit a website you normally won't (to make sure the website isn't loaded from memory). advertisement