Author:
John Stephens
Date Of Creation:
24 January 2021
Update Date:
1 July 2024
Content
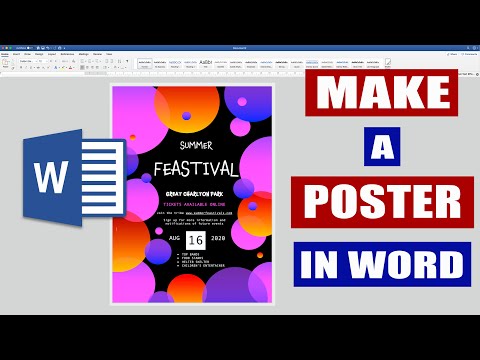
This wikiHow teaches you how to create poster size documents using Microsoft Word on Windows or macOS. Before you begin, check to make sure you have paper of the desired size and that the printer must be able to print large formats. If you can't (or don't want) to print a poster at home, you can send or bring the file to a professional printing service.
Steps
Open Microsoft Word. Launch Microsoft Word from the Start menu (Windows) or your Applications folder (macOS). The application will immediately open the "New" page.
Click an option Blank Document (Document is blank). This is the first option in the list of new file types.
Click the card Layout (Layout) or Page Layout (Page Layout). The tag name may vary by version, but one of these options is always at the top of the app.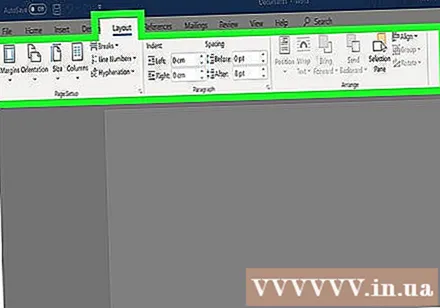
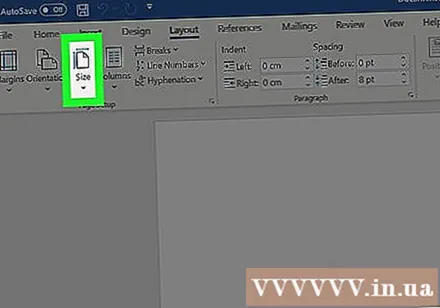
Click the button Size (Size) in the toolbar. This option is near the top left corner of the app. Various size options for the document appear.
Choose a size for your poster. Note: Home printers may not support large formats. To customize the size, you need to click More Paper Sizes (Different Paper Size) at the bottom of the menu and select the appropriate parameter.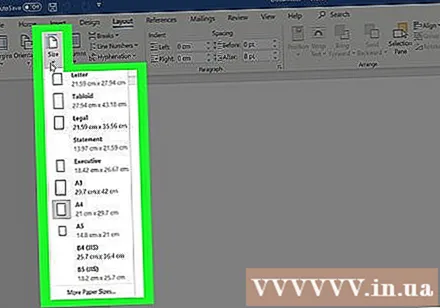
- If you have to print a large poster, you can create a file, save it to a USB flash drive, and take it to a professional print store.
- The popular poster size supported by most home printers is 11x17 inches (279 x 432mm). You can find 279 x 432mm paper at any print store.
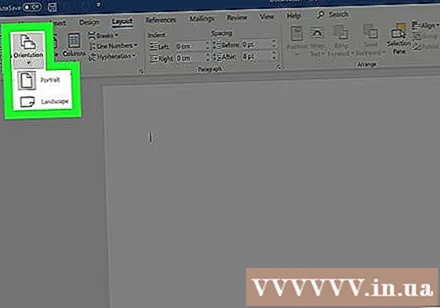
Choose the direction of the poster. If you want to print the poster in landscape (landscape) mode, you need to click the menu Orientation (Direction) in the card Page Layout and choose Landscape. If you're happy with Portrait mode then you can skip this step.
Create a title. Many promotional posters have large headline text at the top. If you want to add a title, do the following: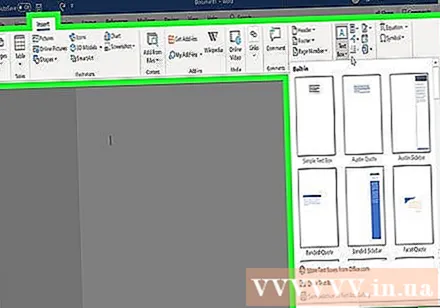
- Click the card Insert (Insert) at the top.
- Click Text Box (The text box) is near the upper-right corner of Word.
- Choose Simple Text Box (Simple text box) for inserting text box.
- Enter a few words that you would like to display in large format on the poster.
- Highlight text in subject lines.
- Click the card Home to go back to the font options, then choose something that is easy to read in large size. You can also choose a color if you want a color poster.
- Drag the border of the text frame to adjust the size you want. You can also move the text box to another position by hovering over one of the lines and dragging.
- Another way to insert the subject line is to click Word Art (Word art) in the card Insert then choose a style. This is a quick way if you want to create artistic text without specifying the font color and size. See more online on how to create text art to learn about this feature.
Insert graphic into promotional posters. If you have a specific picture or illustration to insert in your poster, click the tag Insert and choose Pictures. If you want the photo to appear below the title, you can drag the title's text box above the image.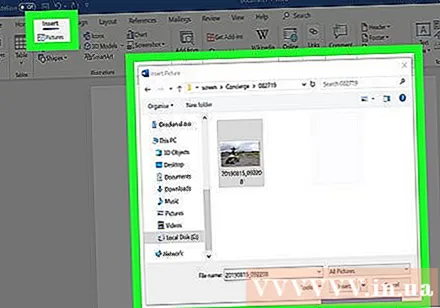
- You can also insert and customize shapes. To insert a shape, click the card Insert and choose Shapes. Then, select the shape and use the mouse to draw at the position you want. You can insert text into the geometry by double-clicking it to activate the mouse pointer.
Add regular text. To add text to your poster, add another text frame similar to how you would create your headline with tags Insert, then enter your content. Next, you can proceed to format the text according to your desired font and orientation by returning to the tab Home.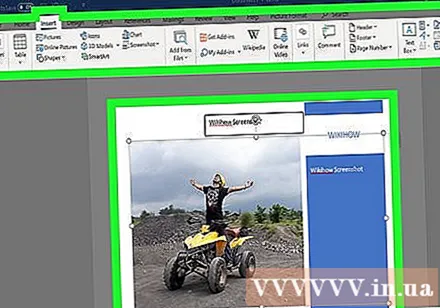
- If you want to add text to more than one place on the poster, enter each block of text in a separate box. This way, you will easily format each text area separately, as well as move them to another position if needed.
- To change the text's direction, click one of the direction options in the "Paragraph" section of the card Home.
- See more online on how to wrap text in one line with the Wrap Text option.
- See also Change the text direction in Microsoft Word article and learn some tips for redirecting text on posters.
Save the finished poster. To proceed, click the menu File (File) in the upper left corner, select Save As (Save As) then save the file to the desired location.
Print posters. If you plan to print posters at home, proceed as follows: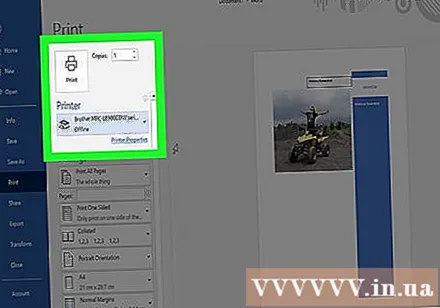
- Insert the appropriate size paper into the printer. Make sure that this corresponds to the size of the poster set up.
- Click the menu File in the upper left corner.
- Click Print (Print).
- Select printers, customize colors and other settings.
- Click Print.
Advice
- To add a border around the poster, you can click on the tag Thiết kế (Design) and choose Page Borders (Page border).


