
Content
Regular water changes are an important part of the care and maintenance of a freshwater aquarium. Partially changing the tank water allows you to control the levels of contaminants and toxins more tightly. To perform the water change, you need to have clean water ready and suck dirty water out of the tank. You can also combine cleaning the substrate and removing algae on the wall of the tank, then gently add clean water to the tank so as not to affect the fish and have a nice clean aquarium.
Steps
Part 1 of 3: Prepare to change the water
Pretreat a bucket of tap water. You will take a clean bucket, fill the bucket with tap water and follow the instructions on the water treatment bottle to clean it. Water treatment solutions will remove dangerous chemicals and metal residues in the water, making the water safer for fish.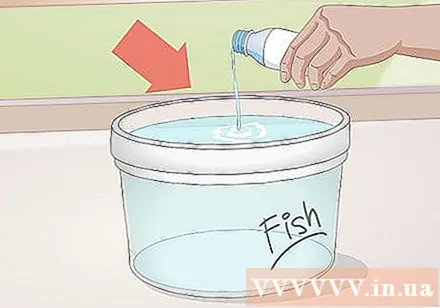
- You should prepare two plastic buckets for the aquarium only. If necessary, you can write the word "fish" on the bucket to mark it.
- Some people prefer to use tap water directly to replace the water in the aquarium. This would be more convenient, however this could expose the fish to harmful chemicals. To minimize this risk, turn on the tap for about 5 minutes before flushing the bucket.
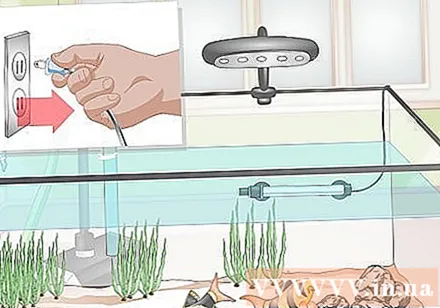
Turn off lights and heating equipment. When servicing outside of the tank, it is best to limit your contact with the power supply. Remove the lid of the aquarium and lighting system, then unplug all heating.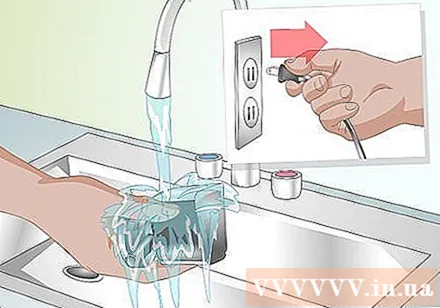
Disconnect power and clean the filter. Many aquarium filters will not work very well without water, so it's best to disconnect them when you start cleaning. You do not need to clean or replace filter cartridges, sponges or other filter equipment every time you clean the tank. Instead, observe and rinse the filter under cold running water or replace a new one completely if necessary.- Changing the filter too often is not good for the aquarium, as beneficial bacteria will also be removed from the tank. To balance, when replacing the new filter, you should invest in a layer of gravel or sand that already has beneficial bacteria spread on the bottom of the tank.
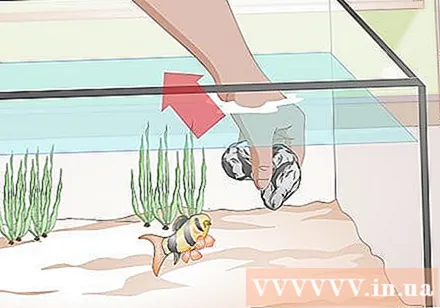
Remove contaminated plants and decorations from the tank. Every time you change the water, you also need to clean the decorations of the tank. This will also affect the amount of beneficial bacteria in the tank. However, if the man-made items are viscous or covered in mud, you should gently place them in a bucket and soak them with vegetable detergent.- Do not wash plants and decorations with soap. Chemical residues can harm fish and cause algae to thrive.
- You can also soak plants and decorations in an aqueous and chlorinated solution. For each bucket of water, add 1-2 tablespoons of chlorine bleach.
Brush into the tank. Every time you change the water, see if you need to scrub the tank walls clean by looking for the green or brown film on it. While the tank is still full of water, use a sponge or brush to clean the walls of the tank and remove any dirt.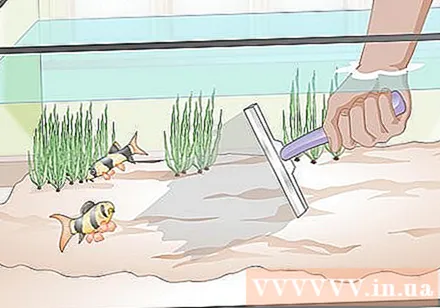

Doug Ludemann
Professional aquarium fisher Doug Ludemann is the owner and operator of Fish Geek, LLC, a Minneapolis-based professional aquarium service company. He has worked in the fisheries and fish care industry for more than 20 years and received a BA in Ecology, Evolution and Behavior from the University of Minnesota. Doug has previously worked with Minnesota Zoo and Shedd Aquariums in Chicago as a professional aquarist.
Doug Ludemann
Professional aquarium playerYou can add lanthanum chloride to the tank to remove the phosphate, which causes algae to grow. Lantan chloride is a molecule that binds phosphate molecules into an insoluble compound. This compound will make the water cloudy and you will need to filter the water to remove them, otherwise they will exist in the tank. However, if the compound can be removed, the phosphate will be removed as well.
advertisement
Part 2 of 3: Conducting water changes
Use an automatic water change machine. This is the most effective and preferred way to partially change the tank water, especially for large aquariums. You will attach the device directly to the tap, and then insert a straw into the tank. This device will automatically suck water out of the tank until you turn it off. You will then turn on the device again and use the end of the hose connected to the water tap to pump water into the tank.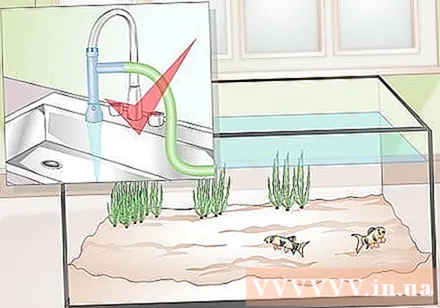
- This method is especially useful for those who are unable to carry water to clean the tank regularly and prevent the water from dripping off.
- Make sure the new water you replace the tank is at the same temperature as the water in the tank. Check this before starting the automatic tank water change process.
Absorb dirt from the substrate with the fish tank sludge straw. If you don't have specialized equipment, you will need to manually change the water. Start by placing one end of the straw in a bucket, then placing the other end in the tank substrate, usually gravel or sand. You will place the nozzle deeply into the substrate in the tank at different angles to suck both dirt and water out.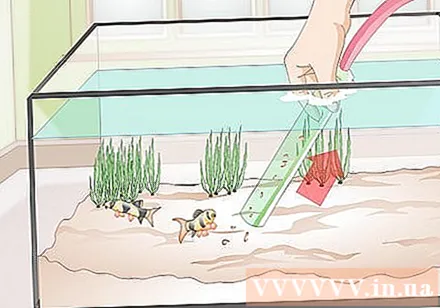
- You do not have to clean the substrate completely during each water change. In fact, it is better to divide the tank into several different areas and clean only one area at a time. This will limit the effects of water changes on the fish.
Suck water out of the tank. As you move the tip of the straw around the tank, you will see the dirt and cloudy water in the tank begin to flow into the bucket, which is perfectly normal, however, you should only suck up to 30% of the water out More than this level will cause the tank environment to become unbalanced.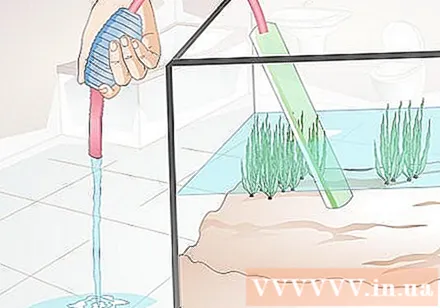
- For example, if the tank has a capacity of 40 L you should use a 12 L bucket to change the water. This way, when the bucket is full, you will know that you have removed the necessary amount of water.
Take a close look at the inside of the tank. Now that the tank is less water, take a moment to observe from the inside to check the condition of the tank. If there are still decorations in the tank, pick them up to see if there is any damage, and check to make sure the entire heating and water filtration system is okay.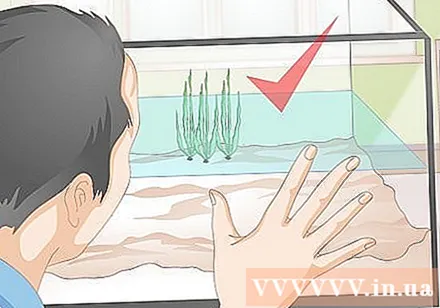
Record the water temperature in the tank. If you have a thermometer attached to the side of the tank, record the temperature of the water in the tank after partially draining it. If not, you can immerse the thermometer in the water to measure it, then check the temperature of the previously treated clean water. Make sure the water in the tank and the water you will add is at about the same temperature. If not, you will need to wait a while before adding water to the tank.
- Changes in water temperature can make fish more susceptible to disease. You will need to take the water temperature again after adding clean water to the tank.
Add the treated water to the tank. At this point, you will bring the treated water from the bucket into the tank. You can use a pitcher or spoon to scoop or carry the bucket with both hands and pour it directly into the tank.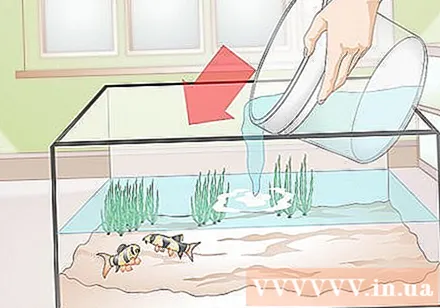
- Either way, make sure you don't fill the tank too quickly to avoid disturbing the substrate and decorations. Many people often use their hands or a plate to reduce the flow of water into the tank.
Return all decorations and plants to the tank. If you have removed the decorations of the tank before then you can place them in the tank just before or after adding water. You can reposition or remove these items entirely for a whole new tank space.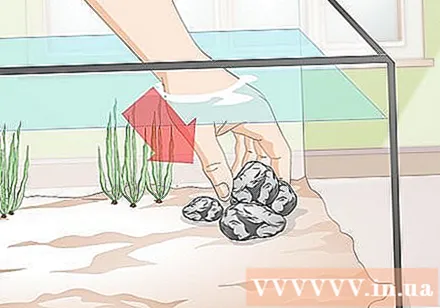
Turn on the water filtration system, heating equipment and lights. You can now turn on all of the disconnected appliances when preparing to change the water. Make sure your hands are dry and careful when installing and restarting these devices. With some types of filtration equipment, such as a wall-mounted filter, you will need to pour 1-2 cups of water directly into the filtration system to get the device ready to operate.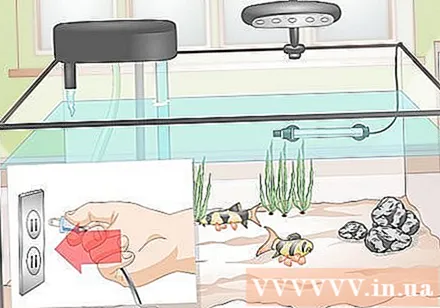
Wash and store cleaning tools. You should designate a separate area for the tank cleaning equipment. Before storing, the water bucket, brush and straw should be completely dry. Careful care will help you avoid having to change to new tools. advertisement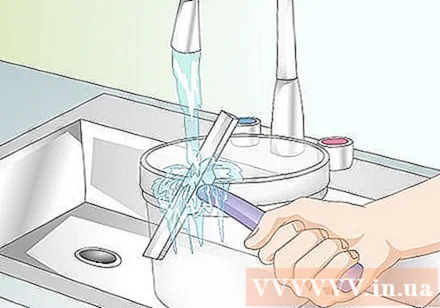
Part 3 of 3: Keeping the aquarium clean for the long term
Change part of the tank water weekly. You should change the tank water regularly every week or every two weeks. Only about 25-30% of the water in the tank should be changed at a time. If necessary, you can perform complete cleaning and water changes every month.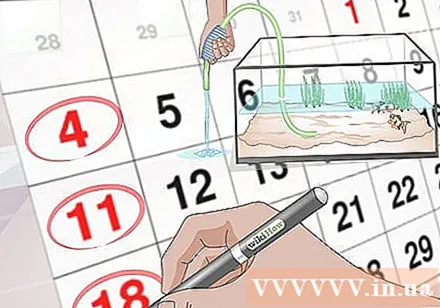
- You need to balance the need to keep the tank clean with the health of the fish. Cleaning the tank too much or too little affects the health of the fish that live in the tank.
“Reset” the aquarium by changing the water. Partial water changes in the tank are also an effective way to re-establish the tank's stability after incidents, such as concussions or chemical overdoses. Although not scheduled, you should also perform water changes after such incidents.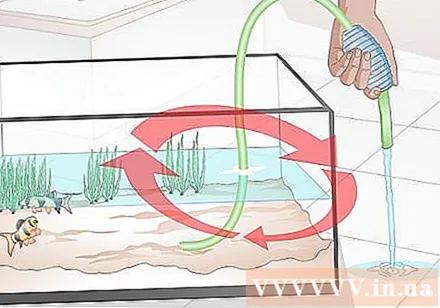
Limit the lights on. If you keep your aquarium lights on all day every day, you will likely see algae grow and impurities build up pretty quickly. This is because the light helps the algae increase the absorption of nutrients in the tank. Instead of turning on the lights all day, you should only light 10-14 hours a day for a tank with live plants or 6-10 hours for a tank without plants.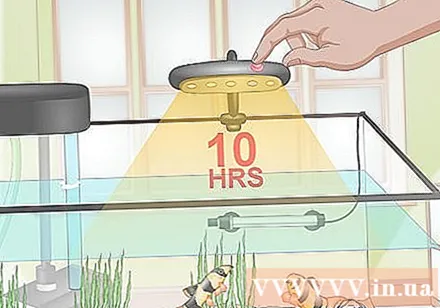
Avoid overfeeding the fish. Most of the dirt drawn from the substrate is fish leftovers. To avoid this problem, you should only feed your fish once or twice a day and adjust the amount of food depending on the speed at which the fish consumes all the food. advertisement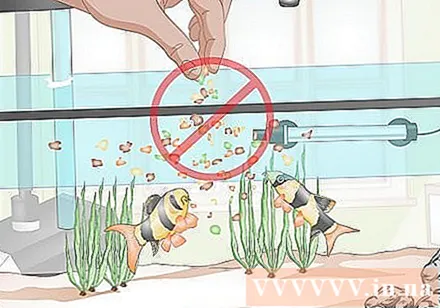
Advice
- Many people report that it's helpful to keep a tank maintenance log to keep track of the date, amount of water changed, and any observations you find important.
- You can take advantage of dirty water sucked out of the aquarium to water your plants.
- As you gain experience, you will be able to change the aquarium water faster and faster. If you are used to it, you can even regularly clean large aquariums in less than an hour.
Warning
- If you keep too many fish in your tank, you will need to clean the tank more often.
What you need
- 2-3 plastic buckets (10 L each)
- Water tap head
- Automatic water change machine (optional)
- Brush
- Chlorinated solution
- Fish tank sediment suction pipe
- Filter cartridge or replacement device
- Paper towels (optional)
- Chopsticks (optional)
- Water bottle or plate (optional)


