Author:
Peter Berry
Date Of Creation:
20 February 2021
Update Date:
2 July 2024
Content
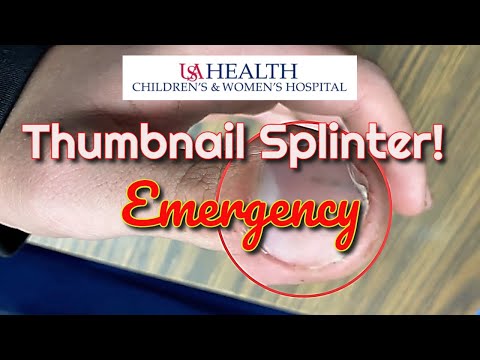
Splinters are "foreign bodies" that somehow penetrate the skin and stay under the skin. Most cases are wood chips, but sometimes metal, glass and some plastics are also included. It is usually okay to remove the splinter yourself from the skin, but if the splinter is deep in the skin, especially where it is difficult to handle, you may need to seek help from a doctor. The splinter under your fingernail or toenail can be very painful and difficult to handle, but there are a few things you might consider doing at home.
Steps
Method 1 of 2: Tweezers thicken
Determine if you need to see a doctor. If the splinter is deep under the nail or has started to become infected, you may need to see a doctor to remove the splinter. You will know that the splinter will become infected if it persists after a few days, and the surrounding skin is swollen or red.
- If the splinter is causing heavy bleeding, you'll need to go to the emergency room to fix it.
- If the splinter is so deep below the nail that it cannot be removed on its own, or if the skin around the splinter becomes infected, make an appointment with your doctor. Your doctor can help you remove the splinter and prescribe an antibiotic.
- In most cases, the doctor will provide anesthesia to relieve the pain when the splinter is removed.
- Understand that your doctor may be able to cut part or all of the nail to completely remove the splinter.
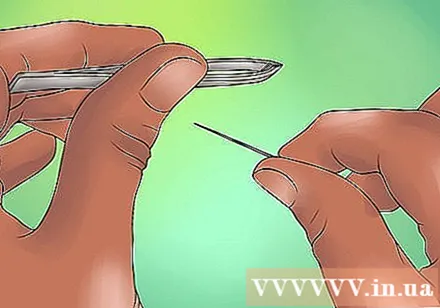
Take out the splinter yourself. If you are going to remove the splinter at home, you will need a tweezers (as the splinter will probably be too small to be pulled in with your fingers). If the splinter is deep below the nail and nothing is protruding from the skin, you may also need to poke it out with a needle.- Sterilize all the tools you plan to use to get rid of the splinter. You can disinfect tweezers and needles with rubbing alcohol or boiling water.
- Wash your hands before touching any sterilized tools.
- Wash the skin and nails pierced by the splinter before handling to prevent infection. If you find it difficult to wash with soap and water, you can also use rubbing alcohol.
- If the nail is long, you may need to trim off the nail that was pierced by the splinter before trying to remove it. That way you will also see more clearly.
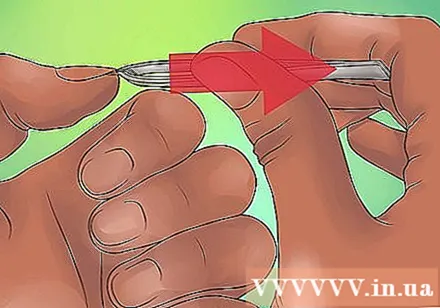
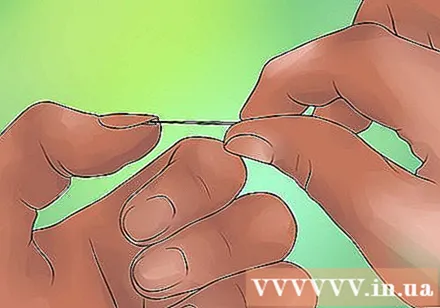
Use tweezers to pull out the splinter. Find a well-lit area to clearly see where the splinter was hit. Use tweezers to clamp the tip of the splinter that protrudes outwards. Once you grip the splinter, you should pull out of the skin in the correct direction of the splinter.- The subcutaneous splinter may consist of pieces of wood, glass, etc., or it may break when you try to remove it from the skin. If you cannot get all of the splinter yourself, you may need to see your doctor to remove any remaining debris.
Use a needle to treat the splinter that is completely submerged under the nail. In some cases, the splinter is deep under the nail plate and does not show any part of the skin's surface. A splinter like this is quite difficult to handle, but you can try using a needle to pull out part of it to use tweezers.- Any small sewing needle can be used. Be sure to disinfect the needle before using it.
- Press the needle under the nail, toward the top of the splinter, and peek out the tip of the splinter.
- If you can pull out part of the splinter, pull in with tweezers and pull the splinter in the correct direction it hits.
Wash the area thoroughly with the splinter. After you have removed part or all of the splinter, wash the area thoroughly with soap and water. After washing is complete, you can apply an antibiotic ointment (such as Polysporin) to prevent infection.
- You should also cover the wound that is bleeding or in a location prone to infection.
Method 2 of 2: Apply other methods
Soak the spot in warm water and baking soda. You can "banish" splinters that are deep under the nail or too small to use tweezers by using warm water and baking soda.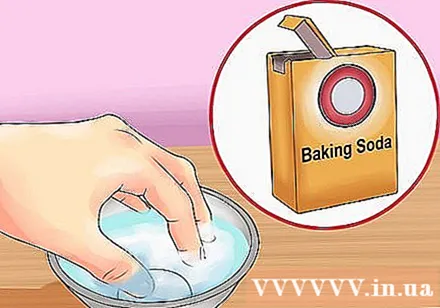
- Soak your finger in warm water mixed with one tablespoon of baking soda. You may need to do this twice a day to get the effect.
- This therapy may take a few days to push the splinter up enough to use tweezers or let the splinter fall off on its own.
Use tape to remove the splinter. Another option you can consider is tape. The method is quite simple: stick the tape over the protruding part of the splinter and quickly peel off the tape.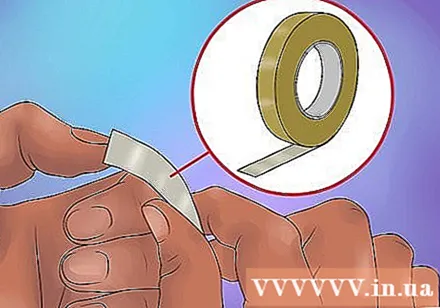
- You can use any kind of tape, but the tape will allow you to see the splinter better.
- You may need to keep your nails short to make the splinter easier to reach.
Use wax. Splashes that are too small can be difficult to remove with tweezers. Another option to get rid of these splashes from under your nails is to use wax. The wax has a flexible and sticky texture, making it easy to wrap around the protruding part of the splinter.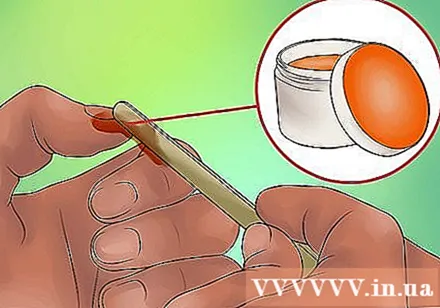
- You may need to keep the nail short to make it easier to reach the splinter.
- Apply hot wax to the area around the splinter. Be sure to completely cover the protruding tip of the splinter.
- Apply a cloth over the wax before it dries.
- Grab the top of the cloth tightly and pull it up quickly.
Try using "black ointment" to get rid of the splinter. Also known as ‘“ ichthammol ointment, ”black ointment can be used to remove a nail splinter. You can buy this drug at a pharmacy (or buy it online). Ointment works to soften the skin around the splinter, thereby helping to naturally push the splinter out.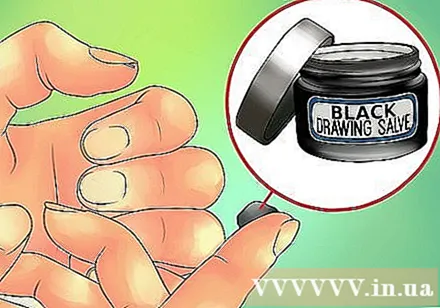
- You may need to cut off part or all of the nail that was stabbed by the splinter to make it easier to access the splinter.
- This method is also effective when applied to children because it causes less pain and discomfort.
- Apply a small amount of ointment to the splinter.
- Use a bandage or cover the wound for 24 hours. Black ointment can contaminate fabrics (clothing and bedding), so cover the area where the medication is applied to prevent it from seeping out.
- Remove the bandage after 24 hours to observe the splinter.
- The purpose of applying the ointment is to naturally push the splinter. If the splinter still doesn't come out after 24 hours but is easier to reach, you can use tweezers to remove the splinter.
Make a paste with baking soda. Making homemade baking soda mixtures is another alternative to black ointment. However, it's best to do this only if none of the above is working, as the baking soda mixture can also cause swelling and make it harder to remove the splinter.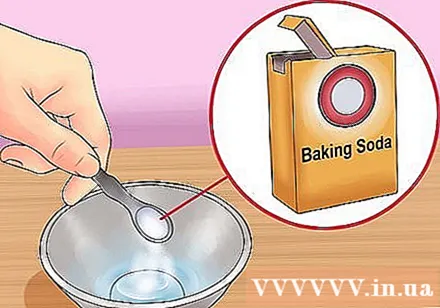
- You may need to cut off part or all of the nail that the splinter was stabbed into to make it easier to access the splinter.
- Mix ¼ teaspoon of baking soda with water until a paste is made.
- Spread the dough over the splinter area, then cover or wrap the bandage.
- 24 hours later, you can remove the bandage and examine the splinter.
- Perhaps this was enough to naturally push the splinter. If after 24 hours you cannot process the splinter, apply another layer of powder and wait for another 24 hours.
- If the splinter is protruding enough to hold the tweezers, you can now use the tweezers to remove the splinter.
Advice
- There is a condition called "debris hemorrhage" that occurs under the fingernails and toenails, not caused by the splinter and not related to the splinter. This condition is called a "debris hemorrhage" because the nail looks like a splinter in it. This usually occurs due to valvular heart disease or trauma to the flesh under the nail.
- In general, splashes of organic material (such as wood, thorns, etc.) often cause infection if not removed from the skin. Meanwhile, splashes of inorganic materials (such as glass or metal) do not cause infection when lying under the skin.


