Author:
Robert Simon
Date Of Creation:
18 June 2021
Update Date:
1 July 2024

Content
- Any frame comes in handy, so you can recycle old frames you no longer use or go to a second hand shop to buy a frame that's cheap and made of thick wood.
- When choosing a frame, it is best to use one that still has support legs. The kickstand may not be necessary, but it will help secure the panel later.
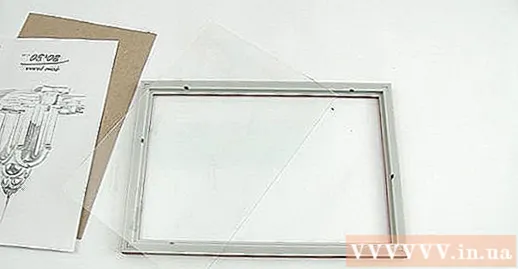
- You wouldn't use glass as a chalkboard, but if you love crafting, keep the glass in stock so you can use it for something else.
- If you are using a standard size photo frame, you can also keep the glass as a good substitute in case another frame's glass breaks.
- If you decide to remove the glass, take care to make sure it won't hurt anyone. You can recycle it or throw it away. If you want to throw away the glass, wrap it in a laminated rag or plastic bag. If the glass is broken, these layers will prevent the debris from cutting into anyone to dump the trash.
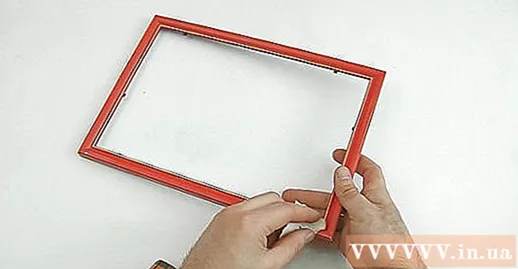
Polish the frame with sandpaper. If the frames are in rough and rough condition, gently polish them with fine sandpaper.
- Temporarily remove the kickstands to prevent them from getting dirty or damaged.
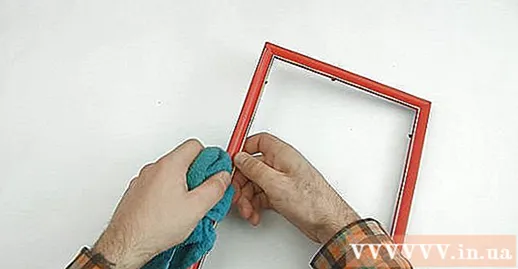
- After polishing the frame, continue cleaning dust and other dirt with a clean, dry cloth. Even if you don't need to polish the frame, you should still use a clean cloth to wipe dust and dirt.

- The primer will prevent the color below the paint layer from exposing and also create a surface for painting.
- If you do not intend to paint the frame or just want to apply a new coat of the same color, primer will not be necessary.
- However, primer will be needed if you plan to paint the frame in light colors, especially if the dark color is underneath.
- Spread newspaper or plastic wrap to prevent you from getting paint on the floor.
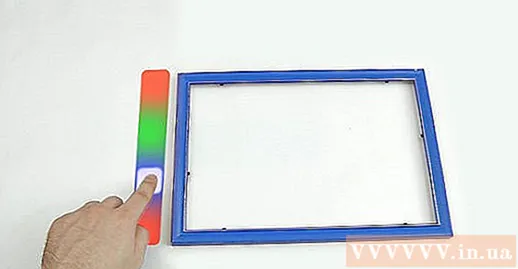
Paint the frame as desired. Use a cotton sponge or traditional paint brush to coat multiple coats of paint.
- You can use spray paint to make the coating quicker and easier.
- You can also use wood dyeing paint as long as the frame is made of natural wood. Do not primer the wood before using paint and should use a brush to paint soft bristles.
- Paint or dye paint should be applied to newspapers or cover with plastic to prevent paint from sticking to the floor.
- Paint or dye according to the wood grain, not against the wood grain.
- Let the paint or dye coat dry in layers.
Part 2 of 3: Creating a chalkboard
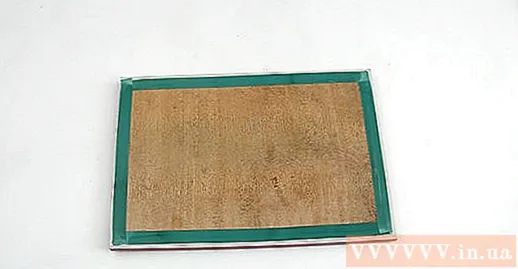
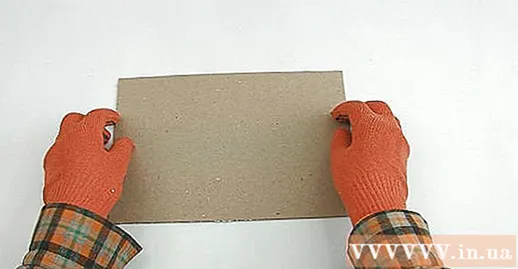
Sketch of a rectangle on a MDF board. This rectangle should be the same size as the blank of the frame. Draw the outline on the wooden plank with pencil, instead of a fountain pen.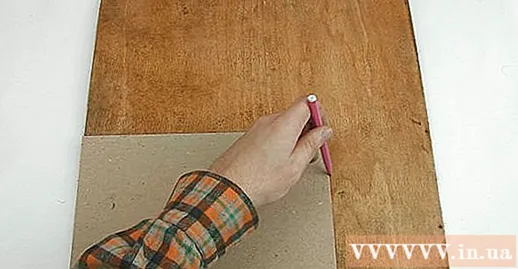
- If using a new picture frame, remove the paper you are inserting into the frame and sketch the outline of the paper on the board. You can also sketch the glass panel mounted inside the frame.
- If you only have an old frame without glasses, use a ruler or tape measure to measure the space behind the frame. Draw rectangles of the same size on the board. The size of the void on the front of the frame should not be used.
- Plywood will also work without MDF.
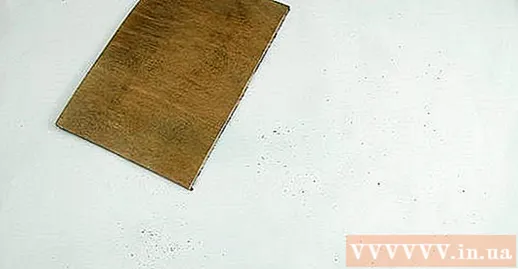
Cut the plank. Use an electric saw or a hand saw to cut along the contours that you have outlined.- If you are unable to do this job yourself, bring this size to a tool shop and have a staff saw the plank cut you.
- After cutting the board, use rough sandpaper to remove the peeling part. You can also use sandpaper to wear some parts of the board if it doesn't fit in the frame.
Prime paint. Cover one side of the board with a white rubber primer.
- Primer helps the paint to stick to the surface of the board more easily.
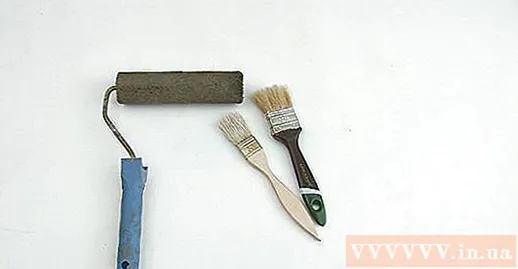
- Use a larger sponge or a standard paint brush.
- Primer helps the paint to stick to the surface of the board more easily.
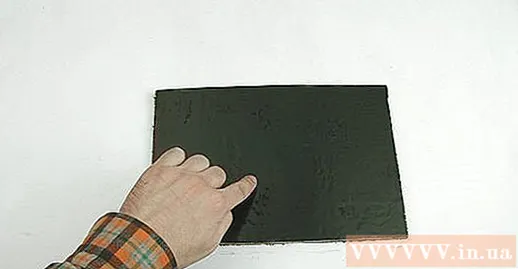
Paint the plank using the panel paint color. Use paint brush or roller paint brush to apply 2 coats of blackboard paint on the surface of the primed board.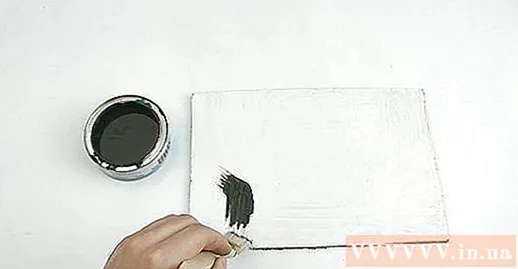
- Chalkboard paint colors are applied to develop the surface texture of the chalkboard while dry. You can also use chalk to write on it right after that. Applying 2 coats of paint will create a stronger resistance.
- A flat topcoat will reduce the amount of ripples formed on the surface after drying.
- Let the coating dry layer by layer.
Assemble a chalkboard. Insert the board into the back of the frame so that one side of the board faces the front.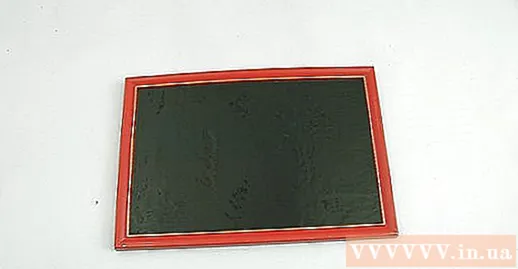
- If the support leg fits inside the frame and fixes the plank, insert it behind the plank to help the board in place.
- If you are not using the kickstand, use tape or tape to attach the back of the board to the back of the frame.
- Hang the chalkboard on the bracket attached to the base of the frame. If not, you can use a large stapler to attach a thick twine or a thin rope to the upper two corners of the frame and hang the board on the chain rack.
Part 3 of 3: Making a creative board
Create a magnet board. Cut an estimated thin sheet of zinc-coated metal with tin scissors. Cover the metal sheet with several layers of blackboard spray paint.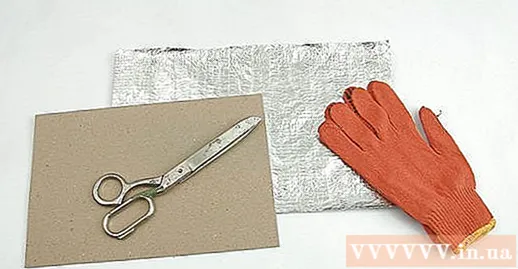
- The sheet metal should be the same size as the plywood panel if you want to create a regular chalkboard.
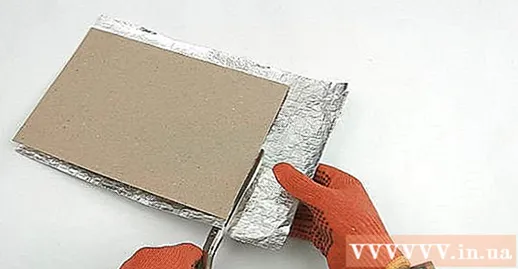
- You need to use gloves when handling the metal plate to avoid getting cut.
- Use the support of a frame or another part of the board to fix the metal plate.
- Do not try to spray the board with magnet paint before applying the paint. The two coats of paint will reject each other, so the magnet paint will no longer be effective after you apply the paint to the board.
- The sheet metal should be the same size as the plywood panel if you want to create a regular chalkboard.
Stick the magnet on the back of the frame. If you are going to hang a chalkboard on the surface of a magnet, attach magnets with strong attraction to the four corners of the frame.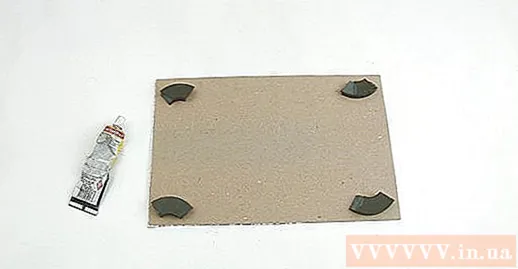
- Use super glue or other strong adhesive.
Paint the board on another flat surface. Any flat and smooth surface can turn into a blackboard by applying a few more coats of paint.
- Gently polish the surface and, if necessary, cover any areas that you don't want the paint to stick to.
- If you need some ideas for a creative look, consider using enamel trays, old doors, old mirrors, glass windows, or a trash can.
Create a light chalkboard. Use plastic panels, instead of plywood or MDF. Cut it as usual and apply two coats of chalkboard paint.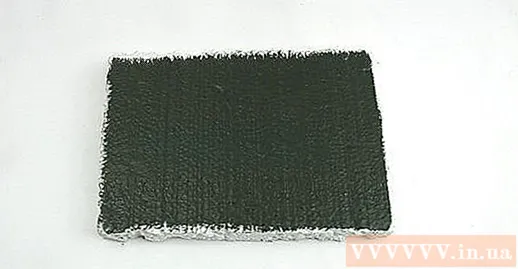
- Note that this is not a durable chalkboard. Use this method only if you are not using a chalkboard frequently.
What you need
- Wood frame
- Sandpaper
- primer
- Paint or paint to dye wood
- Blackboard paint
- Cotton sponge or paint brush
- Newspaper or plastic wrap
- MDF or plywood board
- Electric chainsaw or hand saw
- Tape
- Large pins
- Spinning yarn
- Sheet metal
- Magnet bar
- Super glue
- Plastic plates
- Some surfaces are flat and smooth


