Author:
Peter Berry
Date Of Creation:
15 February 2021
Update Date:
1 July 2024

Content
WikiHow today teaches you how to reduce your Microsoft Excel file storage by removing some formats, compressing images or saving files in a lighter format.
Steps
Part 1 of 6: Save file as binary file
Open up the Microsoft Excel file. Double click on the white Exel application with text X green, then you click the button File, click on the option Open ... (open) then select the file to operate.
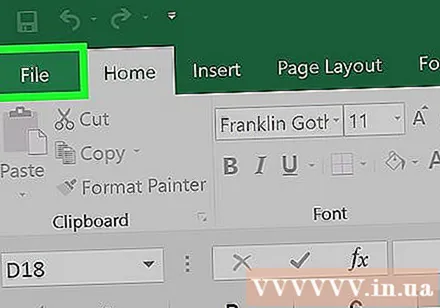
To save the new file, click File.
Choose Save As ... (save as…).

Next, type a new file name in the dialog box.
Then, click the drop-down menu located under the item "File Format" (file format).
Choose the format Excel Binary Workbook (binary file) is below the category "Specialty Formats.’ The file saved in this format is much smaller than the standard file with .xls extension.
Finally, click the button Save. The smaller Exel file will be saved to the computer. advertisement
Part 2 of 6: Remove formatting from blank rows and columns
Open up the Microsoft Excel file. Double click on the white Exel application with text X green, then you click the button File, click on the option Open ... then select the file to manipulate.

Select all empty rows. Click on the number for the first empty row, then press and hold the key combination Ctrl+⇧ Shift+↓ (Windows) good ⌘+⇧ Shift+↓ (Mac).- The navigation key is usually located in the lower right corner for most keyboards.
Click on the tab Home (Windows) or tab Edit (Mac) is in the menu bar.
Click the button Clear (erase).
To finish, you choose Clear All (delete all) for good Windows operating system Format (format) for the Mac operating system. This will remove the unnecessary formatting from the cells you don't use.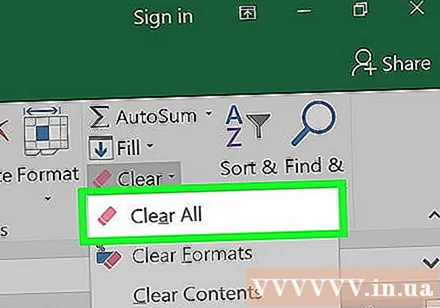
Select all empty columns. Click on the letter that specifies the first empty row, then press and hold the key combination Ctrl+⇧ Shift+→ (Windows) or ⌘+⇧ Shift+→ (Mac).
- The navigation key is usually located in the lower right corner for most keyboards.
Click on the tab Home (Windows) or tab Edit (Mac) is in the menu bar.
Click the button Clear (erase).
Finally, click Clear All (Windows) good Format (Mac). This will remove the unnecessary formatting from the cells you don't use. advertisement
Part 3 of 6: Removing conditional formatting
Open up the Microsoft Excel file. Double click on the white Exel application with text X green, then you click the button File, click on the option Open ... then select the file to manipulate.
Click the tab Home located above the screen.
Click the button Conditional Formatting (conditional formatting) is in the "Styles" (template) section on the panel.
Select next option Clear Rules (delete rules).
Finally, click Clear Rules from Entire Sheet (delete rules in all sheets). advertisement
Part 4 of 6: Removing formatting from blank cells on Windows
Open up the Microsoft Excel file. Double click on the white Exel application with text X green, then you click the button File, click on the option Open ... then select the file to manipulate.
Click the tab Home located above the screen.
Click on the button Find & Select (find and select) in the "Editing" section of the navigation bar.
Click on options Go To ... (go…).
Click Next Special ... (especially…)
Click the button Blanks (empty cells).

Choose OK. Then, all blank cells in the data will be highlighted.
Then you click the button Clear have an eraser shape.

Finally, click Clear All to complete. advertisement
Part 5 of 6: Remove formatting from blank cells on Mac
Open up the Microsoft Excel file. Double click on the white Exel application with text X green, then you click the button File, click on the option Open ... then select the file to manipulate.

Click on the tab Edit located above the screen.
Choose an option Find (search)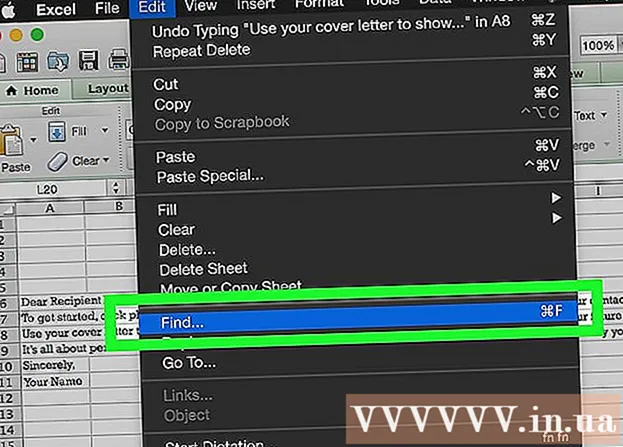
Click Next Go To ....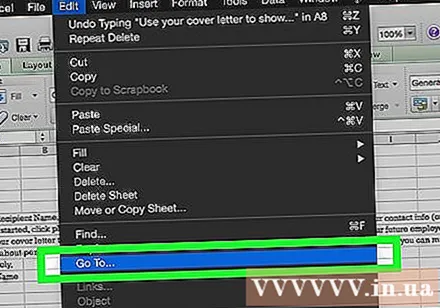
Next, click Special ....

Click the button Blanks.
Then you click OK. All blank cells in the data will be highlighted.

Continue, click on the section Edit in the menu bar.
Click the button Clear.

Finally, click Format to complete. advertisement
Part 6 of 6: Compressing images
Open up the Microsoft Excel file. Double click on the white Exel application with text X green, then you click the button File, click on the option Open ... then select the file to manipulate.
Open the Compression dialog box (compress data) by:
- On Windows operating systems, click the image in the current Exel file, then, click the tab Format then choose an option Compress (compressed) in the toolbar.
- On Mac, click File then choose Reduce File Size… (reduce file size).
Then, click on the drop-down menu next to "Picture Quality’ (image quality).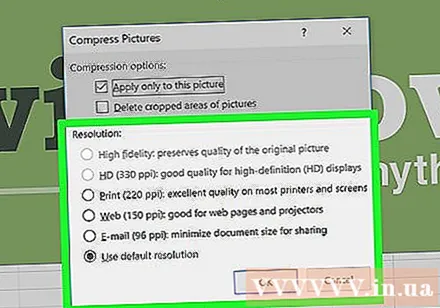

Please choose a lower image resolution.
Don't forget to check the box "Delete cropped areas of pictures" (delete cropped image areas).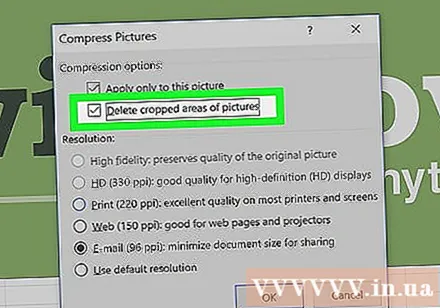

Continue, click All pictures in this file (all images in the current file).
Finally, click OK. The necessary images in the file will be compressed, and unrelated images will be deleted. advertisement


