Author:
Laura McKinney
Date Of Creation:
4 August 2021
Update Date:
22 June 2024
![[4 Ways] How To Transfer Photos from iPhone to iPad Pro/Air/Mini Tutorial 2021](https://i.ytimg.com/vi/ZgHO3DDiJhs/hqdefault.jpg)
Content
This is an article that shows you how to make iPhone photos appear on iPad.
Steps
Method 1 of 3: Use iCloud
Open your iPhone's Settings app with a gray gear icon (⚙️) usually visible on the home screen.

Tap on your Apple ID in the section above the Settings menu that contains your name and photo (if you have added it).- If not logged in, you touch Login to (device name) (Sign in to…), enter your Apple ID and password and select Log in (Sign In).
- If you're on an older version of iOS, you might not need to do this step.

Touch icloud in the second part of the menu.
Touch Image (Photos) is near the top of the "APPS USING ICLOUD" section.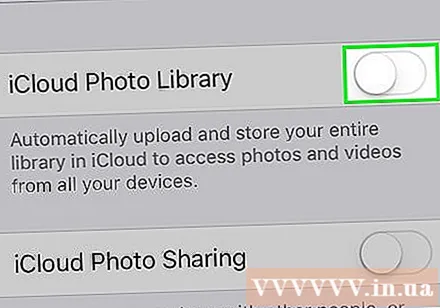
Slide the "iCloud Photo Library" slider to the green "On" position. Photos taken on iPhone with photos saved in Camera Roll will now be saved to iCloud.- If you want to save space on your iPhone, tap Optimize iPhone memory (Optimize iPhone Storage) to save smaller versions of photos on device.
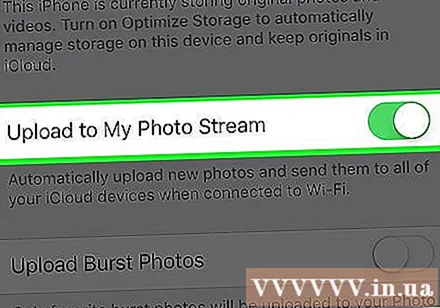
Slide the "Upload to My Photo Stream" slider to the "On" position. This way, new photos taken with your iPhone will be synced to all the devices that you're signed in with with your Apple ID when connected to Wi-Fi.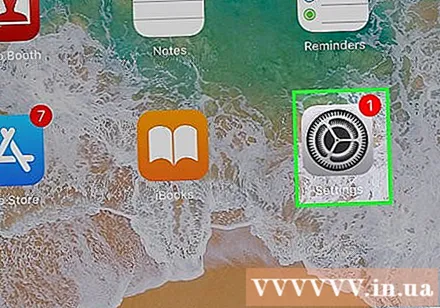
Open your iPad's Settings app with a gray gear icon (⚙️) typically visible on the home screen.
Tap on your Apple ID in the upper part of the Settings menu.
- If not logged in, you touch Login to (device name) (Sign in to…), enter your Apple ID and password and select Log in (Sign In).
- If you're on an older version of iOS, you might not need to do this step.
Touch icloud in the second part of the menu.

Touch Image (Photos) near the top of the "APPLICATIONS USING ICLOUD".
Push the "iCloud Photo Library" slider to the "On" position. The button will turn green.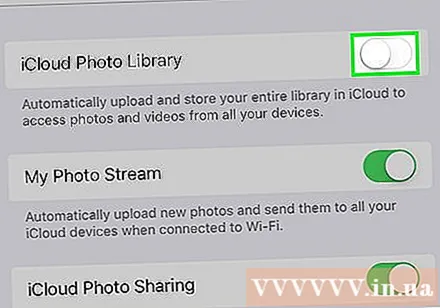

Press the circular Home button on the front of the iPad, below the screen.
Open the White Photos app with multicolored flowers.
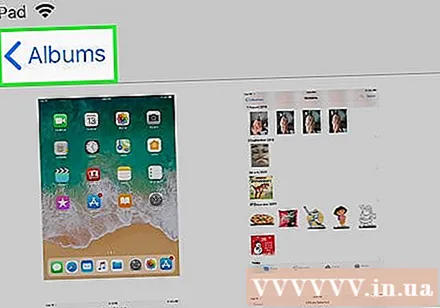
Touch Albums at the bottom of the screen.
Touch All photos (All Photos). It is one of the albums on the screen, usually displayed in the upper left corner. Once your iPhone and iPad have synced with iCloud, photos from your iPhone will appear in this folder. advertisement
Method 2 of 3: Use AirDrop
Open Control Center on iPad by swiping up from the bottom of the screen.
Touch AirDrop in the lower left corner.
- Turn on Bluetooth and Wi-Fi when asked.
Touch Contacts only (Contacts Only) in the middle of the currently displayed menu.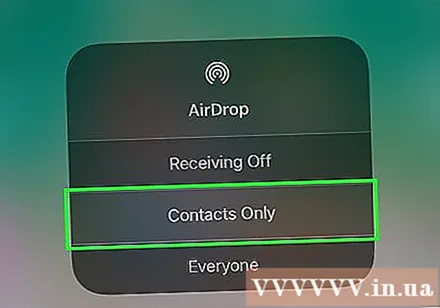
Open the Photos app on your iPhone with a colorful flower icon on a white background.
Touch Albums at the bottom of the screen.
Touch All photos (All Photos). It is one of the albums on the screen, usually displayed in the upper left corner.
Select a photo by touching the photo you want to share.
Tap the rectangular "Share" button with the up arrow in the lower left corner of the screen.
Choose to add photos (optional). Drag the list of photos left or right to view the photo at the top of the screen, and tap the circle in the lower right corner of each photo to select it.
- Some users report an issue when using AirDrop to transfer multiple images.
Tap the iPad's name displayed between the photos at the top of the screen and the sharing options below the screen.
- If you don't see the iPad's name, make sure it's close together (within 1 meter) and that AirDrop is turned on.
- Turn on Bluetooth and Wi-Fi when asked.
View photos on iPad. A message will appear stating that the iPhone is sharing a photo. Once the transfer is complete, the Photos app will open the photo on your iPad. advertisement
Method 3 of 3: Using Email
Open the Photos app on your iPhone with a colorful flower icon on a white background.
- This method requires you to have the Mail app set up on your iPhone and iPad.
Select a photo by touching the photo you want to share.
Tap the rectangular "Share" button with the up arrow in the lower left corner of the screen.
Choose to add photos (optional). Drag the list of photos left or right to view the photo at the top of the screen, and tap the circle in the lower right corner of each photo to select it.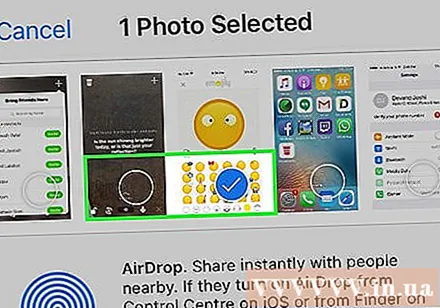
Touch Mail in the lower left corner of the screen opens a new screen that allows you to compose email.
Enter your email address in the "To: field""(To :) at the top of the screen.
Touch To send (Send) in the top right corner of the screen.
- Touch To send even if you receive warnings about not entering a title.
Open the Mail app on iPad with a white closed envelope icon on a blue background.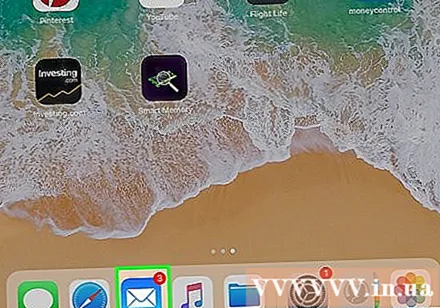
Tap the email you sent showing at the top of your Inbox.
Open a photo by touching the attached photo, then press and hold the photo.
Touch Save photo (Save Image). The photo is now saved to the Camera Roll of the iPad. advertisement


