Author:
Tamara Smith
Date Of Creation:
26 January 2021
Update Date:
2 July 2024
Content
iTunes is incredibly useful for managing music and putting it on your iOS device, but it can be quite difficult to add videos to your iTunes library. Often times, the file simply won't show up in iTunes, no matter how many times you try to add it to your library. The problem is often the video format; iTunes only works with a few different types of files. Fortunately, there is a free converter program that can import any video into iTunes.
To step
Method 1 of 2: Prepare videos
 Check out the format of the video you want to add. iTunes supports a few different video formats: .mov, .m4v and .mp4. Also, the files must be playable with QuickTime (for example, not all .mp4 files can be played in QuickTime).
 - Right-click on the video you want to watch and click "Properties" (Windows) or "More info" (OS X).
- Look what is behind the heading "File format" or "Type". If your here .mkv, .wmv or .avi found, the file will need to be converted.
- Check if the file can be played with QuickTime. If your file is in a format supported by iTunes, check if you can play it in QuickTime. If not, you will need to convert the file. If you can play the video, you can immediately import the video into iTunes.
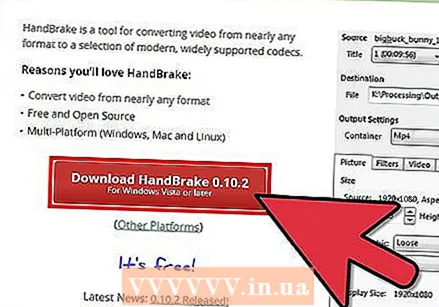 Download and install HandBrake. This is a free, open-source adware-free video converter and is available for Windows and OS X. With this program, you can easily and quickly convert videos to a format supported by iTunes.
 - You can run HandBrake on handbrake.fr to download.
- Avoid using websites that allow you to convert files online. These often automatically reduce the file size and uploading and downloading the video also takes up quite a bit of bandwidth.
 Open HandBrake. After you install the program, it should have a shortcut on your desktop or in your Applications folder. HandBrake may look a little confusing at first, but you don't need the most advanced options for converting videos.
 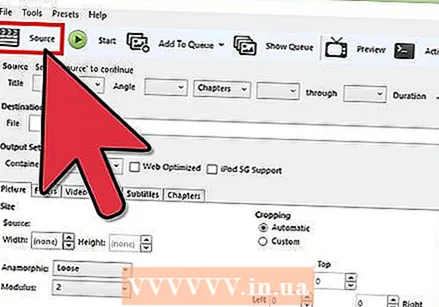 Click on "Source". This button is located at the top right of the screen and allows you to choose a file to convert.
 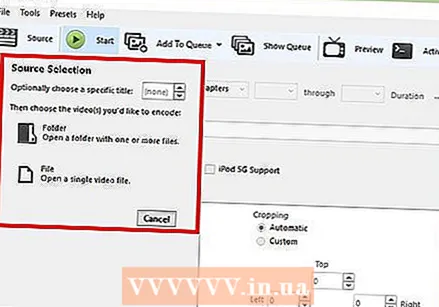 Choose how you want to add the files. If you want to convert multiple files, choose Folder. All files must be stored in the same folder for this. If you want to convert one video, click on File and find the relevant video.
  Press the button .Leaves next to the Destination heading. You can now choose a folder where the converted video will be saved. You will also need to name the file.
 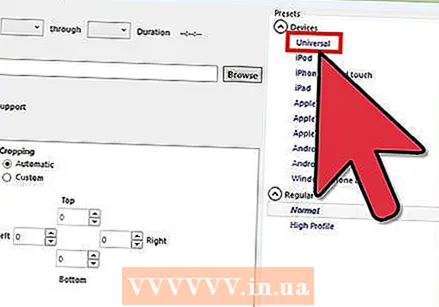 In the right window under the heading Settings, select "General". If you do not see this screen, click on "Settings" and select "Show settings".
 - If you set the settings to "General", videos will be automatically converted to .mp4 format. You can then import the converted video into iTunes.
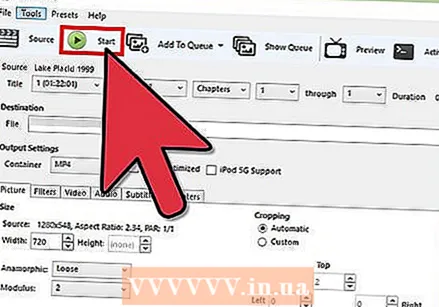 Click on "Start". HandBrake will now start converting the file. This takes a few minutes and longer videos such as movies can take 30 to 60 minutes or more.
  Play the converted video. Once the video has been converted, you can try playing it with QuickTime to make sure everything went well. In most cases there is little or no loss of quality.
Method 2 of 2: Import
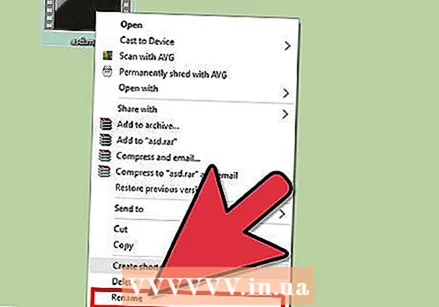 Rename video files with multiple dots. Downloaded torrent files often have multiple dots in their file name to indicate who ripped and encoded the video. Remove these extra points as they can cause problems when importing into iTunes.
 - Right-click on the file and press "Rename" to change the name.
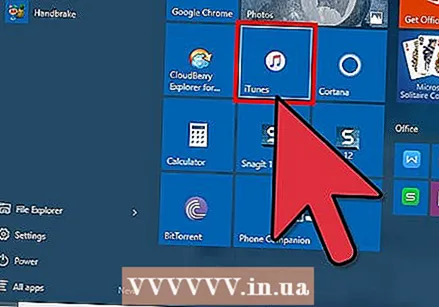 Open iTunes. Make sure you are using the most recent version.
 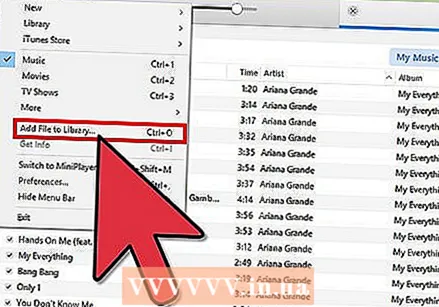 Import the video. click on File (Windows) or on iTunes (OS X) and click "Add File to Library" (Windows) or "Add to Library" (OS X). Find and select the converted video.
 - Do you have a Windows computer and you don't see any File menu, then press the Alt key.
- You will not get any errors or errors when adding the video file.
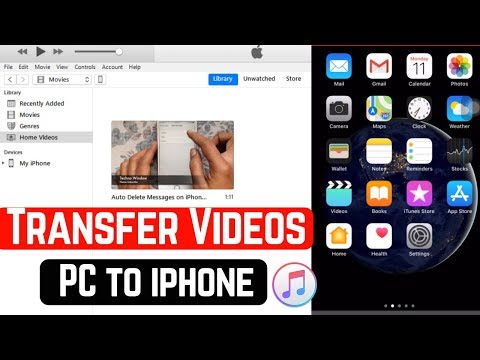
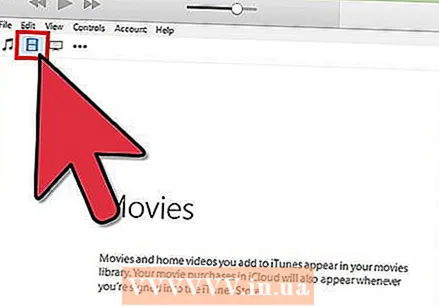 Click on "Videos". This button is located in the row of buttons at the top of the iTunes screen and resembles a camera roll.
 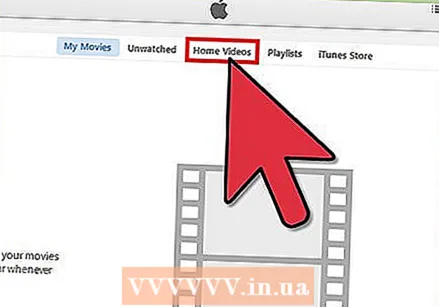 Click on "Home Videos". All video files you import will be added as "Home Video". If you don't see the video you imported on the list, something probably went wrong while converting.
 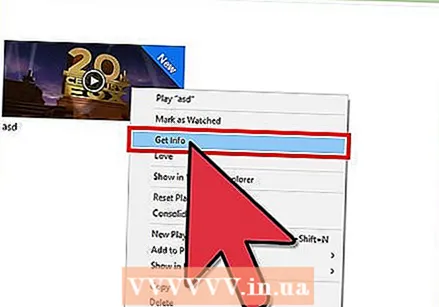 Move the video to another library. If you leave all your videos in the same folder, you will soon lose sight of the forest for the trees. Then also create folders to sort your videos so that you can easily find them later.
 - Right click on the video and then on "More info".
- Click on "Options" in the screen that now appears.
- Click on "Home Video" to select the library you want to move the video to.
- Click OK to save the changes. You can now find the video in your chosen library.
 Put your videos on your iOS device. Now that the files have been imported into iTunes, you can also transfer them to your iOS device. This is basically the same as putting music on your phone or tablet.
 - If you can't put the video on your phone or tablet, you will need to create a version of the video in iTunes that supports your device. To do this, click on File and then "Create new version". Select the device you want to put the video on and wait for the file to be converted.


