Author:
John Pratt
Date Of Creation:
15 April 2021
Update Date:
26 June 2024
Content
- To step
- Method 1 of 3: Plants
- Method 2 of 3: General care
- Method 3 of 3: Harvesting
- Tips
- Necessities
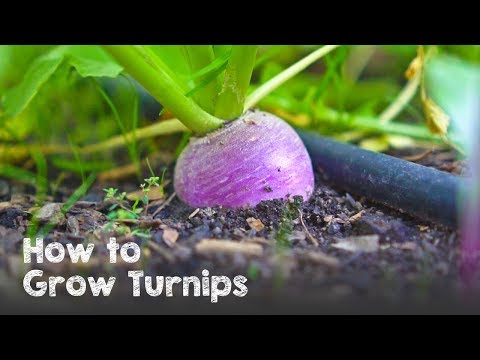
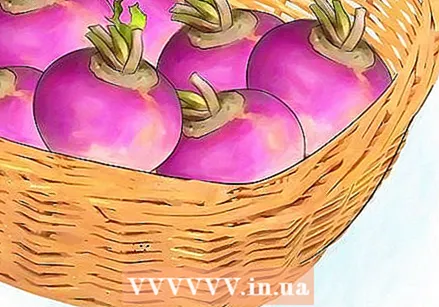
Turnips are a relatively easy-care crop that can usually be harvested after five to ten weeks. You can harvest both the root and the leaves of this vegetable. Start with seed and make plans to grow your turnips in the spring or fall.
To step
Method 1 of 3: Plants
 Plant in the spring or fall. Turnips do well in cool temperatures, so you should plant them when the soil temperature is still cool. Sow the seeds in the spring three weeks before the last expected frost, and in the fall roughly two months before the first frost of the winter is expected.
 - The soil temperature should be around 4 degrees Celsius for the seeds to germinate, but temperatures between 10 and 21 degrees Celsius promote the fastest growth.
- Fall turnips are usually sweeter than spring turnips. They are also less prone to root maggots.
 Pick a good spot. Turnips do well in full sun, so the area you choose should get at least six hours of direct sunlight a day, but preferably more.
 - It is best if you choose a site with soil that is naturally loose and well-drained. You can improve the ground conditions if needed, but starting with good ground conditions will make your job easier.
- Also remember that turnips prefer soil with a pH of 6.5. Most soils won't be too acidic or too alkaline, so testing isn't always necessary. However, if you are having trouble with your turnip crop, consider testing the pH of your soil by taking a sample and sending it to a lab. You can also purchase a home pH test kit from a garden center or hardware store.
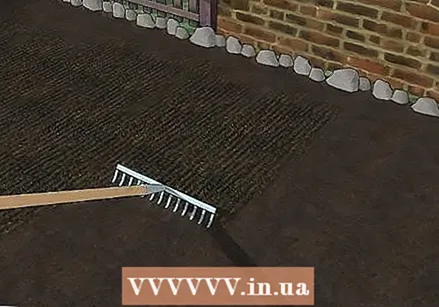 Improve the soil conditions. Loosen the soil with a rake or shovel to a depth of 12 to 12 inches, then mix in a 2 to 4 inch layer of compost.
 - For even better results, consider adding a handful of well-rotted manure to the compost.
 Spread the seeds. Spread the seeds as evenly as possible over the prepared soil. Cover the soil with 1/4 inch of soil if it's in the spring, or 1/2 inch if it's in the fall.
 - Alternatively, you can scatter the seeds in rows, spaced 12 to 18 inches apart.
- Remember that germination usually takes place after 7 to 14 days.
- After you plant the seeds, make sure to water them evenly. You shouldn't water them as this can rinse them out of the soil, but the surface of the soil should feel moist.
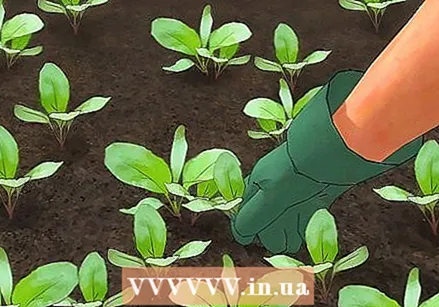 Thin the seedlings. When the seedlings are about 10 cm high, you can pull out the weakest plants so that the strongest plants have more space and nutrients. "Early" varieties should be thinned to the remaining plants 5 to 10 cm apart, while standard or "store" varieties should be 6 "apart.
 - However, if you only want to grow your turnips for their greenery, then you don't need to thin them out.
- Usually, the greenery of the removed plants will be large enough to use.
Method 2 of 3: General care
 Water them as needed. Turnips need an inch of water per week. If they get less, it will make the root tough and bitter, but too much water can cause the turnips to rot.
 - Keep an eye on how much rain is falling. During seasons with average rainfall, you do not need to provide additional water. But if there is little rain in a season, you have to water the turnips yourself.
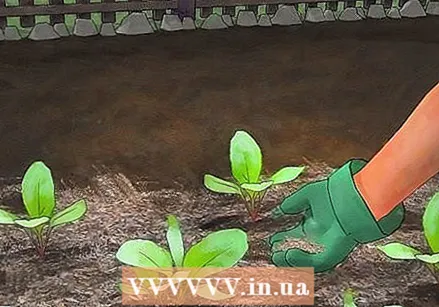 Add plenty of mulch. When the plants are 12 cm high, add a 5 cm layer of mulch around the greenery.
 - Mulch retains moisture, and even moisture can promote better growth and flavor.
- In addition, mulch can help control and reduce the amount of weeds in your garden.
 Consider fertilizing the turnips. Although not strictly necessary, a monthly addition of a mild, organic fertilizer can strengthen the turnips. Choose a fertilizer with a high content of potassium and phosphorus rather than one with a high content of nitrogen.
 - Fertilizers with nitrogen will make the green of the turnips grow very thick, but the roots will suffer.
- Look for fertilizers that also contain boron, or add a separate spray boron four to six weeks after sowing.
- Make sure any fertilizer you use is food safe.
- You can also add some compost tea about once a month.
 Remove weeds. If weeds do get through the mulch, you have to pull them out by hand. Avoid using herbicides as the chemicals can get on the turnips; this damages the turnip and makes it unfit for human consumption.
 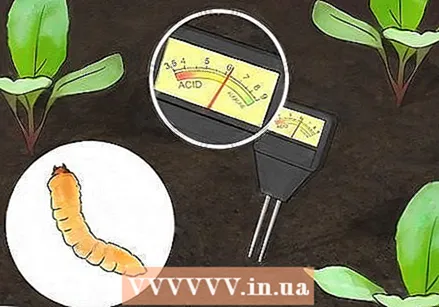 Watch out for pests and fungi. Root maggots and alticini are some of the most common pests to watch out for. In addition, the various types of powdery mildew are the most common molds.
 - Root maggots are especially a problem if you grow turnips in soil where radishes, turnips or turnips were grown the previous year. To avoid root maggot infection, rotate your crops and treat the soil with a food-safe insecticide in between. Make sure the label states that it is suitable for use against root maggots.
- Keeping the soil pH above 6 can prevent most problems with mildew and other fungi.Test the soil pH regularly with a test kit or by sending a sample to a lab.
- Generally speaking, once the turnips are infested with pests or fungus, there is not much you can do to save them. Your best bet is to remove the infected plant and treat the soil to destroy as much of the pests or fungus as possible. That way you may be able to save the rest of your crop.
Method 3 of 3: Harvesting
 Harvest the leaves early. As a general rule, you can harvest the foliage as soon as it is big enough to harvest. Generally, this is when the leaf reaches a height of 10 to 15 cm.
 - As long as the growing tips or nodules are not removed, the foliage will regrow after you harvest it.
- If you want to harvest leaves and roots from the same plant, don't exceed two or three leaves per plant. If you remove all the leaves, the root will die.
 Pull turnip roots out when they are fully grown. After five to ten weeks, you should be able to harvest full-grown, ripe turnips. "Early" varieties only need five weeks, while storage varieties need six to ten weeks.
 - You can easily harvest small turnips by pulling them out by hand. To harvest large turnips, you can use a digging fork to loosen the soil before pulling it out.
- You can harvest turnips of just about any size. Small turnips have a soft taste and often sweeter than large turnips. Therefore, they are usually harvested when the roots are between 1 and 3 inches in diameter.
- You can check the size of the root by gently brushing away the soil on the root of one of the plants so that you can clearly see the root underneath. When that plant appears ready to be harvested, most of the other roots will be ready too.
- Make sure all your turnips are harvested before the first frost. Do not overgrow them as overripe turnips have a woody flavor and texture.
 Keep them at cool temperatures. When packaged and stored in a cool area, harvested turnips will usually keep for three to four months. Consider keeping them in a basement or shed and covering them with straw.
 - Turn off the greens, leaving about 1/2 inch of stem, before storing the turnips. Do not rinse soil, as this can actually help protect the roots while they are in storage.
- It may be possible to leave your fall crop in the ground until the onset of winter by covering them with a thick layer of mulch, but get them out before the ground freezes and hardens.
- Turnips can also be stored in the refrigerator.
Tips
- A few varieties of turnips that are recommended include: Just Right, Gilfeather, Golden Ball, Market Express, Purple Top White Globe, Royal Crown, Scarlet Queen, Tokyo Cross, White Knight, and White Lady.
Necessities
- Turnip seeds
- Kit to test the soil pH
- Compost
- Rotting manure
- Rake or garden shovel
- Garden hose or watering can
- Mulch
- Food-safe fertilizers, high levels of phosphorus and potassium
- Food-safe insecticide (if needed)
- Straw (for storage; optional)


