Author:
Roger Morrison
Date Of Creation:
22 September 2021
Update Date:
1 July 2024

Content
- To step
- Method 1 of 5: Self-cleaning program for Windows XP / Vista users
- Method 2 of 5: Self-cleaning program for Mac users
- Method 3 of 5: Manual cleaning
- Method 4 of 5: Cartridge with printhead
- Method 5 of 5: The vacuuming method
- Tips
- Warnings
- Necessities
A printhead can become clogged if a printer has not been used for a while or if a print cartridge has been empty or has been stored for a long time. Printhead clogging can cause print quality problems. This article will show you how to clean printheads.
To step
Method 1 of 5: Self-cleaning program for Windows XP / Vista users
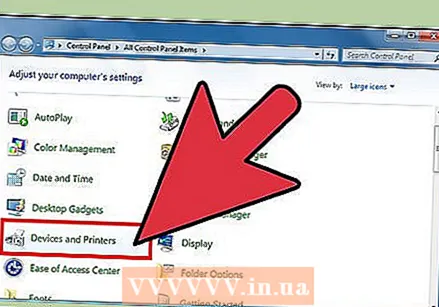 Open the control panel and select "printers".
 Select the printer to be cleaned and click the right mouse button. Select "Properties" from the drop-down menu.
 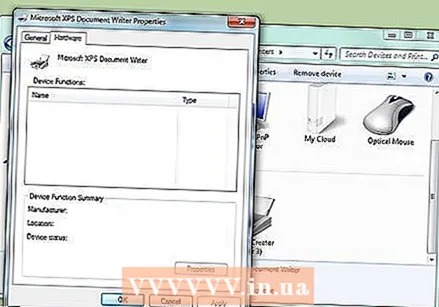 Choose the cleaning tab. Different printers may use different names such as services, cleaning, or maintenance.
  If applicable for your printer, select the nozzles to be cleaned. Run the printer cleaning program.
  Print a test page and view the results. Repeat the cleaning two or three more times if necessary.
Method 2 of 5: Self-cleaning program for Mac users
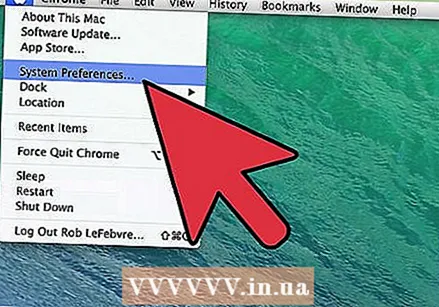 Click on "System Preferences" and select "Open Printer and Fax".
 Select the printer to be cleaned and open "Open print queue" or "Print queue".
 Click on the Utility icon for the printer and select "maintenance". Select "Clean" from the pop-up menu and click "OK". You may still have to choose the reservoir you want to clean.
 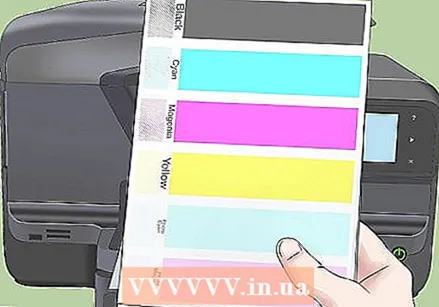 Run the printhead cleaning program and print a test page. Repeat the cleaning two or three more times if necessary.
Method 3 of 5: Manual cleaning
 Look in the manual of your printer for the location of the printhead. Read the instructions below if the head is in the printer and not part of individual ink cartridges.
 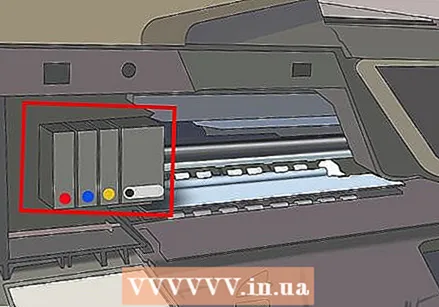 Remove the ink cartridges and dab hot water or rubbing alcohol on a cotton swab.
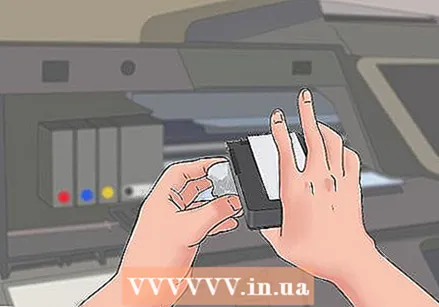 Swipe the cotton swab over the printhead to loosen dried ink. You can also use an eyedropper and drip 7 to 10 drops of rubbing alcohol into the ink collector when the print head is deep in the printer.
  Run the printer's cleaning program twice and leave the printer overnight. Repeat the self-cleaning program the next day.
Method 4 of 5: Cartridge with printhead
 With the printhead inside the cartridge, soak the ink cartridge in a bowl of hot water overnight.
 Remove the cartridge from the water and dry it thoroughly with a paper towel. Put it back in the printer and run the cleaning program. Repeat this one more time if it still doesn't work.
  If soaking in hot water didn't work, put the cartridge in a bowl of rubbing alcohol and soak overnight.
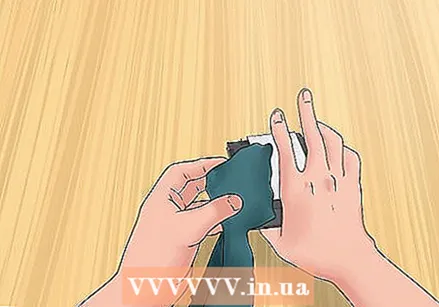 Take the cartridge out and wipe with a damp cloth before drying. Try the self-cleaning program again. If it still doesn't work, you probably need a new cartridge.
Method 5 of 5: The vacuuming method
 Gently wipe the cartridge with a soft cloth.
- Do not push too hard, or you might damage the cartridge.

 Use a vacuum hose to clean the nozzle of the cartridge, no more than a few seconds at a time. If possible, place the vacuum cleaner nozzle for curtains on the vacuum cleaner.
 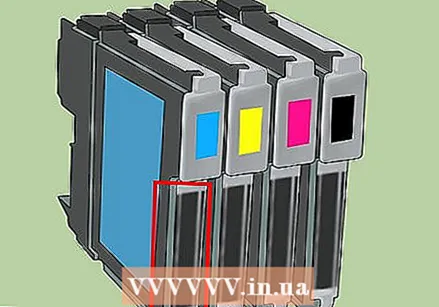 Repeat this if necessary. If the print cartridge is clean, ink is visible. If it is a multi-color cartridge, you will see black ink when all nozzles are clean.
 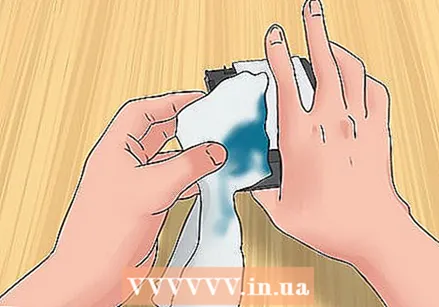 Wipe off the ink residue with a soft cloth. Do not use a hard cloth, such as a paper towel.
  Replace and print a test page.
Tips
- When the printer is not in use, print one page every two weeks to keep the printheads from clogging.
Warnings
- Be careful when cleaning with rubbing alcohol. Some printers have rubber gaskets, which can dry out and break if you use this method.
- Do not turn off the printer, restart, or release print jobs while the printer is cleaning. It can damage the printer.
- Do not touch the printhead or cartridge head, as it can damage the cartridge or printer.
Necessities
- Cotton swabs
- Hot water
- Cleaning alcohol
- Pipette
- Come on
- Paper towels


