Author:
Judy Howell
Date Of Creation:
28 July 2021
Update Date:
1 July 2024
Content
- To step
- Part 1 of 3: Uninstall NVIDIA drivers
- Part 2 of 3: Delete NVIDIA Folders
- Part 3 of 3: How to Delete NVIDIA Registry Keys (Advanced Users Only)
- Tips
- Warnings
NVIDIA develops drivers for Windows PCs that control video cards and graphics processors (GPUs). If you want to install a new GPU from another manufacturer, or if you just want to uninstall NVIDIA from your computer, you can do this from Control Panel. You can also manually delete the hidden folders of NVIDIA afterwards, along with the NVIDIA folders in the registry.
To step
Part 1 of 3: Uninstall NVIDIA drivers
 Open the Control Panel. Follow these steps to open the Control Panel:
 - Click on the Start menu in the lower left corner.
- Type control panel.
- click on Control panel in the search results list.
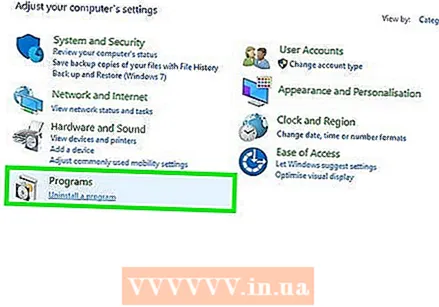 click on Delete a program. This is under Programs in the Control Panel. You will now get a list of all programs that are on your computer.
 - If you are using Windows 8, right-click on the Start menu and then click Programs and Features.
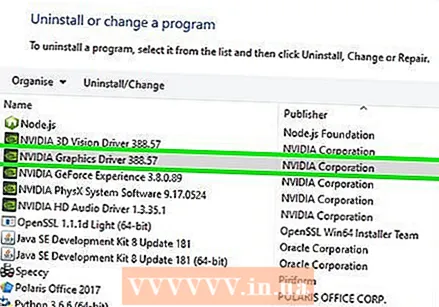 Scroll down and click NVIDIA Graphics Driver. The programs on this page are in alphabetical order. "NVIDIA Graphics Driver" is the main part of the driver.
 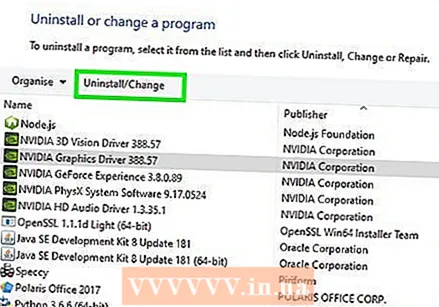 click on Delete Change. This is the second tab at the top of the list of programs. You will now open the NVIDIA uninstaller.
 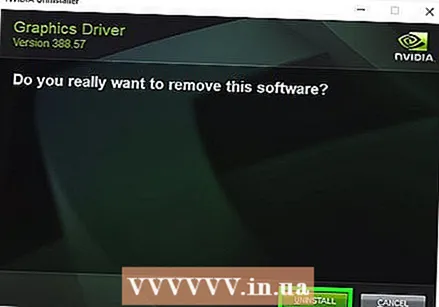 click on remove. This is how you uninstall the NVIDIA driver.
 - Your screen may go black a few times during the removal. Don't worry, this is normal.
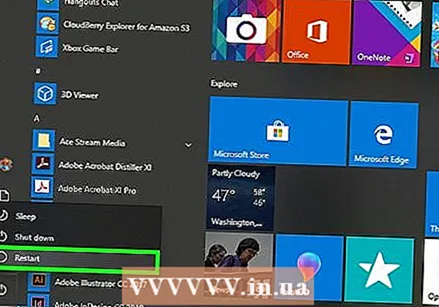 click on Restart now. After removing the driver, you have to restart your computer. So restart your computer now.
  Open the Control Panel. Follow these steps to open the Control Panel:
 - Click on the Start menu in the lower left corner.
- Type control panel.
- click on Control panel in the search results list.
 click on Delete a program. This is under Programs in the Control Panel. This will open the "Programs and Features" list.
 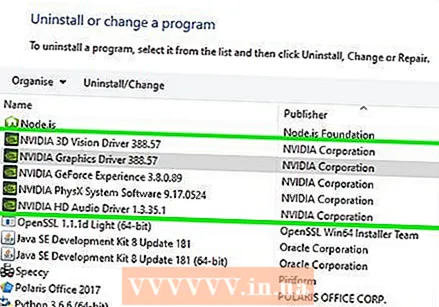 Remove any leftover NVIDIA parts. You probably still have parts of NVIDIA on your computer. This could include "NVIDIA GeForce Experience", "NVIDIA PhysX System Software", "NVIDIA 3D Vision Controller", etc. Click on each of these items and then click Uninstall / Change. Then follow the instructions to remove the part. Repeat this process for each NVIDIA item in the list.
 - If you need to restart your computer, do this.
Part 2 of 3: Delete NVIDIA Folders
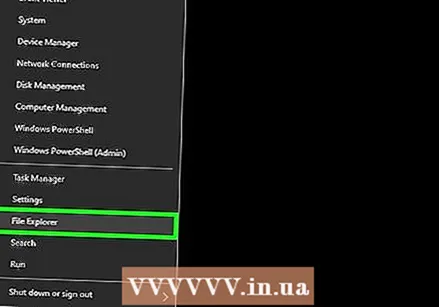 Open Windows Explorer
 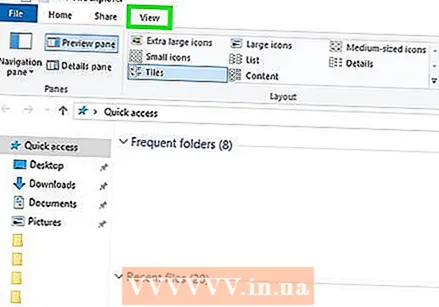 Click on the tab Statue. This is in the menu bar at the top of the screen.
 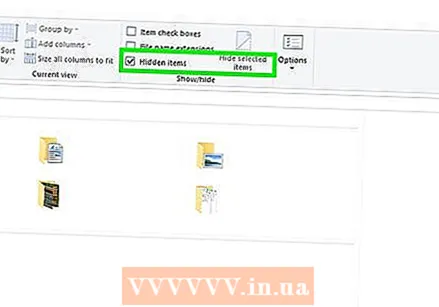 Select the option
 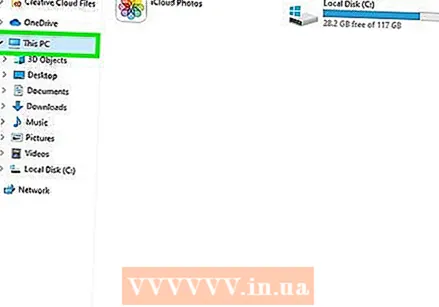 click on This PC. This is in the left menu bar, next to a computer screen icon. You will now see all drives connected to your computer.
 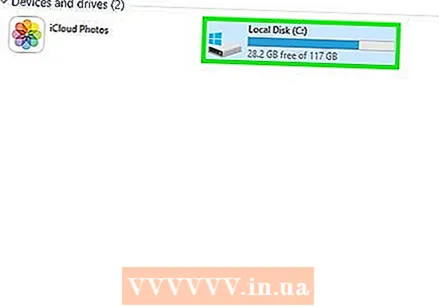 Click on the disk where Windows is installed. This is next to the hard drive icon with the Windows logo. This is probably the C drive. This disk may be called "OS (C :)", "Local Disk (C :)", "System (C :)" or simply the name of your computer.
 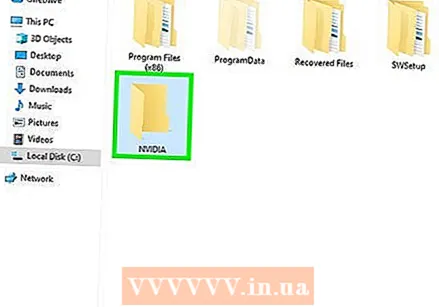 Click on the "NVIDIA" folder and press Delete. If you see a folder named "NVIDIA" on the drive, click on it and press the "Delete" button to delete the folder.
 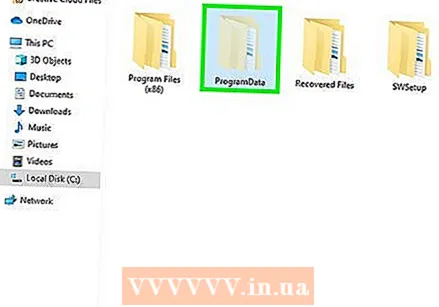 Open the transparent folder called "ProgramData". This is one of the hidden folders on your hard drive.
  Delete all NVIDIA folders. Look for folders related to NVIDIA or NVIDIA Corporation in the ProgramData folder and click to select them. Then press the "Delete" button.
 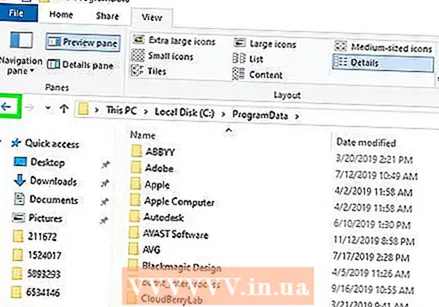 Click the back button to go back to the C drive. Click the back arrow (at the top of Windows Explorer) to return to the disk where Windows is installed.
 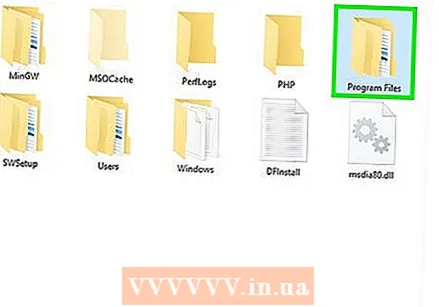 Open the "Program Files" folder. This folder is also on the Windows disk (C :).
 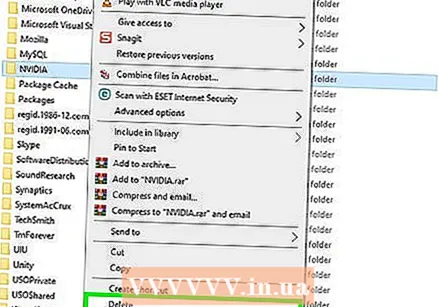 Delete all NVIDIA folders. Click on the folders related to NVIDIA or NVIDIA Corporation in the Program Files folder and press the "Delete" button. Then navigate back to the Windows drive again.
 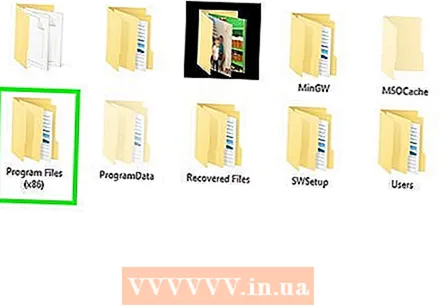 Open the "Program Files (x86)" folder. If you have the 64-bit version of Windows, you also have a folder called "Program Files (x86)". Click on this folder to open it. This folder is also on the Windows disk (C :).
  Delete all NVIDIA folders. Click on the folders related to NVIDIA or NVIDIA Corporation, and press the "Delete" button. Then navigate back to the Windows drive again.
  Open the "Users" folder and click on the folder with your username. The "Users" folder is located on the Windows disk. This folder contains folders for each user of the computer. Click on the folder with your username.
  Open the folder "AppData". This folder can be found in the folder with your username.
 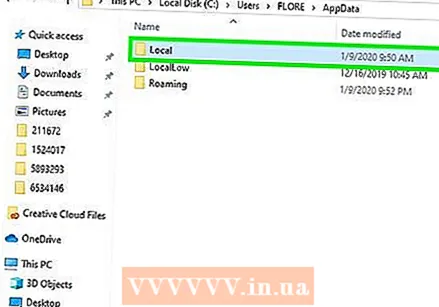 Open the "Local" folder. This folder can be found in the AppData folder.
  Delete all NVIDIA folders. Click on the folders related to NVIDIA or NVIDIA Corporation, and press the "Delete" button.
  Click on the back button. This is at the top of the window. You will now go back to the AppData folder.
 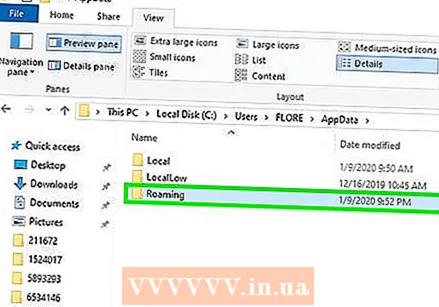 Open the "Roaming" folder. This folder can be found in the AppData folder.
  Delete all NVIDIA folders. Click on the folders related to NVIDIA or NVIDIA Corporation, and press the "Delete" button to delete them.
Part 3 of 3: How to Delete NVIDIA Registry Keys (Advanced Users Only)
 Click on the Start menu
  Type regedit. You will now get the registry editor at the top of the Start menu.
 - WARNING: you can seriously damage your operating system by deleting entries in the registry. Proceed at your own risk!
 click on regedit. You now open the registry editor.
 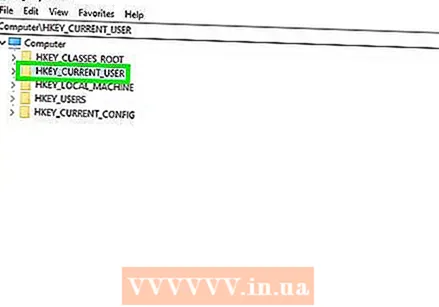 Click the arrow next to "HKEY_CURRENT_USER". This is to the left of the folder in the toolbar on the left. You will now see all folders in the folder "HKEY_CURRENT_USER".
  Click the arrow next to the "Software" folder. This folder can be found under "HKEY_CURRENT_USER" in the toolbar on the left.
 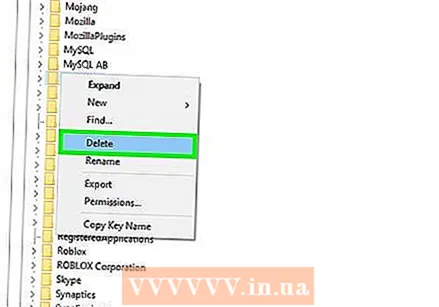 Delete all NVIDIA folders. Search the toolbar for folders related to NVIDIA or NVIDIA Corporation. Click on it and hit the Delete button.
 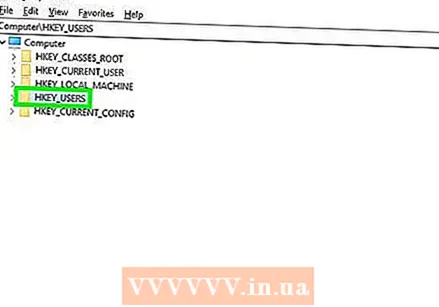 Click the arrow next to the "HKEY_USERS" folder. This can be found to the left of the "HKEY_USERS" folder on the left. There are a number of registry folders in this folder, including ".DEFAULT" and several folders with numbers as titles.
 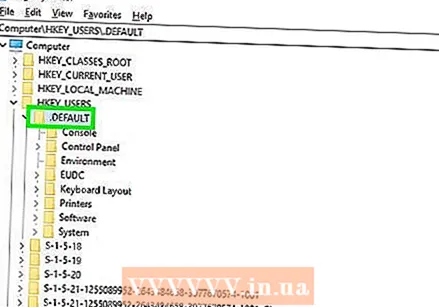 Click on the arrow next to the folder ".DEFAULT". This is the folder directly below “HKEY_USERS” in the toolbar, the arrow is to the left of the folder.
  Click the arrow next to the "Software" folder. This folder can be found in the folder ".DEFAULT".
  Delete all NVIDIA folders. Look for the folders related to NVIDIA or NVIDIA Corporation, click on them and hit the Delete button.
  Repeat this process for the other folders in "HKEY_USERS". Click on the arrows and then on the "Software" folder of the other folders in "HKEY_USERS". Delete all folders related to NVIDIA or NVIDIA Corporation there as well.
 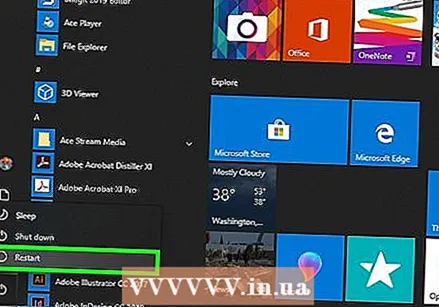 Restart your computer after deleting all NVIDIA folders. All NVIDIA drivers have now been completely removed from your registry.
Tips
- Create a system restore point before uninstalling the NVIDIA drivers. You then have a backup in case you accidentally delete the wrong entries in the registry and damage your system. A system restore point allows you to roll back your computer to an earlier point in time, before you made any changes to the registry.
Warnings
- Do not change values of items in the registry. You can cause major problems with this and even damage your entire operating system. If you do accidentally change registry values, follow these steps to perform a system restore or reinstall Windows to wipe your entire hard drive and fix the problem.


