Author:
Tamara Smith
Date Of Creation:
23 January 2021
Update Date:
1 July 2024
Content
Do you want to make your computer experience a bit ... bigger? Maybe you have to give a presentation and you don't have a projector, so you decide to use that 50 "HDTV. Or maybe you turn your laptop into a desktop and you don't have an external monitor. Most modern computers can easily be connected to newer TVs. , which suddenly gives you a much larger screen.
To step
Method 1 of 2: Windows
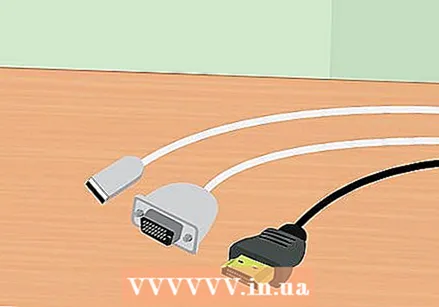
 Determine how your computer can be connected to a TV. Connecting your computer to your TV requires a connection between the two with a video cable. You will see several ports and connectors on the back of your computer. Video connectors can be found near the USB, speaker and Ethernet connections, or perhaps on the bottom of your computer if you have a discrete graphics card. There are three main connectors you should look for on your computer:
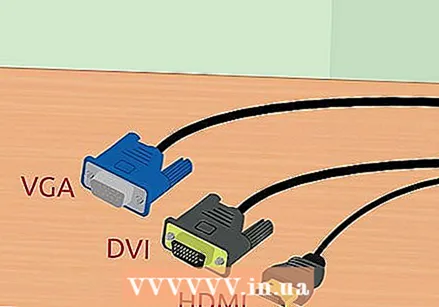
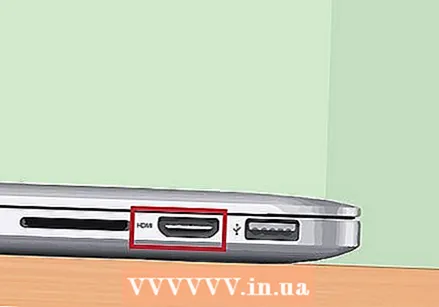
 - HDMI - This is the current standard for connecting HD devices, and most modern computers have an HDMI port on the back. HDMI ensures the transmission of both image and sound. An HDMI port looks like a stretched USB port.
- DVI - This is a digital connection with pins. DVI connectors are rectangular and have three rows of eight pins each. DVI is for image transmission only.
- VGA - This is the old standard for connecting monitors. It is a wedge-shaped socket with 15 pins arranged in three rows, and is usually blue. Do not use this connection if you can also use the DVI or HDMI, because VGA offers the lowest quality. VGA only transfers images and cannot display HD.
 Find out how to connect a TV to the computer. Now that you are familiar with the connections that your computer supports, you will have to check which connections your TV supports. Most TVs have ports on the back of the TV, although some have inputs on the side.
 - Most modern HDTVs have one or more HDMI ports. This is the fastest and easiest way to make a connection and also offers the best quality. HDMI is the only connection where both audio and video pass through the cable.
- DVI is no longer common today, but you can still find it on many HDTVs and standard definition TVs.
- VGA is not normally available on HDTVs, but can be found on standard definition TVs.
 Notice what the label tells you about the inputs on your TV. This will help you select the correct input when switching to your computer display.
 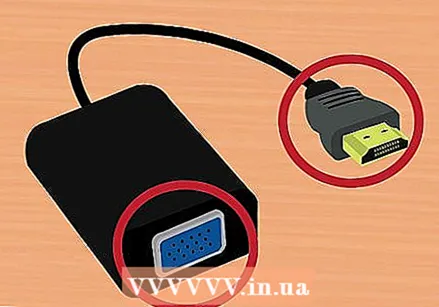 Look for the correct video cable for your preferred connection. Buying a cable can be a confusing affair as companies use all sorts of buzzwords to pretend their cables are better than the competitor's. In practice, most people will not notice the difference between a cheap and an expensive cable. If you buy HDMI, the cable may or may not work, and a cable of € 5 euros results in the same quality as a cable of € 80.
 - If you don't have a suitable connector on both your computer and your TV, then you need an adapter. For example, if you have a DVI connector on your computer but only an HDMI port on your TV, you can get a DVI-to-HDMI adapter or cable. In this case, the HDMI does not transport audio because DVI does not support audio.
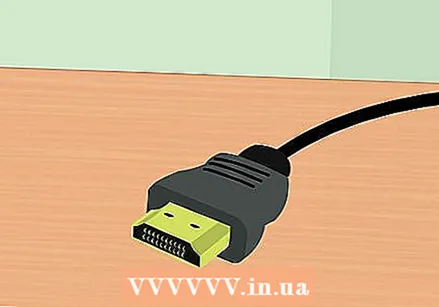
 Connect your computer to your TV with your cable. If you connect HDMI to HDMI, you don't need any other cables. If you make a connection using another method, you also need an audio cable.
 - To connect an audio cable from a laptop, use a 3.5mm audio cable and connect it to the headphone jack of your laptop. On a desktop, you use the green audio input on the back of the computer. When you connect the audio cable to the TV, you may be able to use a single 3.5mm audio plug from a stereo (RCA) 2-plug cable.
- If you make a connection via VGA, switch off your computer and TV first. You don't have to do this with DVI and HDMI.
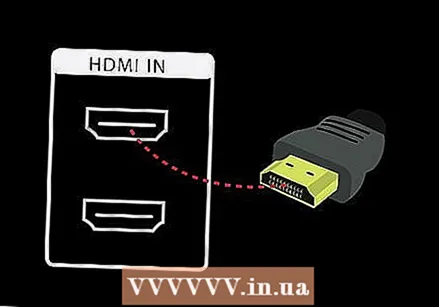
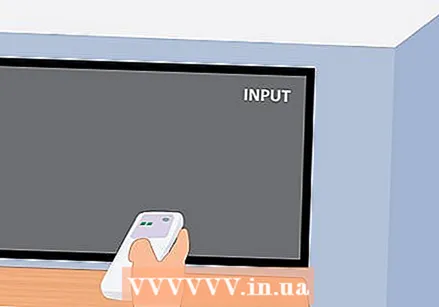
 Switch your TV on to the correct input. Make sure to select the input of the TV you connected the cable to. Most TV remotes have an "Input" or "Source" button that allows you to make a selection.
 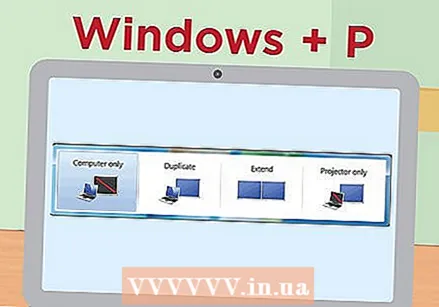 Switch on your computer on the TV screen. There are several ways you can do this, depending on the type of computer you are using.
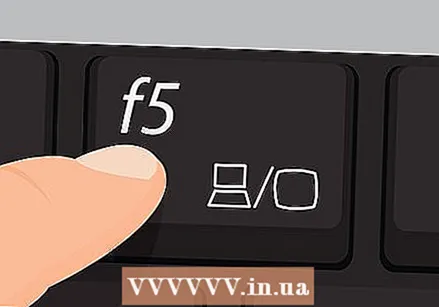
 - Many laptops have a "Display" key that allows you to switch between connected displays. You may have to press the Fn key to get there and it may have a symbol in place of the word "Display".
- In Windows 7 and later, you can press Windows key + P to open the Project menu. You can then select which display mode you want to use (computer, TV, extended desktop, or duplicate displays).
- In any version of Windows, you can right-click on the desktop and select "Screen resolution" or "Properties". The "Multiple displays" menu allows you to choose between different display modes (computer, TV, extended desktop or duplicate displays).
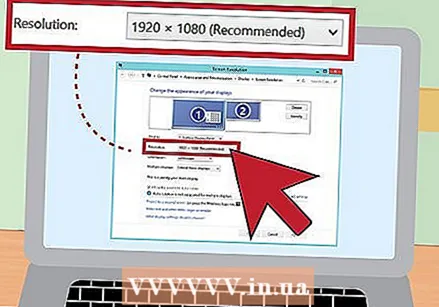 Adjust the resolution of the display (if necessary). Your computer and TV monitor may have a different resolution, and your TV screen may be out of focus when you switch screens. Use the "Resolution" slider in the "Screen Resolution / Properties" window to choose a better resolution.
 - Most HDTVs have a native resolution of 1920x1080. If possible, select the "Recommended" resolution.
Method 2 of 2: Mac
 Find out what kind of video port your Mac has. There are four main types of connectors that your Mac or Macbook can have. Knowing what type of connection is available can help determine what equipment you need.
 - HDMI - The HDMI port looks like a stretched, slimmer version of a USB port, with small notches on the side. It probably says "HDMI" printed above the pure. This is the current standard for connecting HD devices and most Macs and MacBooks made after 2012 have this port. HDMI does not require any special adapters.
- Thunderbolt - This is a port that is slightly smaller than a USB port, indicated by a small lightning bolt above it. You need a Thunderbolt-to-HDMI adapter to connect to most HDTVs.
- Mini DisplayPort - This port looks the same as a Thunderbolt port. The logo is a small box with a line on each side.
- Micro-DVI - This is one of the older ports you can find. The corresponding icon is the same as that of the Mini DisplayPort, but the port looks like a small USB port.
 Find the inputs on your TV. You can find these on the back or the side. The most common TV inputs are HDMI, DVI and VGA. If you can make an HDMI-to-HDMI connection, then you only need one cable for both video and audio. You need a separate audio cable for all other connections.
 - Pay attention to the labels above the inputs, so that you can easily adjust the TV accordingly.
 Obtain the correct adapter (if necessary). Once you know which port your Mac has and the connection that your TV supports, you can purchase the adapter you need.
 - If your Mac has an HDMI port and your TV has an HDMI port, you don't need more than a standard HDMI cable.
- If your TV supports HDMI but your Mac only has Thunderbolt or Mini DisplayPort, then you need a Thunderbolt / Mini DisplayPort-to-HDMI adapter.
 Provide a suitable cable. If you have the adapter, you can purchase the correct cable. If your adapter goes to HDMI, buy any HDMI cable. Cheap HDMI cables work just as well as the more expensive ones. If you are going to connect via DVI or VGA, you will need an audio cable and a video cable.
  Plug your adapter into your Mac. Connect the video adapter to the video port on your Mac.
  Use your video cable to connect your adapter to your TV. If both the computer and TV have HDMI ports, just use a standard HDMI cable to connect the two.
 - If you're not using HDMI to connect your computer to the TV, you'll need an audio cable to get the sound from your Mac to your TV or home theater system. Use a 3.5mm audio cable to run a cable from the headphone output on your Mac to the audio input on your TV or receiver.
 Set your TV to the correct input. Select the input your computer is connected to. Some TVs have multiple inputs of the same type to choose from, so make sure you select the correct one.
 - In most cases, your desktop will automatically extend to your TV screen.
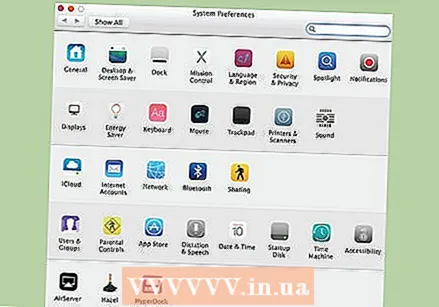 Click the Apple menu on your Mac and select "System Preferences".
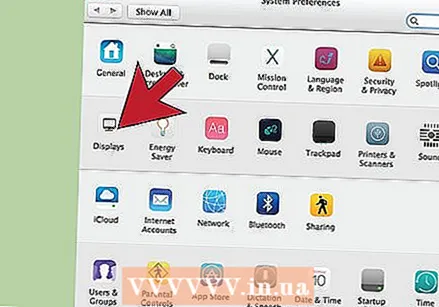 Select the "Displays" option from the System Preferences menu.
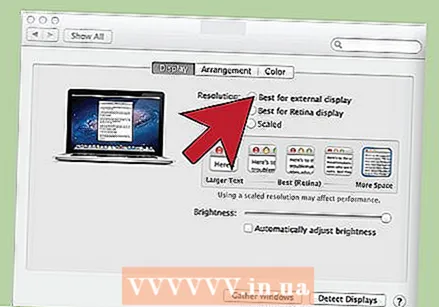 Select the "Best for external display" option in the "Display" tab. This optimizes the screen resolution for the connected TV.
 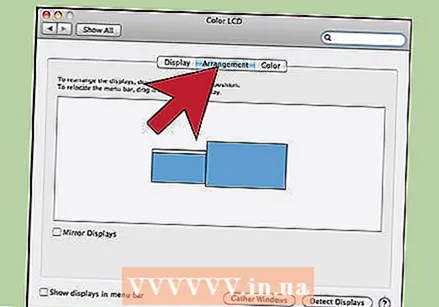 Click on the "Ranking" tab. This shows how your two monitors are positioned in relation to each other. This affects the way your mouse moves between the two screens.
 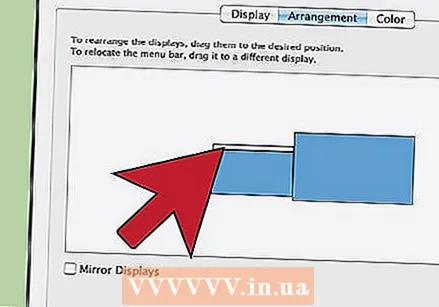 Drag the white menu bar from the computer screen to the TV. This will make the TV your primary display.
 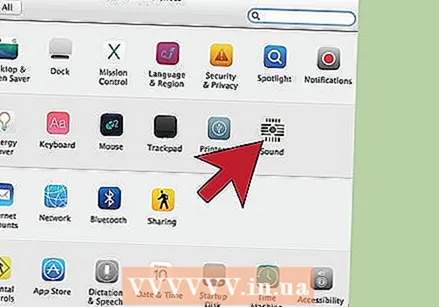 Return to the System Preferences window and select "Sound". In the "Output" tab, select "HDMI" if connecting with an HDMI cable. If you are connecting via a different cable, select that audio cable as the source.
Tips
- There is no need to spend a lot of money on cables for digital signals. "Sample cables" are usually redundant. A 6 "(2m) HDMI or DVI cable can be ordered online for no more than € 5 to € 10 - anything more expensive is a waste of money. However, the cheaper VGA cables can cause problems. VGA signals are analog and the The smallest drop in signal will show on the screen (the longer VGA cables and larger monitors will show ghosting if you use cheap cables, so be prepared to get a better quality). Choose the cheapest thicker VGA cable for best results at short distances (15 cm or less), connected to 20 +/- inch monitors.


