Author:
Tamara Smith
Date Of Creation:
28 January 2021
Update Date:
1 July 2024

Content
In wood burning, also called pyrography, you draw an image on a piece of wood using a burning pen with a hot brass tip. Not only is this an excellent way to lower your stress level, but it also allows you to create eye-catching works of art that look great in many homes. Draw for yourself, create artwork to hang on the wall, or make gifts for others. Whatever project you choose, make sure you learn the basics of wood burning before you start.
To step
Part 1 of 3: Learning the basics of wood burning
 Buy the necessary tools. In order to burn wood, you need some basic tools to get started. When you have successfully made some drawings, you can buy more materials, although the following tools are sufficient:
 - Burning pen (also called wood burner or wood burning device). There are two different types of fire pens for sale. First, there is the common burning pen that resembles a soldering iron and has a single heat setting. You will receive several brass attachments that can be exchanged. Second, you can buy a higher-quality version with two pens and different heat settings. For twenty euros you already have a simple burning pen, while a higher quality and more versatile pen costs several hundred euros.
- Different attachments. This way you can draw thinner or thicker lines, as well as different patterns.
- Cleaning brush and aluminum oxide to regularly clean the brass attachments on the burn pen.
- Tang
- Earthenware pot or a holder for the burning pen (to safely place the burning pen when it is hot)
 Buy nice wood to use for wood burning, preferably softer wood. Wood hardness is rated on a scale of one to ten, with one representing the softest wood (such as balsa wood) and ten representing the hardest wood (such as African padauk). If you are starting with wood burning, it is best to use as soft wood as possible. Hardwood is expensive, can withstand heat and is generally darker in color. Soft wood, on the other hand, is cheaper, easier to burn and lighter in color, so that the burnt drawing is clearly visible. Try to buy these types of soft wood when you start a wood burning fire:
 - Pinewood
- Lime wood
- Birch wood
- Ash wood
- Maple wood
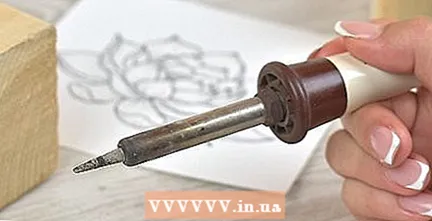 Be careful with the burn pen. The pen will get quite hot very quickly, so attach the attachment you want to work with before you enable the tool. Always loosen and tighten attachments with your pliers. Wait about two minutes for the burn pen to heat up. During the heating process, place the burning pen in a container or earthenware pot to prevent accidental burns.
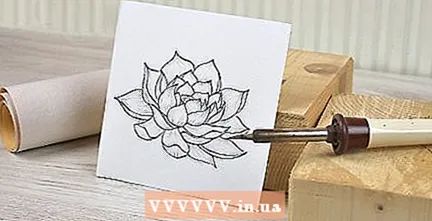
 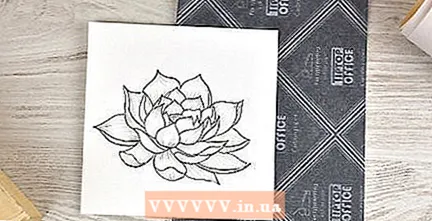 Choose the method that works best for you to transfer a pattern to wood. It is certainly possible to burn a drawing in wood without drawing a pattern with a pencil, but most beginners find a pattern very useful. There are three basic methods of transferring a pattern to a piece of wood.
  Start by placing the wood in an easy place for easy access with your pen. This only takes a second and you have to do it several times. If you are bent over and the wood burns very close to your stomach, chances are that the wood burning will be a lot more difficult.
  First, draw the lines of the drawing. First, burn the lines of the drawing into the wood.
 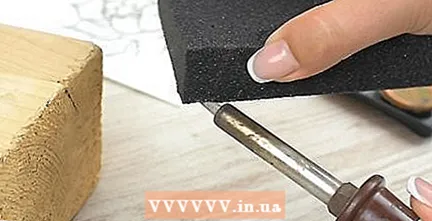 Clean the attachments from time to time so that they give off as much heat as possible. You can treat the attachments with a sanding block if you want a quick fix, or you can clean the cooled attachments with a cloth and aluminum oxide. This way you remove the excess ash that sticks to the attachments. Dip the attachments in cold water for a minute or two before touching them if you are not sure how warm they are. Don't forget to use pliers to loosen and secure the attachments.
 - Consider using a fan while burning a wood. Some woods give off more smoke than others. You can inhale this smoke, which can irritate your lungs. To do something about this, switch on a fan if you work in a closed space.
 Apply wood lacquer to your artwork when you are done. The last step is to iron woodwork onto the wood. Let the paint dry thoroughly and your artwork is all set.
Warnings
- Apply the wood lacquer outdoors or in a well-ventilated area. Inhaling the fumes can be very bad for your health and even deadly.
- Be careful because the burn pen is very hot and can cause severe burns if you touch your skin with it. When the burn pen is hot and turned on, do not leave it unattended. Otherwise, a fire could start.
Necessities
- Multiple sanding blocks with foam core
- 200-250 grit sandpaper or silicon carbide cloth
- White artist eraser
- Pencils
- Masking tape
- Burning pen with different heat settings
- Attachments


