Author:
Roger Morrison
Date Of Creation:
4 September 2021
Update Date:
1 July 2024
Content
- To step
- Part 1 of 3: Sanding and impregnating the wood
- Part 2 of 3: Applying the stain
- Part 3 of 3: Finishing the wood
- Tips
- Warnings
- Necessities
Due to the soft texture and uneven grain pattern, softwoods such as pine can be difficult to stain. If you try to stain softwood in the same way as hardwood, you will often get an ugly result with stains, cloudy colors and areas where the softer parts of the grain absorb more stain than the harder parts of the grain. The secret to a flawless finish is to impregnate the wood before staining it. In this way you can prevent the wood from absorbing more stain in some places than in other places.
To step
Part 1 of 3: Sanding and impregnating the wood
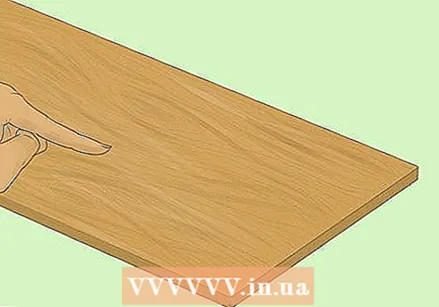
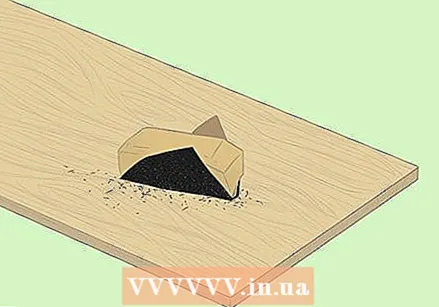 Sand the wood with coarse sandpaper to remove imperfections. Start with a piece of coarse sandpaper with a grit size of about 100 and sand the pine with wide, circular motions. This first sanding is to sand down the small contours, ridges and knots that softwoods are known for and give you a flatter surface to work with.
 - You can apply more even pressure with a sanding block than with a piece of sandpaper held by hand.
- Sanding helps open the pores in natural wood surfaces so that the stain can absorb better.
 Use finer sandpaper to smooth the surface. After removing the rough outer layer, take a finer sandpaper (grain size 150-200) and sand the pine a second time. By sanding the wood again, you ensure that it is nice and flat and ready for staining.
 - If you're working with untreated pine planks, don't forget to sand the cut ends as well.
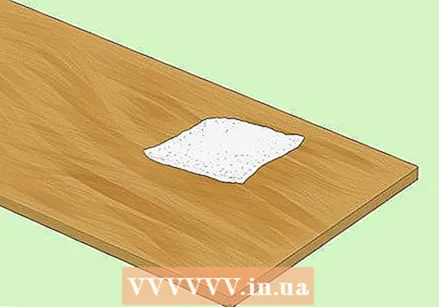
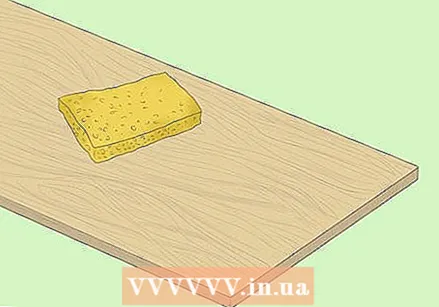 Scrub the wood with a soft sponge so that the loose and broken wood fibers come up. Wet the sponge and squeeze out the excess water. Wipe the outer layer of the pine from side to side with the damp sponge. Work in a single direction and use brisk sweeping movements. This way you not only restore the grain, but you also remove loose dust and dirt particles.
 - The grain of the wood contracts after sanding. A little moisture causes the fibers on the surface to swell, returning them to their natural position.
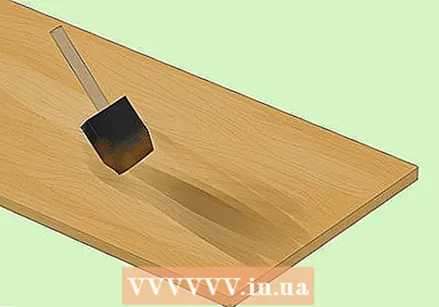
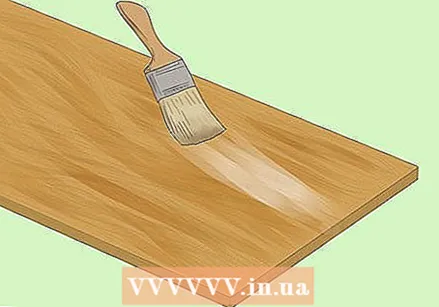
 Spread two coats of impregnating agent on the wood. Apply the impregnation agent to all exposed areas of the wood, including the ends when staining boards. The first layer penetrates directly into the pine. After applying the second coat, you should see that the impregnant remains in puddles on the grain.
 - If you're staining a larger area, touch up the areas you impregnated first from time to time so that they stay wet while you work.
- By impregnating the pine first, you equalize the openings in the grain so that the stain is clearly visible on the surface and does not penetrate too deep into the wood.
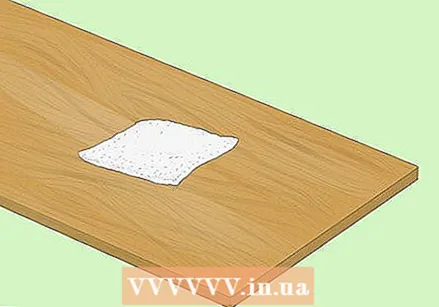
 Wipe off the excess impregnation. Use a clean cloth to wipe off as much of the aqueous impregnation as possible. When you are done, there should be no more wet spots and puddles of moisture to be seen.
 - Make sure you thoroughly wipe all areas of the pine that you have treated. If you use too much impregnation agent, the pores will be filled with impregnation agent and the stain cannot penetrate into the wood.
 Let the wood dry for two to three hours. Find a cold, clean place with low humidity to allow the wood to dry. Once the impregnating agent has penetrated the pores, you will be able to stain the wood well without saturating the wood and leaving it with a smudged surface.
Part 2 of 3: Applying the stain
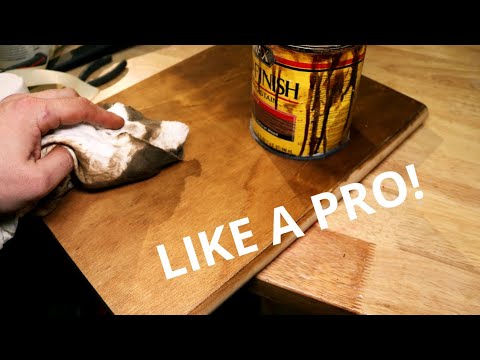
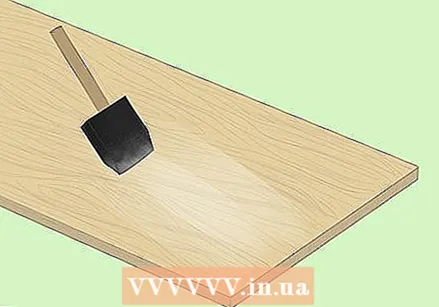
 Dab the stain on the surface of the wood. Using an old cloth or brush with a chisel tip, take a small amount of stain and apply it to the wood. Apply the stain to the surface of the wood in random circles or with back and forth sweeping motions.
 - Do not use too much stain. If you want a dark color, you can get it done by applying more layers of stain a little at a time.
- A sponge brush can be useful for applying stain to corners, recesses and other places that are difficult to reach.
 Make sure the stain soaks into the wood. Continue to iron or rub the stain in all directions until the stain has spread to the edges of the surface. Try to get a dull, consistent color. If there is an area that is too dark or too bright, it probably means that the stain has not spread properly.
 - Don't forget to stain the end grain of boards, blocks and other untreated wood.
 Wipe off the excess stain. After letting the stain set for a minute or two, grab a second clean cloth and run it over the surface of the pine to wipe away any stain that hasn't set. The rest of the stain has already been drawn into the wood and has already changed the color of the wood.
 - Thanks to the impregnation you should not get unsightly spots on the wood, such as stains and places where the softer parts of the grain absorb more stain than the harder parts of the grain.
- It is important to remove any stain that has not yet set into the pine.
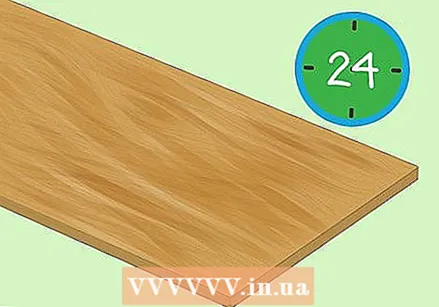
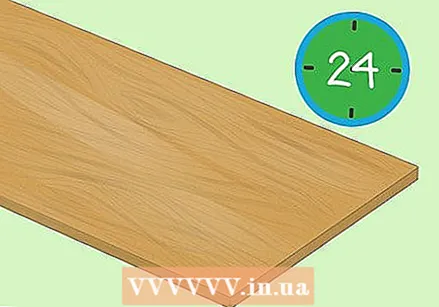 Let the stain dry. Wait until the first coat is dust dry before applying more coats. The layers will interact differently, giving you a cloudy finish that doesn't look very appealing.
 - Place or set the wood on a tarpaulin or newspaper to dry to prevent the stain from transferring to nearby surfaces and objects.
- It can take up to 24 hours for the stain to dry enough to be no longer tacky.
 Apply more coats of stain if necessary. Spread a second or even a third coat of stain on the wood until the color has the desired depth. Remember that the shade you see when you wipe the stain the first time is very close to the shade the wood will be when it is dry.
 - If you've applied more than three coats and the wood is still not the color you want, consider using a darker stain.
- Don't try to overdo it. You cannot remove the stain once you have applied it.
Part 3 of 3: Finishing the wood
 Test the wood to see if the stain is dry. A good way to tell if the pine is ready for finishing is to press it with your fingertip or the corner of a paper towel. If the stain comes off, it is still too wet.
 - Never apply lacquer while the stain is still wet. This is a great way to ruin your hard work.
 Wipe the stained surface. When you are sure that the stain is dry enough, quickly wipe the surface again with a microfiber cloth. This way you remove all dust and dirt particles and prevent them from sticking to the wood under the lacquer.
 - Apply light pressure to avoid smearing or blotting the stain.
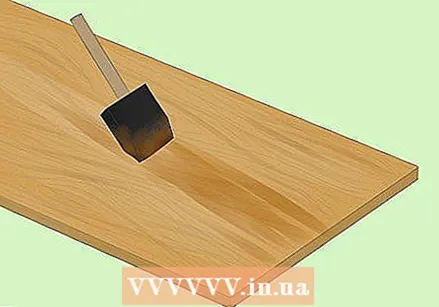
 Spread one or two coats of clear lacquer on the pine. To protect the renewed pine, cover all stained parts of the wood with lacquer. A good transparent varnish encloses the stain and protects the wood against moisture, wear and use. If you choose to apply multiple coats of stain, allow the first coat to dry before applying the second coat.
 - You can use any lacquer, varnish or polyurethane lacquer intended for natural wood.
- Do not apply a thick layer of clear lacquer. This can cause the paint to run.
 Let the transparent varnish dry completely. Let the paint harden for up to 24 hours. In the meantime, don't grab the wood. You can also leave the wood standing or lying down overnight to be sure. When you're done, you'll be amazed that even cheap wood like pine can look elegant if you finish it the right way.
 - Water-based lacquer often dries faster than other lacquer types, which can be an advantage if you want to use the stained wood immediately.
Tips
- Compare different types of stain and choose the stain that best suits your material and the end result you have in mind.
- If you are unsure what a particular color of stain will look like, test the stain on a loose piece of wood.
- Each layer of stain must be seen as a separate phase in the project and must be applied neatly, wiped out carefully and allowed to dry long enough.
- Always stain the entire surface at once. If you stop in between, it will be quite difficult to get the same color when you continue later.
Warnings
- An orbital sander is not recommended for sanding softwoods such as pine.Such a device can leave light spirals on the wood that then become more apparent when you apply the dark stain.
Necessities
- Sanding block and sandpaper (both coarse and fine)
- Impregnating agent for wood
- Wood stain
- Transparent finish (lacquer, varnish or polyurethane lacquer)
- Soft sponge
- Clean cloth
- Paintbrush with a chisel tip
- Paper towel (optional)


