Author:
Charles Brown
Date Of Creation:
8 February 2021
Update Date:
1 July 2024

Content
- To step
- Part 1 of 3: Getting ready the day you have the photo taken for your passport
- Part 2 of 3: Taking your passport photo
- Part 3 of 3: The preparation before you have your passport photo taken
Are you leaving the country? Then it's time to get your passport! To apply for this, you will need a passport photo that is more recent than six months. If you want to look good in that photo, you may need to do some prep work. Your passport is valid for 10 years if you are over 16, so prepare to be confronted with this photo for a long period of time.
To step
Part 1 of 3: Getting ready the day you have the photo taken for your passport
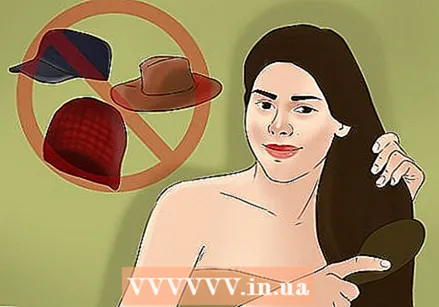 Style your hair. Don't do anything to your hair that you otherwise wouldn't. Passport photos should be a good representation of how you normally look so that you are not stopped.
 - Do not wear a cap or any other headgear unless you do this on a daily basis for religious reasons. If you do wear headgear, your face should be clearly recognizable. In addition, the hat should not cover any part of your hairline or cast a shadow over any part of your face.
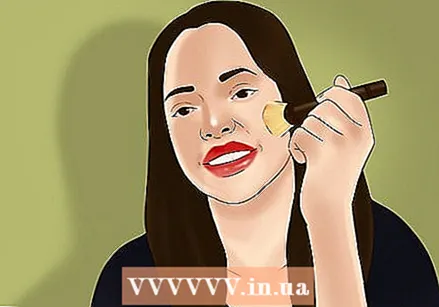 Wear about the same amount of makeup as usual. If you usually wear makeup, apply it as usual. If you never wear makeup then you probably shouldn't make an exception for this photo.You will not look like yourself and this can cause problems.
 - If you wish, you can wear a little bit of oil-absorbent powder to prevent shine. This will be most effective on your forehead or nose.
- Even if you don't usually wear makeup, you can apply a little powder or something similar to the dark circles under your eyes. These dark circles can cause glare (and make you look sick or tired).
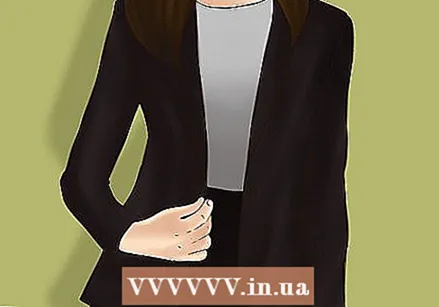 Dress appropriately. Don't forget that you may also need your passport for things other than traveling. Sometimes you can use it, for example, for background research when you apply for a job. Try to wear plain and not too bright colors.
 - Wear something that looks good on you and that is as comfortable as possible.
- Don't wear anything that demands too much attention as this will divert people's attention from your face to your clothing.
- Pay the most attention to your shirt or T-shirt as this is the garment that will be visible in the photo. V-necks and round necks are ideal, if it's cut too low or a tank top, you might look naked, so check the neckline too.
- Avoid bright colors as you will face a white or black background. Choose colors that show off your skin tone.
- Wear as little jewelry as possible.
- Uniforms or anything resembling a uniform (such as camouflage clothing) are not allowed unless it is your religious costume that you wear every day.
- Some people report that their passport photo was declined because it looked too similar to previous photos (meaning they couldn't confirm that it was a recent photo), so you should dress a little differently from your last photo if this is not the first time.
Part 2 of 3: Taking your passport photo
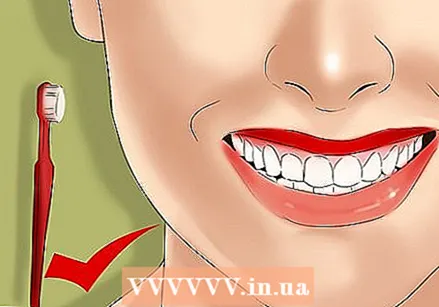 Check your teeth. Make sure to brush your teeth in the morning so that they look white. Just before taking the photo, you have to quickly check that there is nothing between your teeth.
 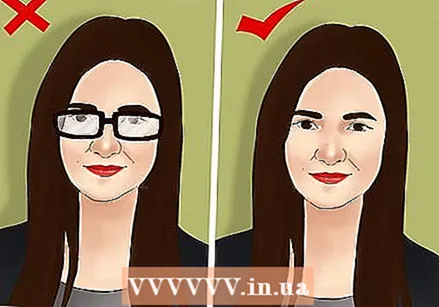 Take off your glasses. This is mandatory.
 - If you are unable to take off your glasses for medical reasons, you must enclose a signed note from your doctor with your application.
- Reapply makeup. Especially if you tend to look glossy in photos, it can help to apply some oil-absorbing powder at the very last minute. Make sure to also check for lipstick smudges or eye makeup that has smudged.
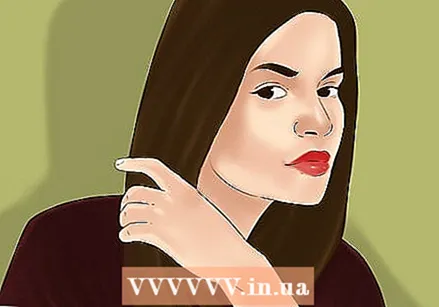 Check your hair. If you wear your hair loose (especially if it is long) you can let it hang over your shoulders. If your hair is short, make sure it is exactly the way you want it. Rub a little bit of gel or mousse between your fingers and run it all over your hair at the very last minute to keep everything in place.
 - If your hair is very long, you can choose to let it fall over your shoulders on one side. If it covers your shirt, you may look naked.
 Follow the guidelines. Assuming you won't be taking the photo yourself, listen carefully to the person taking the photo. The photographer will try to capture you from your best side. Follow his or her guidelines carefully and don't move unless prompted. There are strict requirements for the size and clearance of a passport photo, so don't make things unnecessarily difficult for the photographer.
 - The photographer will ask you to look directly into the camera as this is required by the government. When taking the photo yourself, make sure that your shoulders are straight and that you are looking straight into the lens.
- Your head should be between 50% and 69% of the total height of the photo. Measure from the top of your head (including your hair and possibly your hat) to the bottom of your chin.
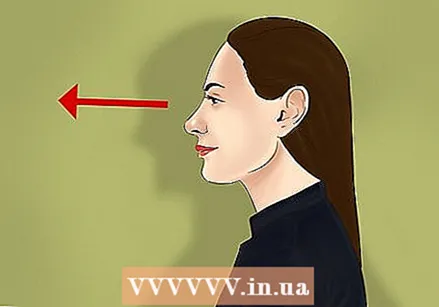 Stand upright. Make sure your posture looks beautiful and confident. Keep your shoulders down and back. Don't keep your head too high to avoid a double chin, as this will make your neck look long. Instead, move your chin forward a little (a little bit further than you normally would, but not too much).
  Smile! Generally, either a "natural smile" (one that does not bar your teeth) or a neutral expression is allowed for a passport photo. Choose an expression that you think enhances your face, but listen carefully to the photographer's guidelines if he or she says you look unnatural.
 - If you look “unusual” or you squint, your passport photo may be declined or the process to obtain your passport may be delayed.
- If you choose not to smile, try to think of something nice to keep your eyes looking friendly and cheerful.
 Make sure you are involved in the selection process. A good photographer will review the photos with you and recommend the ones that are the best from his professional opinion. Be assertive and choose the one you think best looks like, even if it goes against the photographer's opinion. Just make sure the photo meets all the requirements.
Part 3 of 3: The preparation before you have your passport photo taken
 Decide where you will have the photo taken. There are hundreds of options, and each has different benefits. Choose an option in an easy location and tailored to your budget. You can get a good photo taken without wasting a lot of money, but of course a professional photographer will be able to provide the best quality of photos. Some places require you to make an appointment, so plan well. Some options include
 - pharmacies and supermarkets
- professional photo studios
- town halls (most offer this service, but not all)
- registered passport holders (for when you need a passport at short notice)
- at your home (but make sure you meet all the requirements)
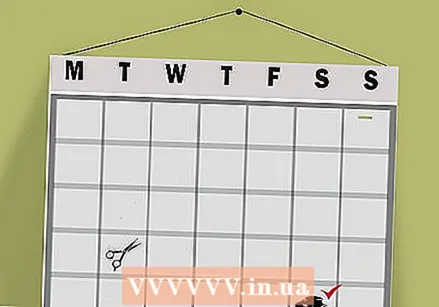 Get your hair cut one to two weeks beforehand. Give your hair a little time to stop looking just cut when you first have to go to the hairdresser. About one to two weeks in advance is enough to make sure your hair will look tidy when it comes time to take the photo. If, of course, you want that freshly cut look, you can wait until the very last moment.
 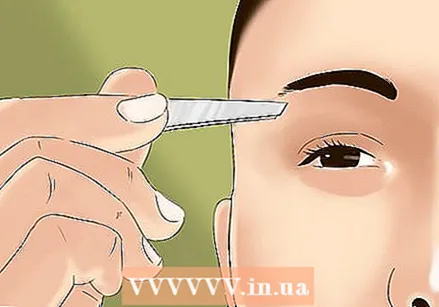 Epilate your eyebrows if you like. If you like your eyebrows looking beautiful, it is best to have them done a day before so you can avoid redness in the photo and still not have enough time to grow back. You can also get them waxed if you want to spend some money on this special occasion.
 - If you find that the skin around your eyebrows looks a little red after plucking, you can try applying cold, wet tea bags or a little aloe vera on top.
 Get plenty of sleep. To avoid red eyes and dark shadows under your eyes, try to get enough sleep several days before taking your passport photo. This will make your skin appear more radiant, making you look healthier.


