Author:
Judy Howell
Date Of Creation:
5 July 2021
Update Date:
1 July 2024
Content
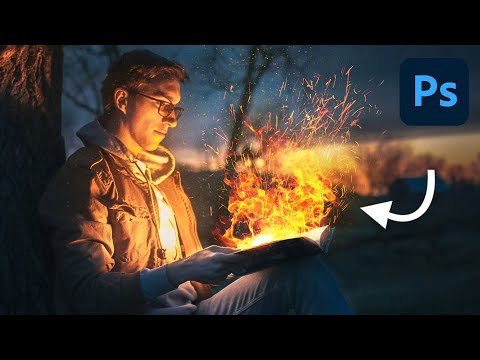
If you've ever wanted to add a little fire to your images then Photoshop is a great place to do it. We'll show you a few ways to get the image you want. It's easy to do and fun to play with.
To step
Method 1 of 3: The basics
 Open Adobe Photoshop. Set the background color to black and the foreground color to orange.
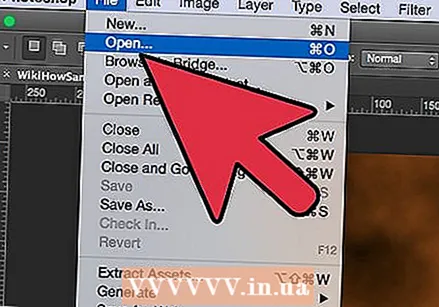
  Create a new document. Set the page size as desired and select Background colour in the window Background content:. Click OK.
  Render clouds. Go to the "Filters" section in the main menu and select "" Rendering ""> Clouds.
 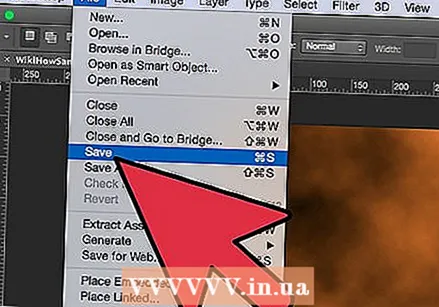 Save your fire. This filter creates Gaussian clouds using the foreground and background colors. The application of different colors can lead to a number of interesting effects.
 - Ready for more? Then take a look at the advanced method below.
Method 2 of 3: Add fire to text
 Open a document with a text layer, or create a new document. As an example, here we use a simple black background with the word "FIRE!" in Arial Black on a second layer. It is important that the text is on a different layer than the background.
 - If you are working with an existing document, make a copy of the original.
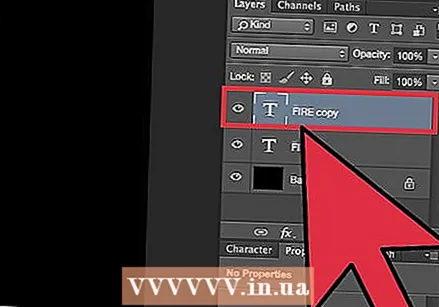 Duplicate the text. Drag the original text layer to the new layer symbol at the bottom of the Layers window.
 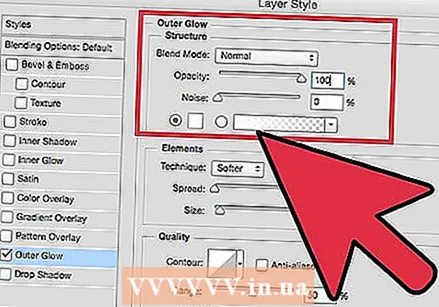 Add Glow Outside. If the layer is duplicated, click the Fx menu at the bottom of the Layers menu, and select Outer Glow. In the resulting Style window, change the color from yellow to white, and set Opacity to 100%, as shown:
 - Click OK. Your image should now look something like this:
 Apply Gaussian Blur. In the Filtermenu, select Fade > Gaussian blur ... Photoshop shows you a warning that with this action you will rasterize the text layer, and that you cannot change the text afterwards. Click OK and set Blur to look something like this:
 - Note that if your text layer is larger or smaller than in our example, the actual radius / radius setting will alternate. This example assumes a 72-point type.
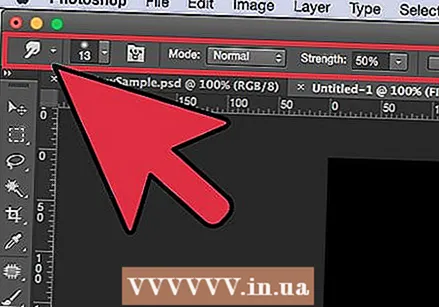 Set up the Smudge Tool. Click the Smudge tool (below the Gradient tool), then click the brush settings at the top of the window. In the resulting Smudge Tool settings window, use the following settings:
 - With these settings you will "draw" the fire. As with any brushwork in Photoshop or other graphics applications, the use of a tablet is recommended.
 Create the flames. Using the Smudge Tool, paint from the letters outwards to create an idea of flames. Short, fast strokes give the best results, and if using a brush, vary the thickness by adjusting the pressure. Your fire should now look like this:
 - When you are done, duplicate the erased layer.
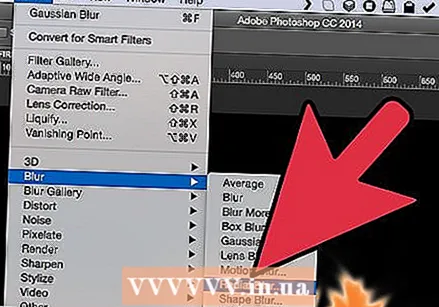 Apply Radial Blur. From the Filtermenu, select Fade' > Radial Blur ..., and in the resulting window change the settings as follows:
 - Although a subtle effect, this gives your fire an extra burst of energy.
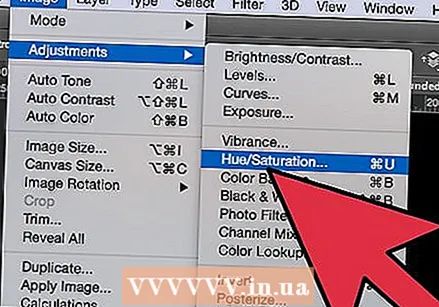
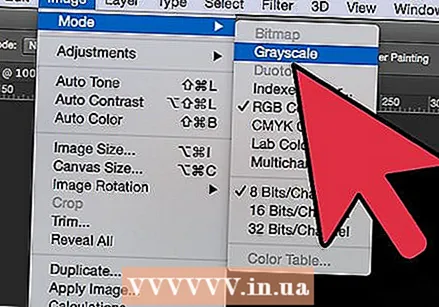 Convert your image to grayscale. Select Grayscale in the Imagemenu. Photoshop will warn you again that the image will be flattened, and this may have an unwanted effect on your image. Click on the option Make one layer to proceed to.
 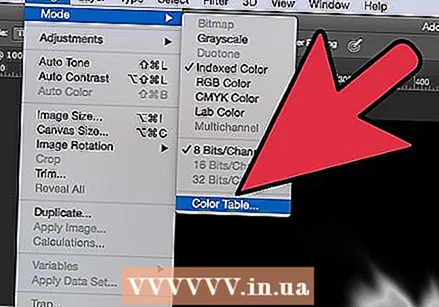 Convert the image to Indexed Color. Go to it Imagemenu and select Mode > Indexed color. Then select in the same menu Color table.
 - From the menu at the top of the Color Table window, select Black body.
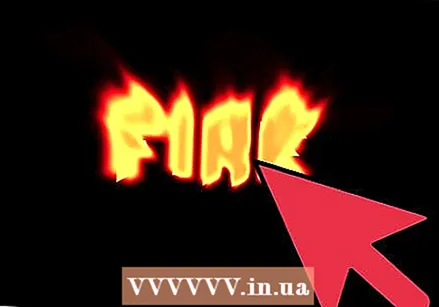 Congratulations, you made a fire! Your image should now look something like this:
Method 3 of 3: Liquid fire
 Open Adobe Photoshop. Set the foreground color to white and the background color to black. A quick way to do this is via the D-key (stands for Default - the default color), and the X-key (switching the foreground color and the background color).
 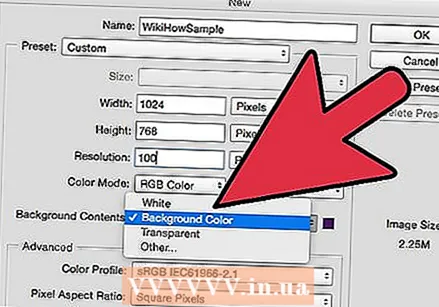 Create a new Photoshop image. In the same way as in the above method, make the content of the background the background color.
  Create a rounded rectangle by clicking the shape tool in the toolbar on the left side of the screen. Draw a rectangular shape in the center of the picture.
 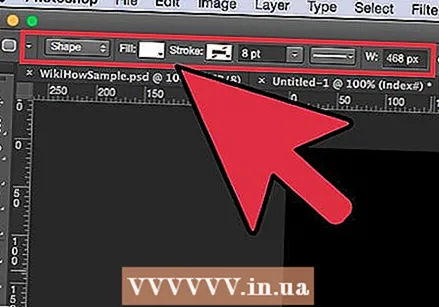 Set the properties of the shape. At the top of the window, select To fill and choose your white. Select it Lineattribute and set it to None as indicated.
 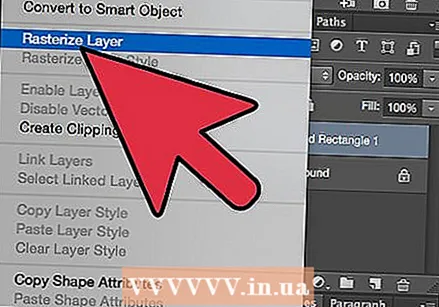 Grid the layer. Right-click on the name of the new shape layer (default is Rounded Rectangle 1), and select Convert layer to pixels from the context menu.
 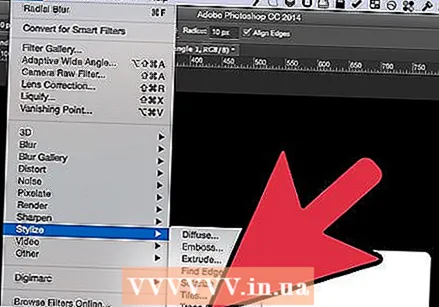 Add the wind. Make sure the shape layer is still selected. Go to it Filtermenu and select Stylize, and after that Wind.
 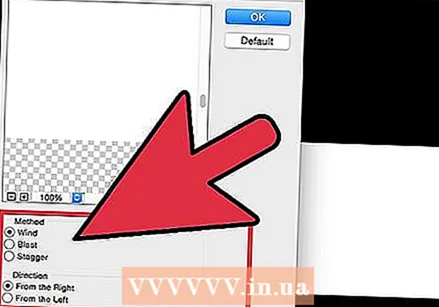 Adjust the Wind settings. Choose the following settings in the Wind window: Wind and From the right, then click OK.
 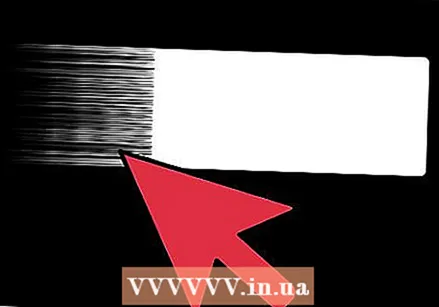 Press Command + F (PC: Ctrl + F) twice. This adds the Wind effect. Your rectangle should now look something like this:
 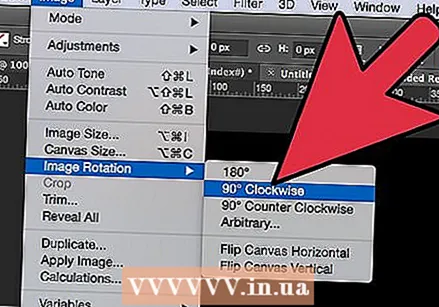 Rotate the image. Click on it Imagemenu, then Rotate image and then on 90 ° CW.
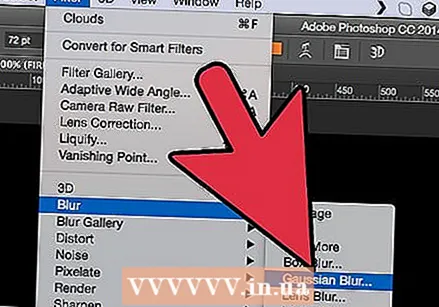
 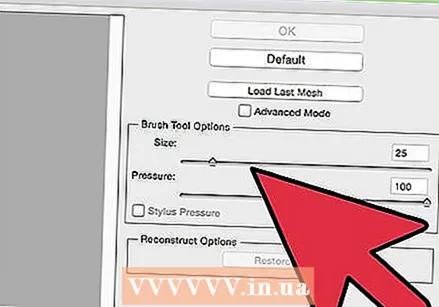 Go to the Filter menu and select Liquify. A window will open. Set the brush size to about 25 (to start), then drag across the lines created by the Wind effect to distort them to resemble a flame. Vary the brush size to make the flames look more realistic. When you are done, click OK.
 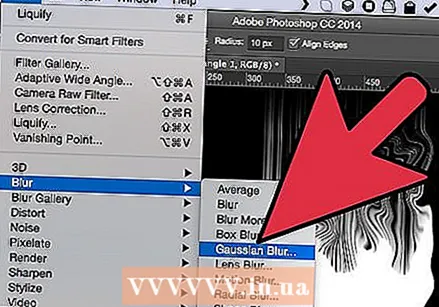 Blur the image. click on Filter, afterwards Fade, afterwards Gaussian blur, and then set the radius to 1 pixel.
 - Duplicate the layer twice. You can do this by dragging the first layer over the new layer symbol at the bottom of the Layers window, or by pressing Command + J (PC: Ctrl + J) twice.
- Make the top 2 layers invisible by clicking on the eye.
 Click on the original (bottom) rectangle layer. In the Correction window, select the Hue / Saturation symbol.
 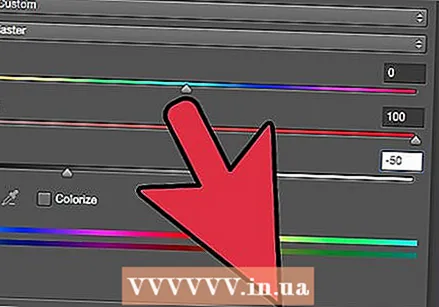 Make the Hue / Saturation layer a clipping layer. Click on the clipping layer icon at the bottom of the Correction window. This limits the effect of the Hue / Saturation layer to the layer immediately below it.
 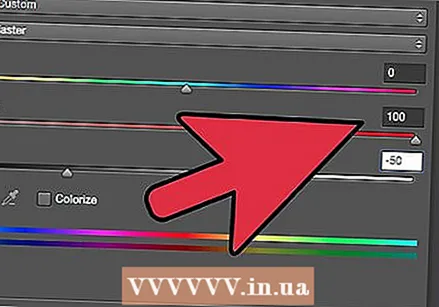 Set the levels of Hue / Saturation as shown in the image above. Make sure to check the Colorize box first. Hue is 0, Saturation is 100, and Brightness is -50, giving a rich, red color. It should look something like this:
 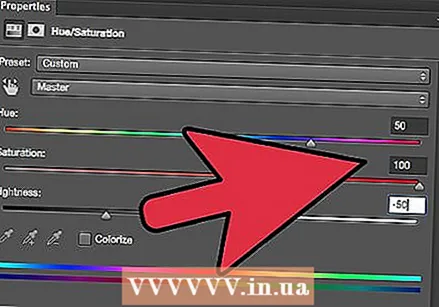 Activate the top layer again. Add another Hue / Saturation adjustment layer in the same way, and set clipping in the same way as the bottom layer. Change the properties of the top adjustment layer to Hue: 50, Saturation: 100, Brightness: -50. This will make it a yellow color.
 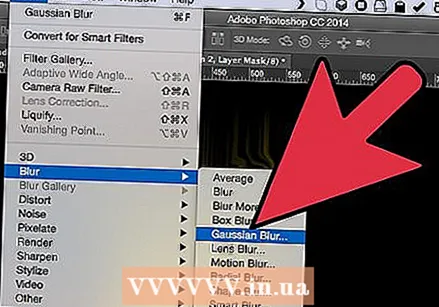 Select the remaining white shape (middle layer). click on Filter, afterwards Fade and after that Gaussian blur. Set the radius to 7 pixels. Your image should now look something like this:
 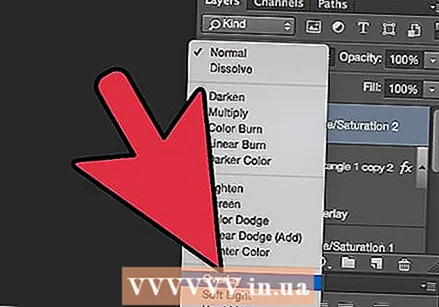 Change the coverage method. Select the top layer and change the layer type by clicking the drop-down menu (usually Normal) and select Cover.
  You can congratulate yourself! The work is done and your masterpiece is finished!
Tips
- About the "from the ground method"
- A good size for the background is 14 cm X 14 cm. Or 400px by 400px, that's fine too.
- This method can also be used for text.


